Smiley pillow
duration: 30 - 60 minutes
age: from 7 years
Make your own smiley pillow

tools
- Scissors
- Fabric scissors
- Pen
- Sewing machine
- Sewing needle
- Pins
materials
- Felt (yellow and black)
- Stuffing
- thread
downloads
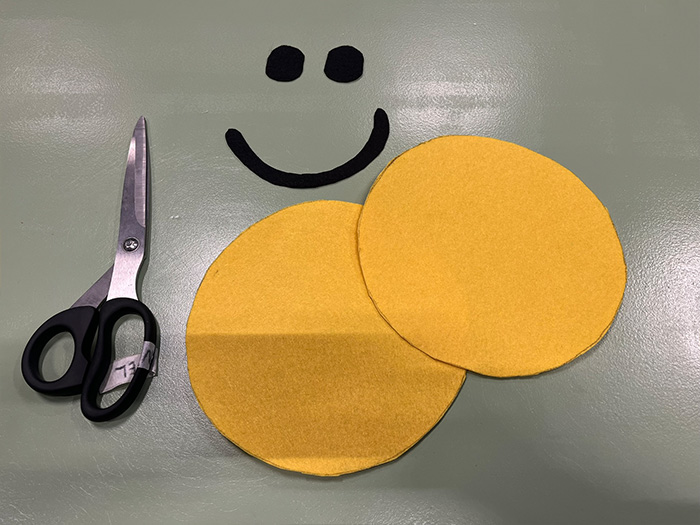
step 1 - Cut the felt
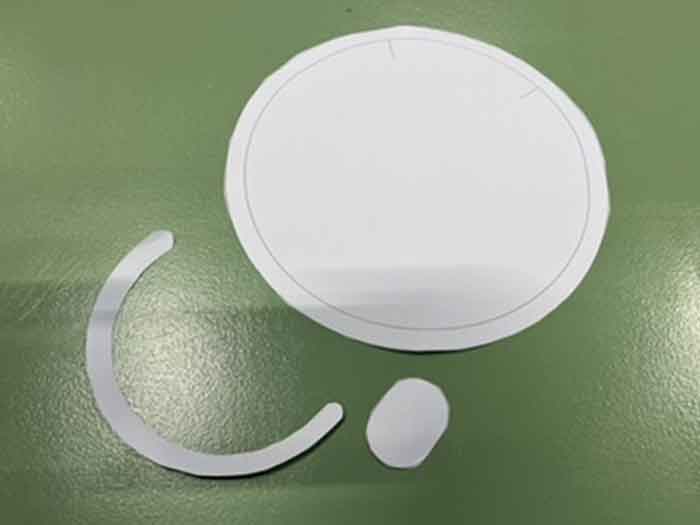

- Cut the paper template.
- Trace the template onto the felt. Make sure to trace the smiley face on the yellow felt (2x) and the eyes (2x) and mouth on the black felt.
- Cut the felt using fabric scissors.
step 2 - Mark the sewing line
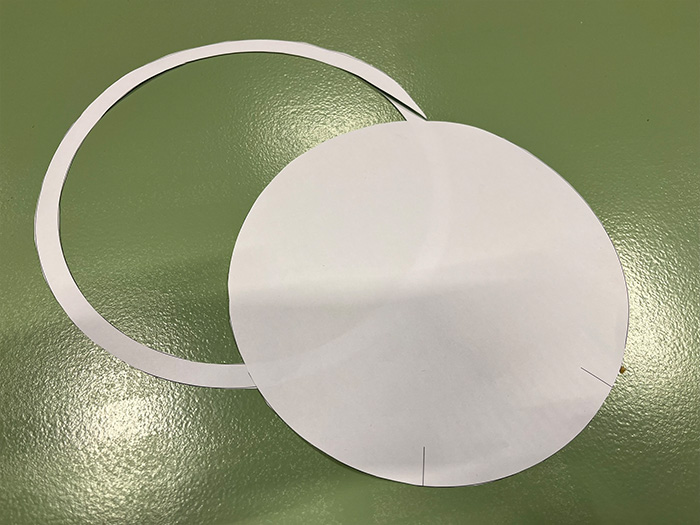

- Cut the outer ring off the big circle template.
- Place the smaller template on top of one of the felt circles you just cut out.
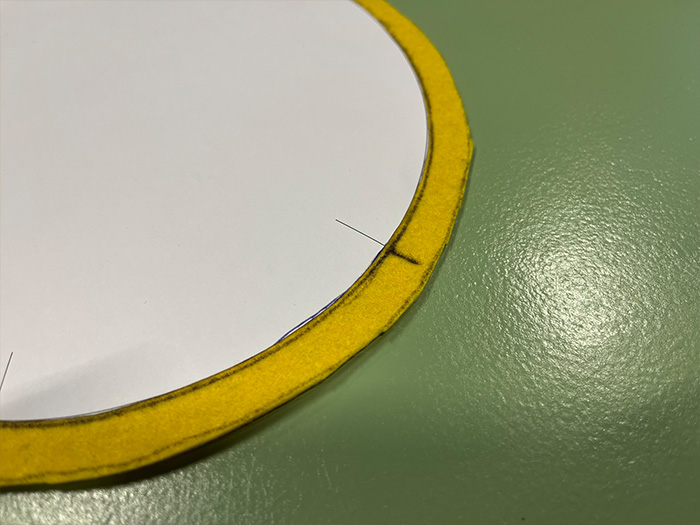
- Trace the smaller circle onto the felt.
step 3 - Pin the eyes and mouth
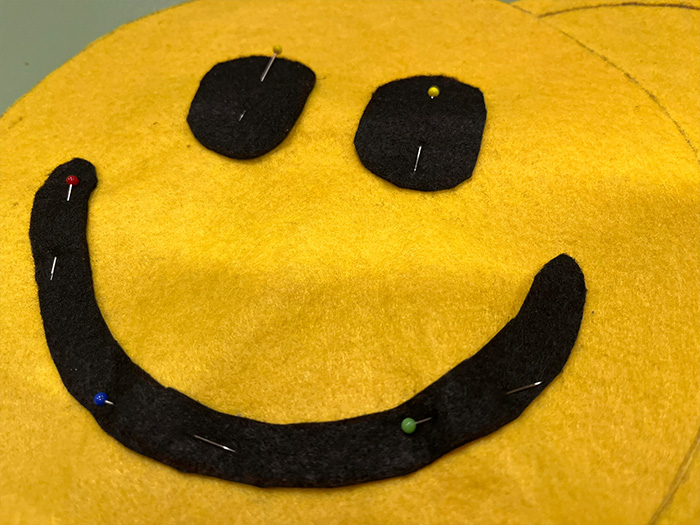
- Place the eyes and mouth on the yellow felt without the line you drew in the previous step.
- Use some pins to fix them in place.
step 4 - Sew the eyes and mouth
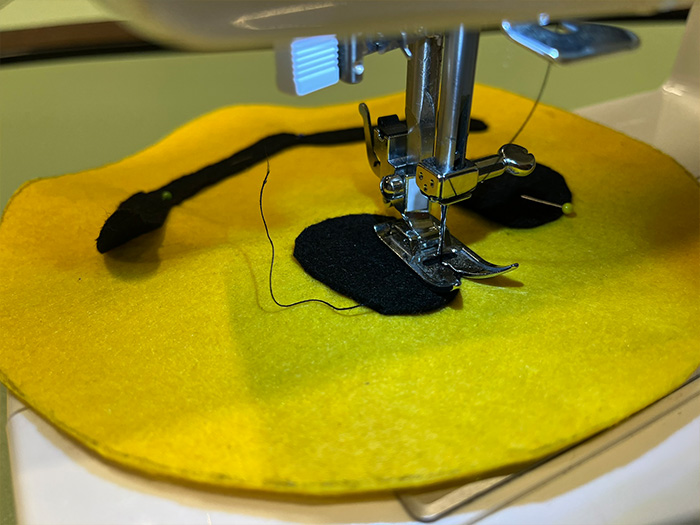

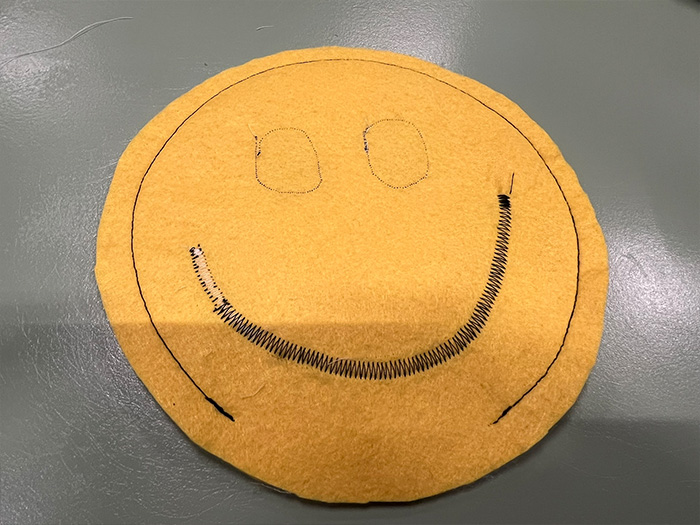
- Sew the eyes.
- Use a wider zig-zag stitch to sew down the mouth.
step 5 - Sew the front and back together
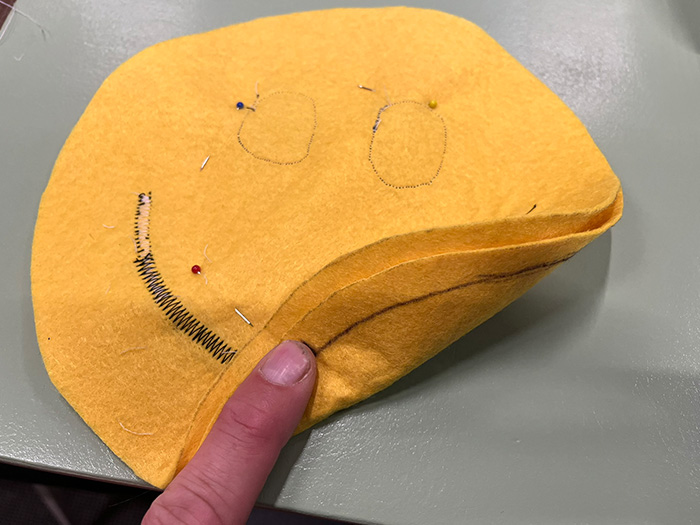
- Do not sew all the way around. We need a gap to turn the pillow right side out.
- Put the face onto the other piece. Make sure the face is against the side without the smaller circle drawn onto it.
- Pin the two pieces together.
- Sew the front and back together following the line you drew in an earlier step. Make sure you start and stop at the lines indicated on the template.
step 6 - Fill the pillow
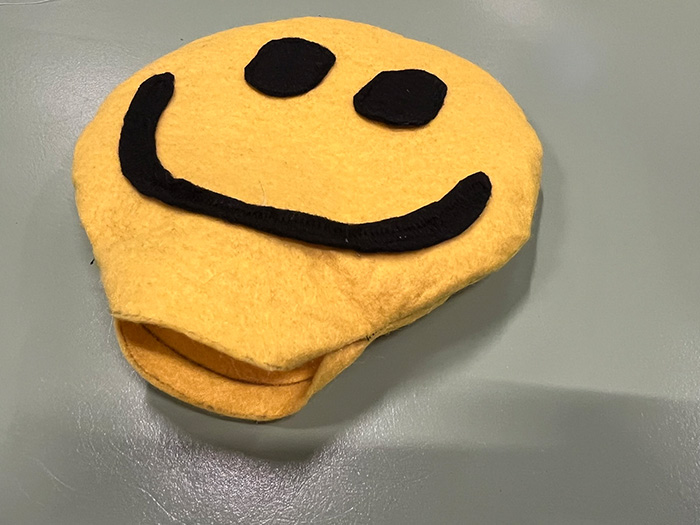
- Pull the pillow right side out.
- Fill the pillow with stuffing.
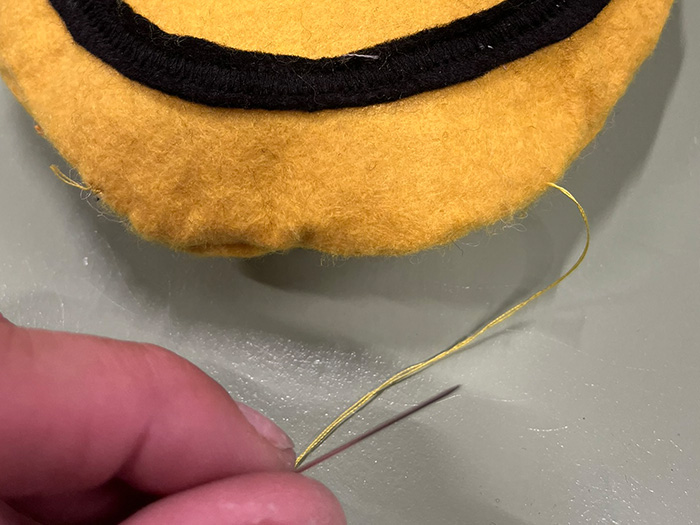
- Manually stitch the hole shut.
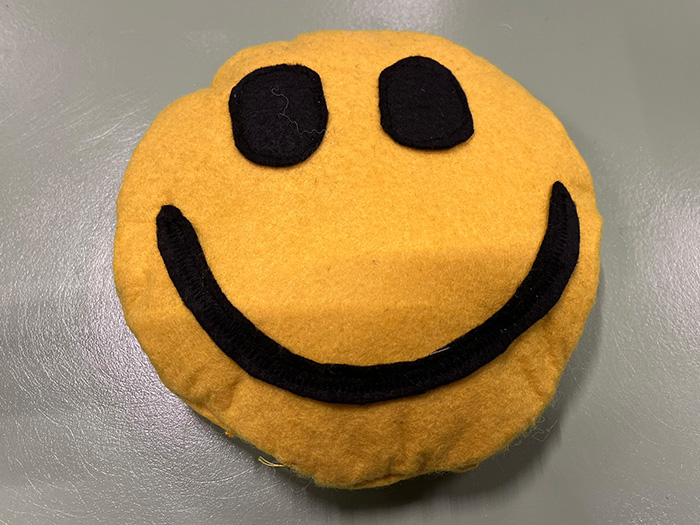
- You're done!