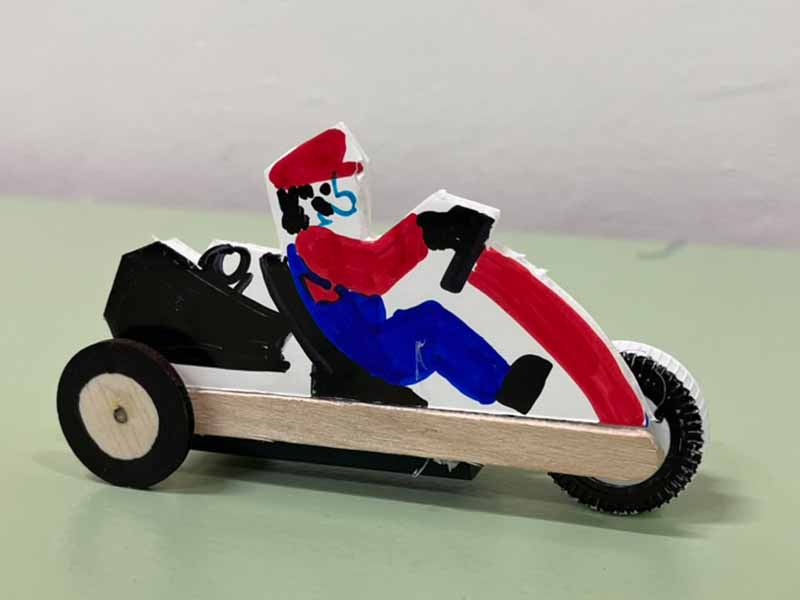
Battery powered go-cart
duration: 15 - 45 minutes
age: from 7 years
Make a go-cart that will drive on its own
tools
- Drill
- Drill bit (1/8")
- Lasercutter
- gluegun
- Hobby knife
- Markers
- Scissors
- wirecutters
- wirestrippers
- Soldering iron
materials
- battery-case (for 2 AAA batteries)
- Batteries (2 AAA size)
- 2 popsicle sticks
- electromotor (form an old cd player or similar)
- glue gun
- thin plywood (1/8")
- wooden skewer
- Foamboard
- plastic bottle cap
downloads
step 1 - Cut out the plywood parts
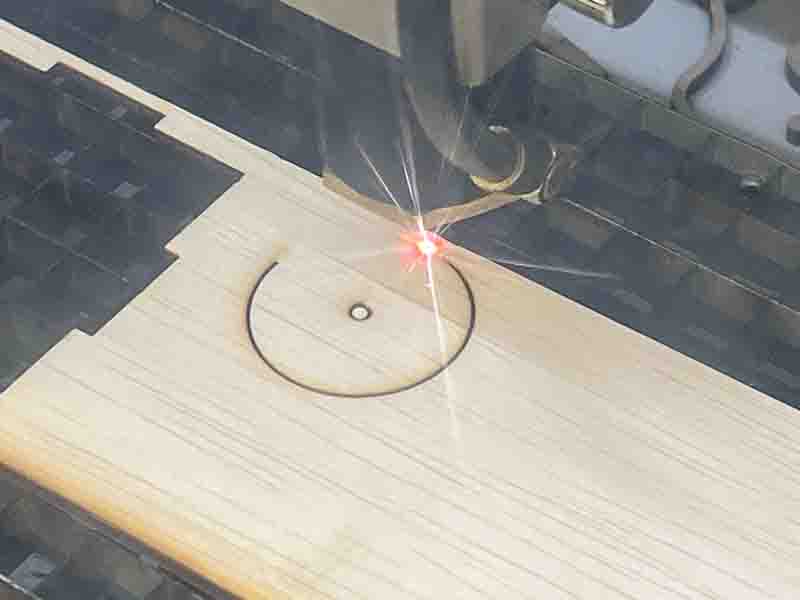
- The template has holes that work with old cd palyer motors and 3mm skewers. You may need to adjust this to fit the parts you use.
- Use the template to cut out the plywood parts with the lasercutter.
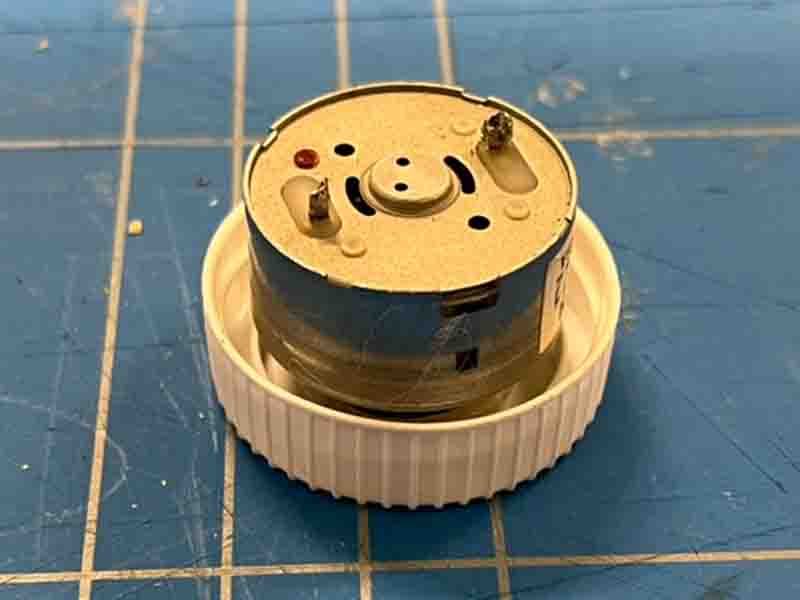
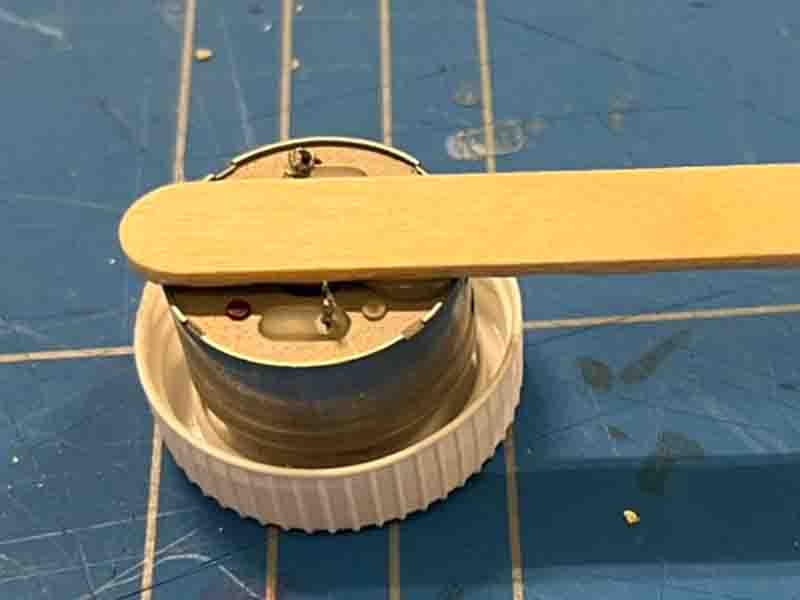
step 2 - The front wheel
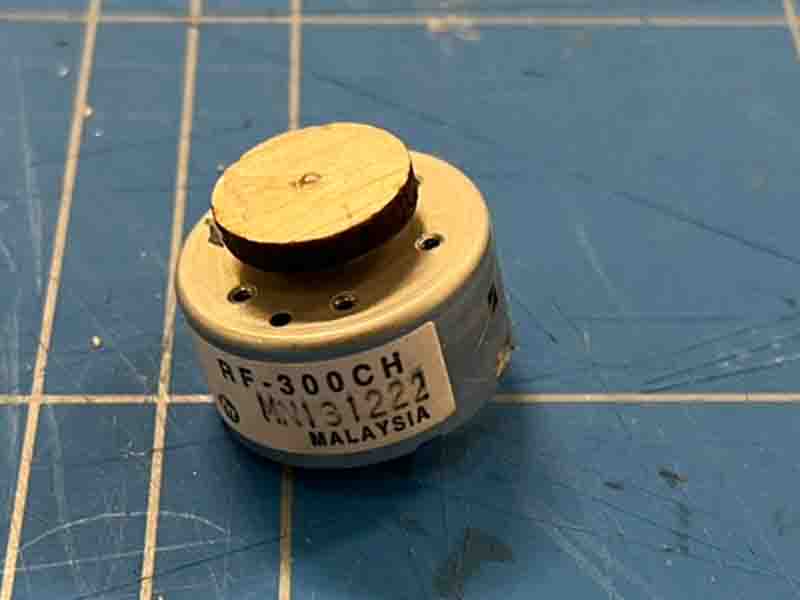
- Attach the small wooden wheel to the motor. You can use a glue gun for this, but make sure you dont glue the shaft to the motor.
- Glue the bottle-cap onto the wooden wheel. Make sure it is nicely centered.
step 3 - Drill holes

- Drill a hole trough the popsicle sticks, about a 1/2" from the end.
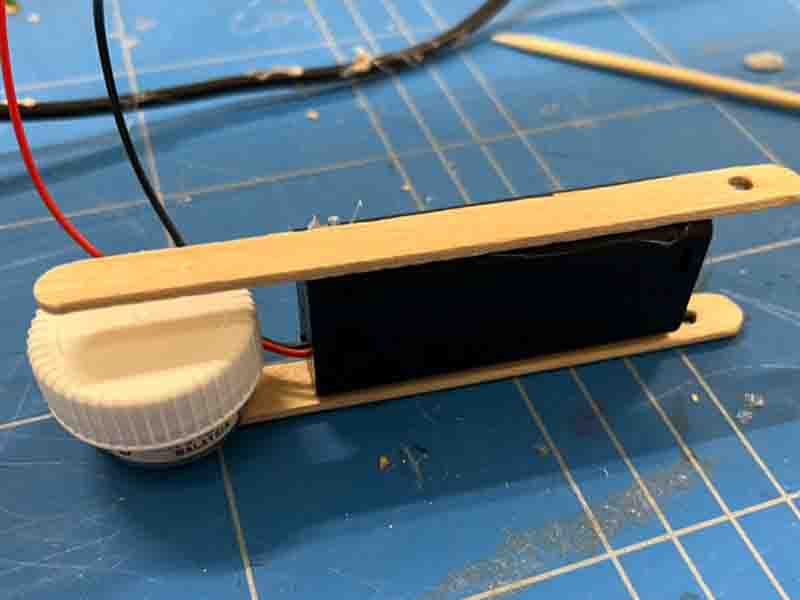
step 4 - Glue the parts together
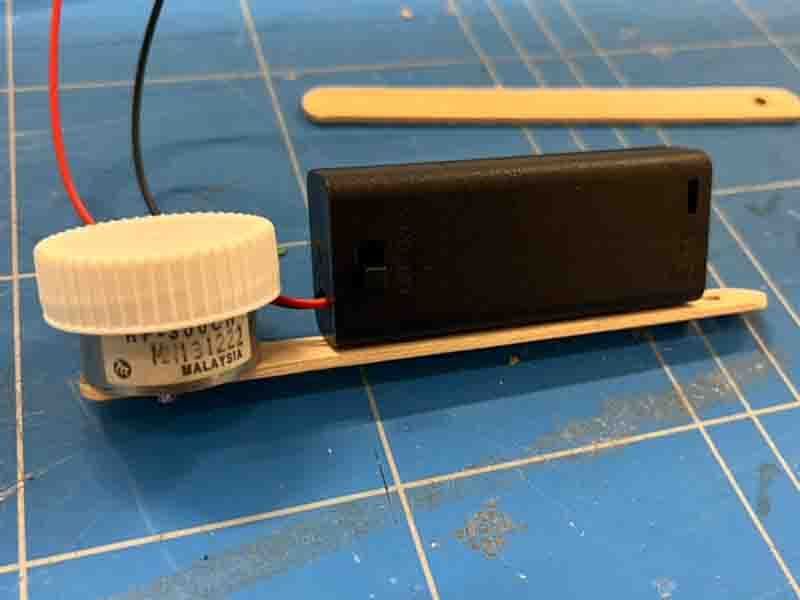
- Glue one stick to the motor, making sure the hole you just drilled is on the other end.
- Glue the battery box to the stick, making sure the button faces up, and the leads face towards the motor. Also make sure you can still open the battery box to swap out batteries
- Glue the other stick to the other side of the battery box. Make sure the holes at the end are aligned.
step 5 - Add the rear wheels
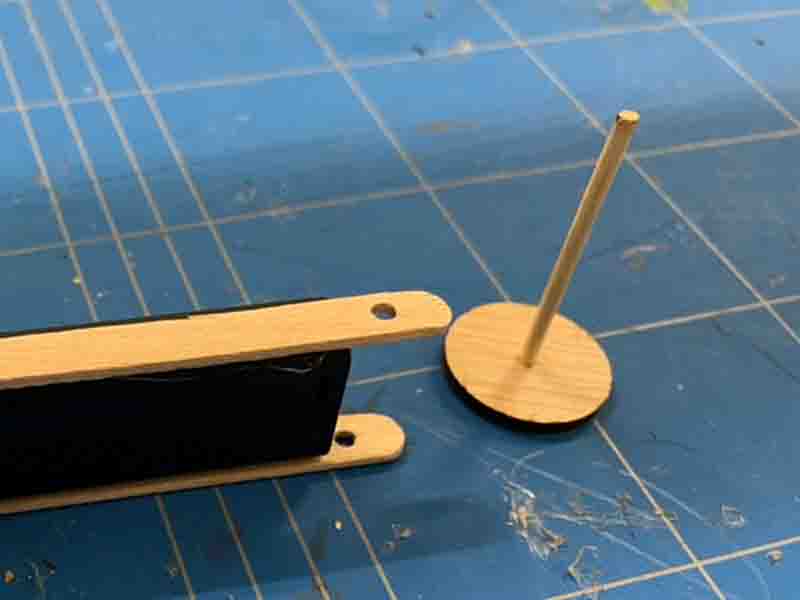
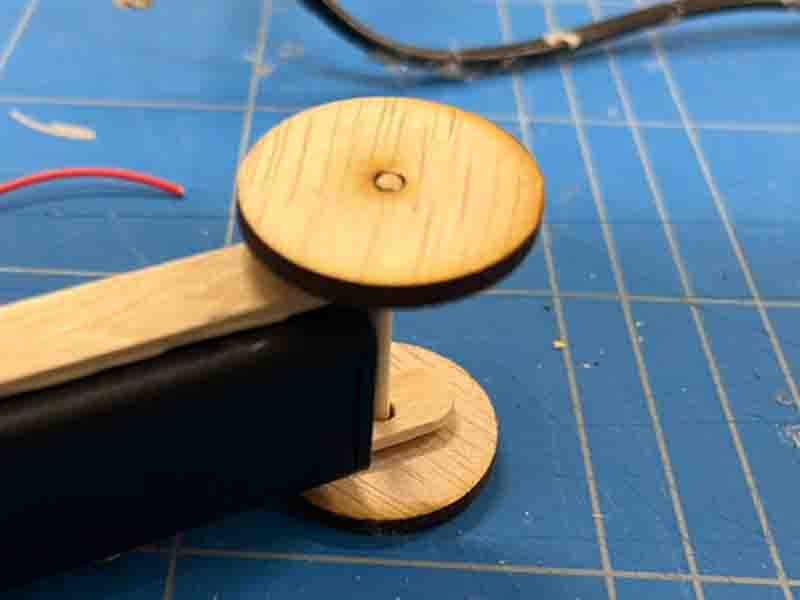
- When glueing, make sure you do not glue the wheels to the popsicle sticks.
- Cut the skewer to size, so that its just a bit wider than the body of your go-cart.
- Attach the wheels and fix them using a little bit of glue.
step 6 - Test the motor and solder the leads
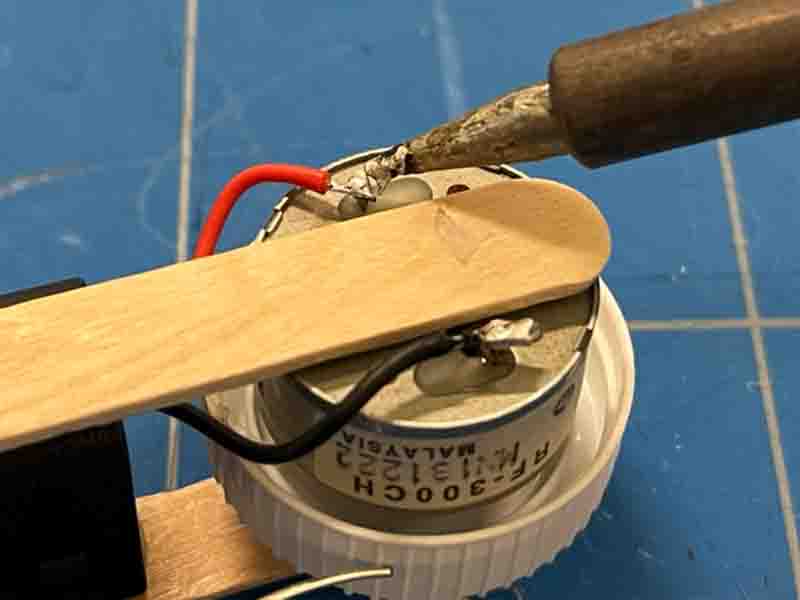
- Put batteries into the case, and touch the leads to the motor terminals to see what way it turns. If it turns the wrong way around, switch the black and white wire around.
- Cut the wires to size and solder them to the motor.
- Test your go-cart.
step 7 - Final touches
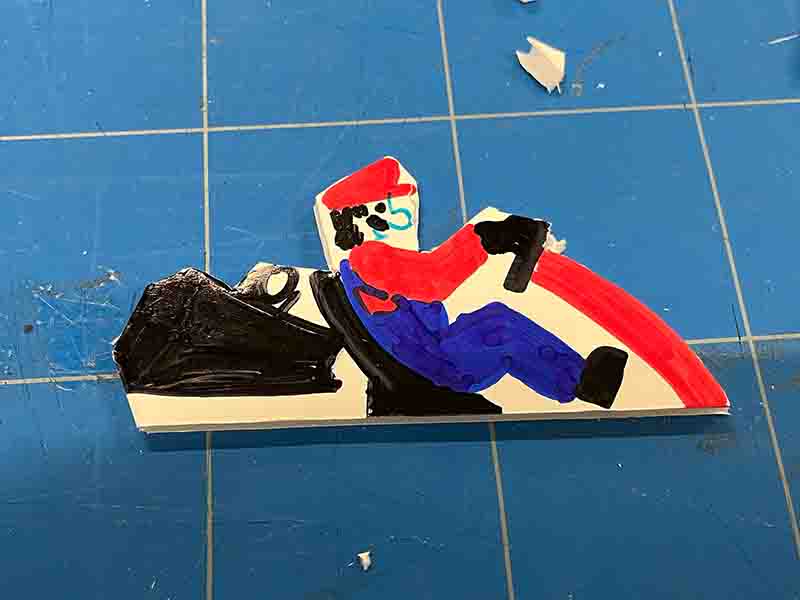
- Draw the body of your car on a piece of foamboard.
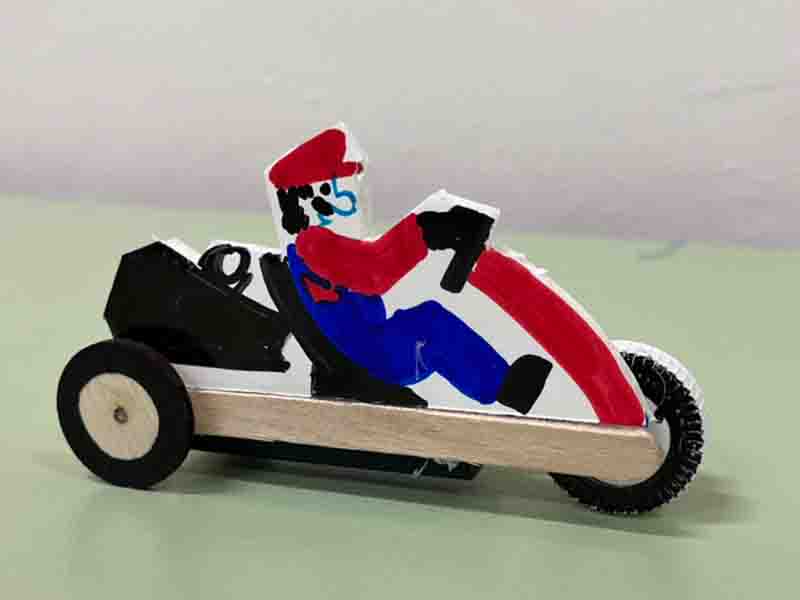
- Cut the board and glue it to the popsicle sticks.
- Color the wheels and you're done!