Coin sorter
duration: 30 - 45 minutes
age: 7 - 14 years
Sort your coins with this automatic coin sorter. (this sorter works with euro coins)

tools
- Gluegun
- Laser cutter
- Marker pen
materials
- Cardboard (about 3mm thick)
- transparent sheet
downloads
step 1 - Cut the cardboard
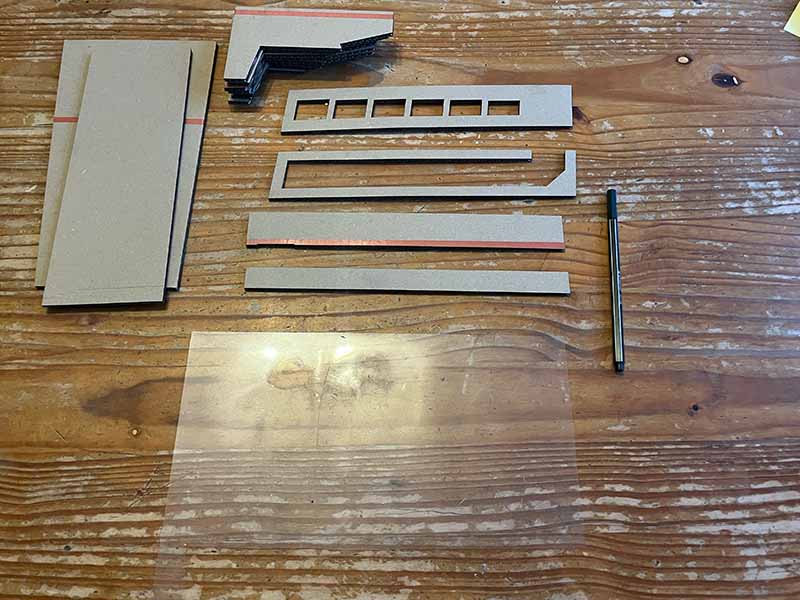
- Use the lasercutter with the .dxf file to cut out the cardboard.
step 2 - Cut the transparent sheet
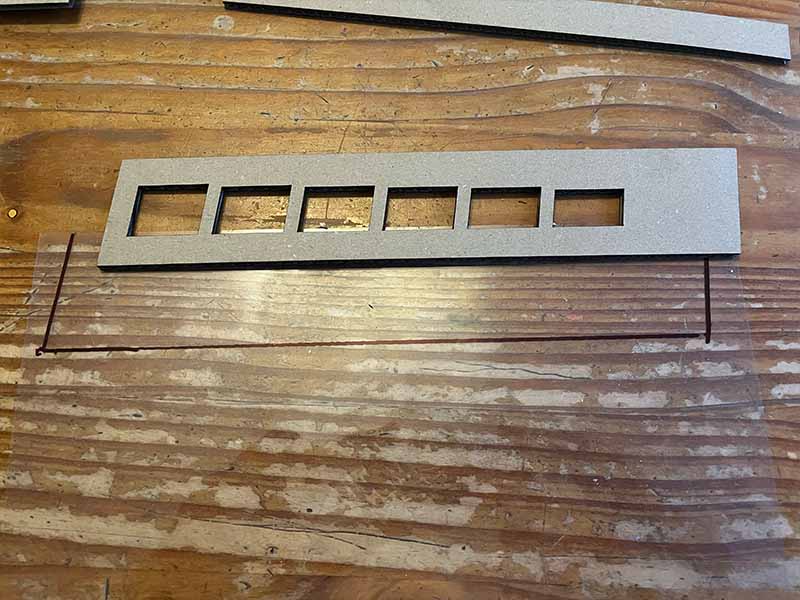
- Trace the outside of the piece with the holes onto the transparent sheet.
- Cut out the transparent sheet.
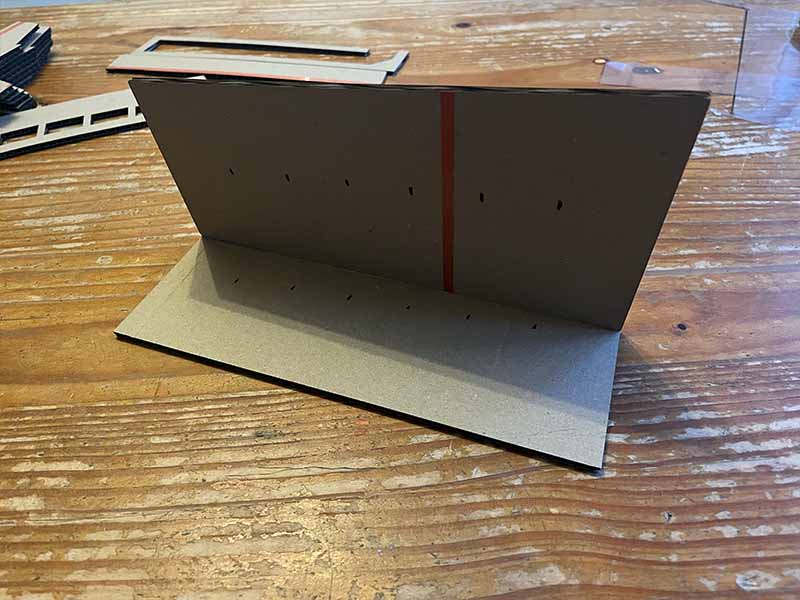
step 3 - Mark the bottom and the back
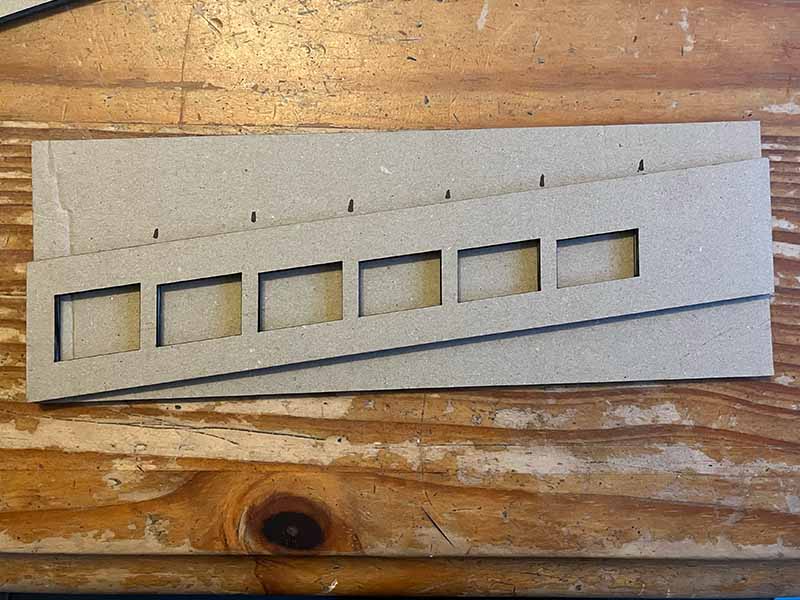
- Place big square piece and put the piece with the holes on top.
- Align the left and right sides to be flush with each other.
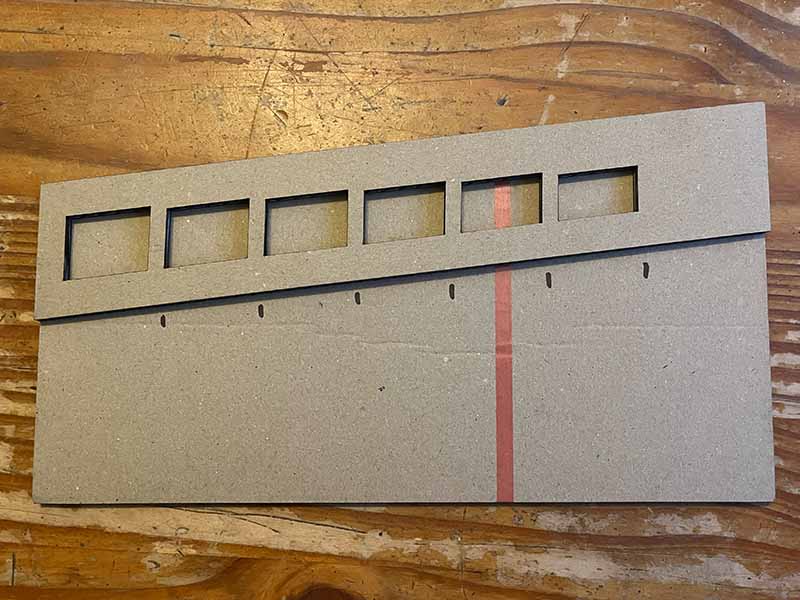
- Mark the big piece between each of the holes.
- Repeat for the big back plate. Make sure to place it with the small side left.
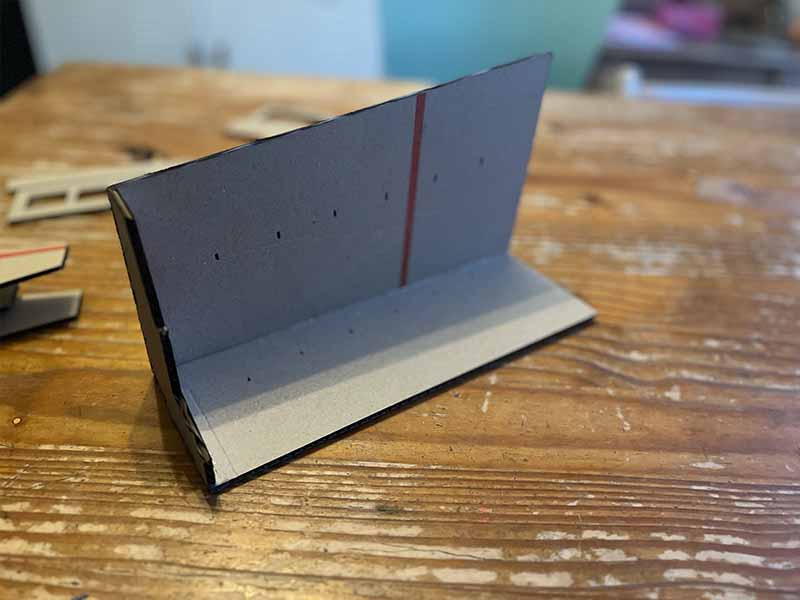
step 4 - Glue the back on top of the bottom
- Glue the back on top of the bottom plate, with the marks facing the inside.
- Try to glue as perpendicular as possible.
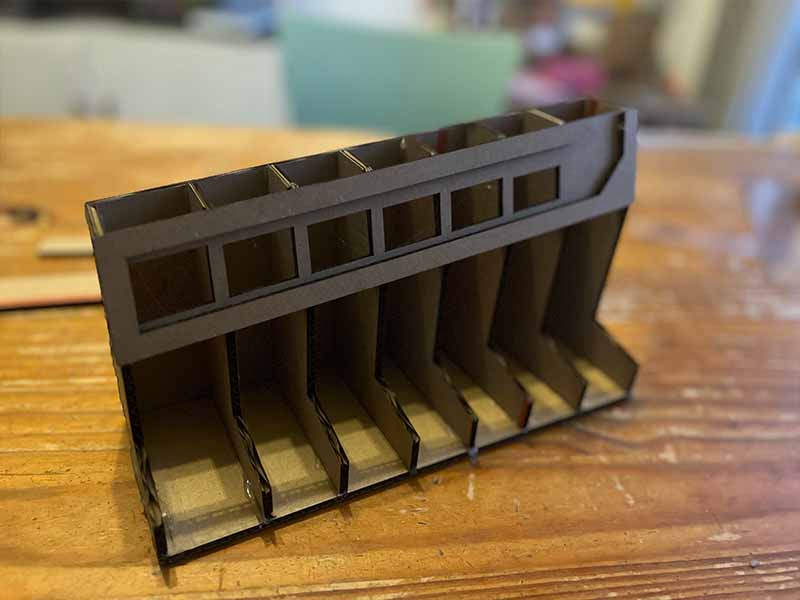
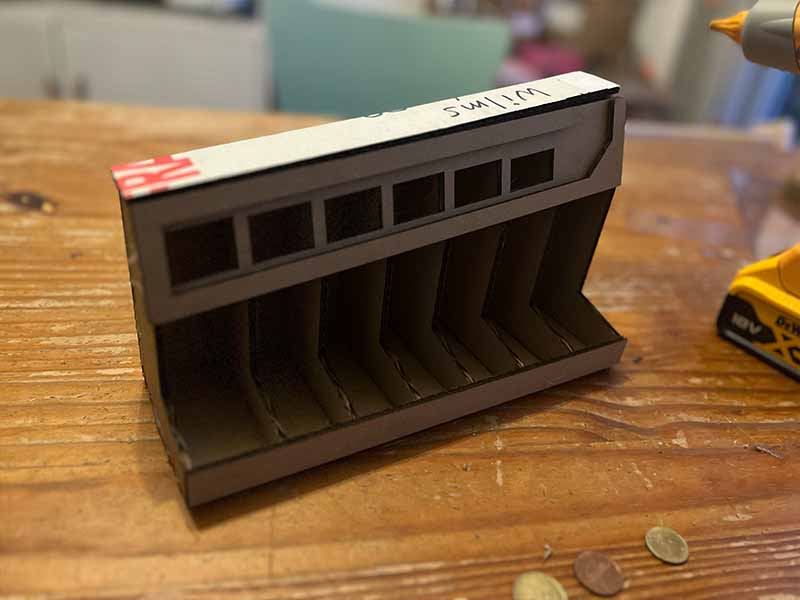
step 5 - Glue the divider pieces
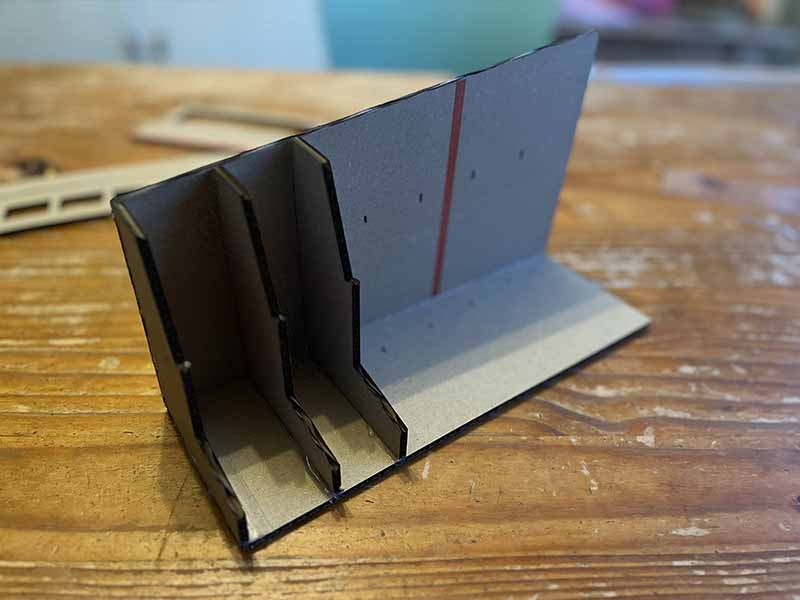
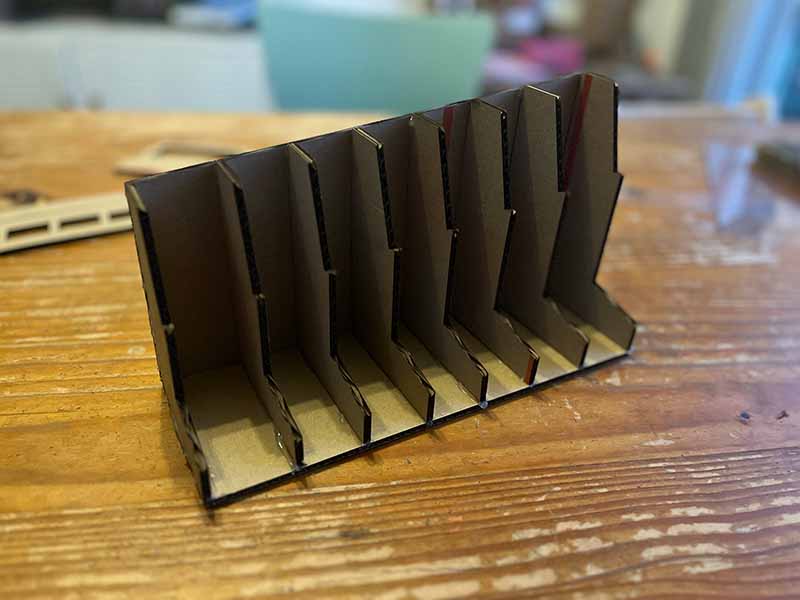
- Align the divider pieces with the marks you made earlier. Start with the smallest one on the left and place progressively larger ones as you move to the right.
- Glue the divider pieces in place.
step 6 - Glue the coin slide
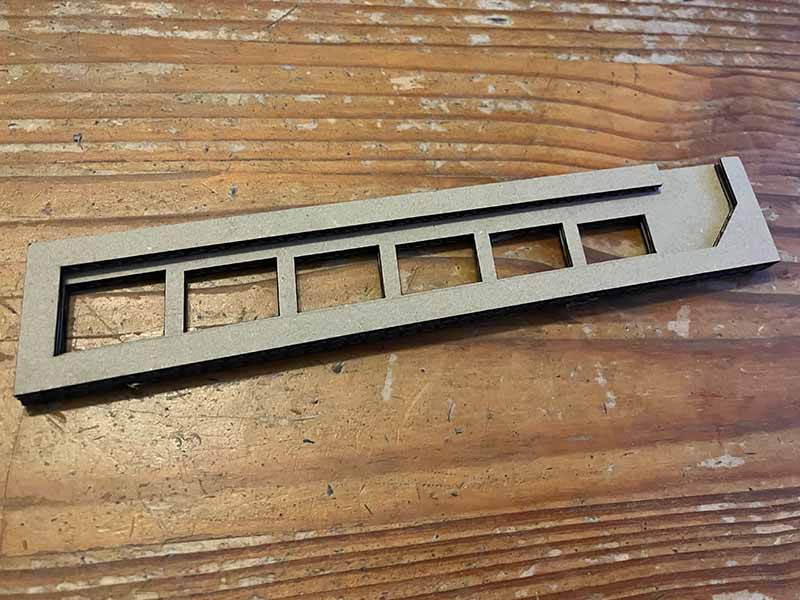
- Alignment here is very important, so be precise.
- Glue the slide piece on top of the piece with the holes.
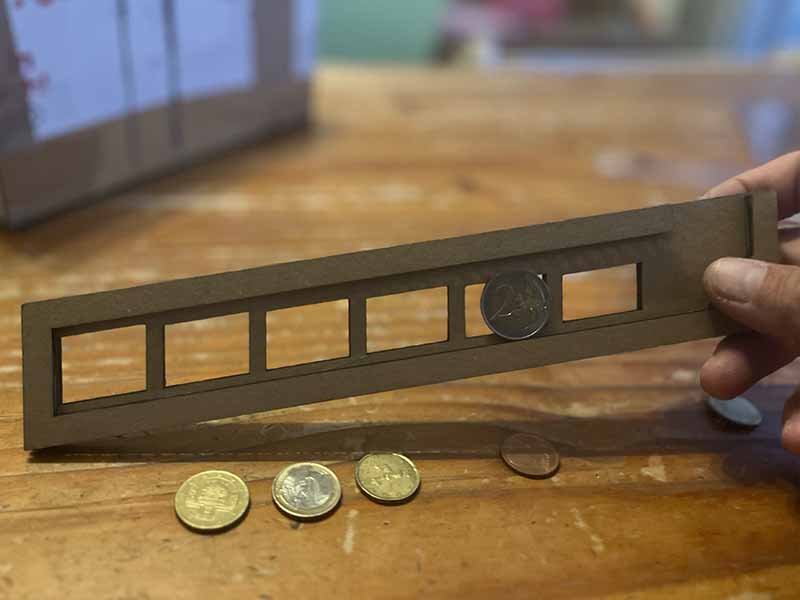
- Test! Roll some coins down the slide and see where they fall trough. Each coin should have its own hole.
step 7 - Glue the slide in place
- Glue the coin slide on top of the main assembly.
step 8 - Top and front
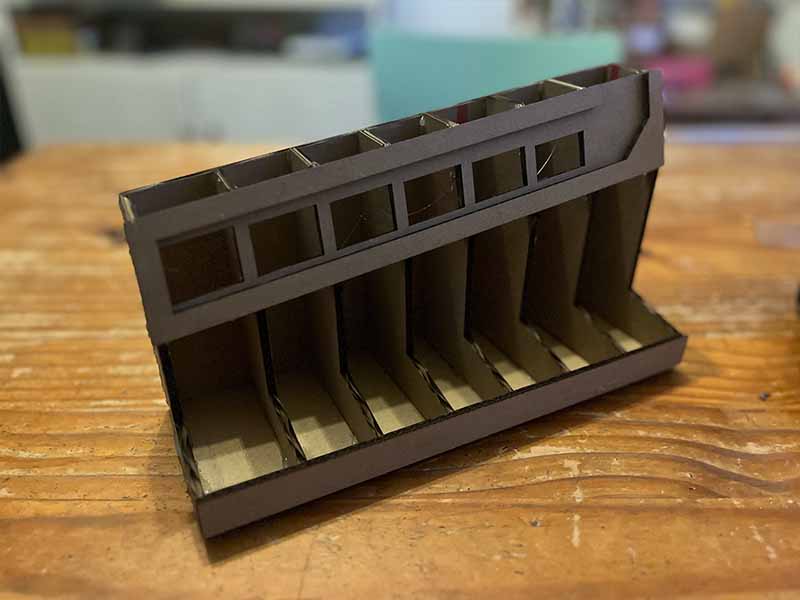
- Glue the front.
- Glue the top, make sure the small cutout is over the entry of the coin slide.
step 9 - Glue the transparent sheet
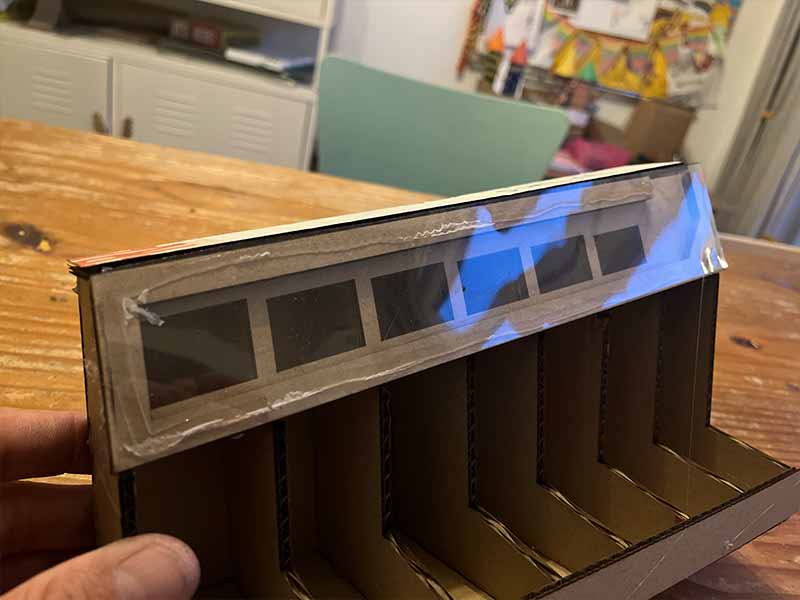
- Glue the transparent sheet over the coin slide.
step 10 - Mark the coin slots
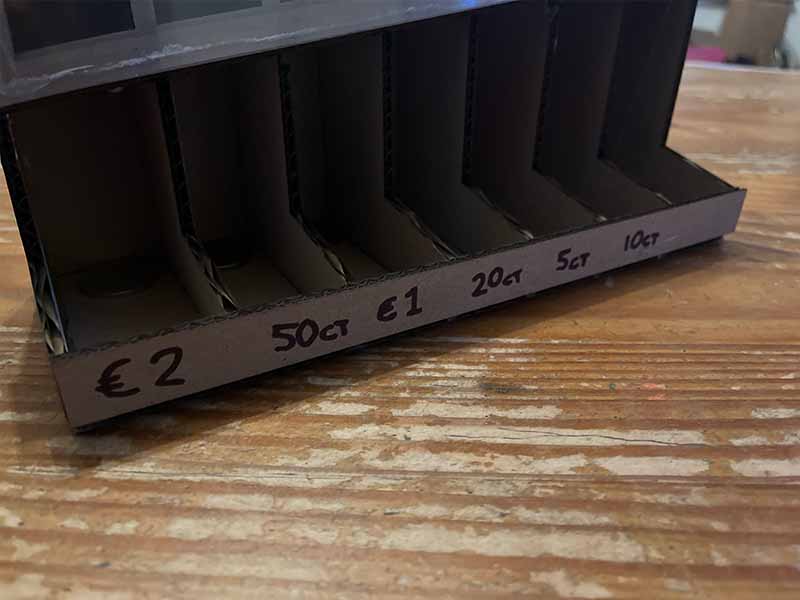
- Mark the coin slots with your marker.
step 11 - Done!
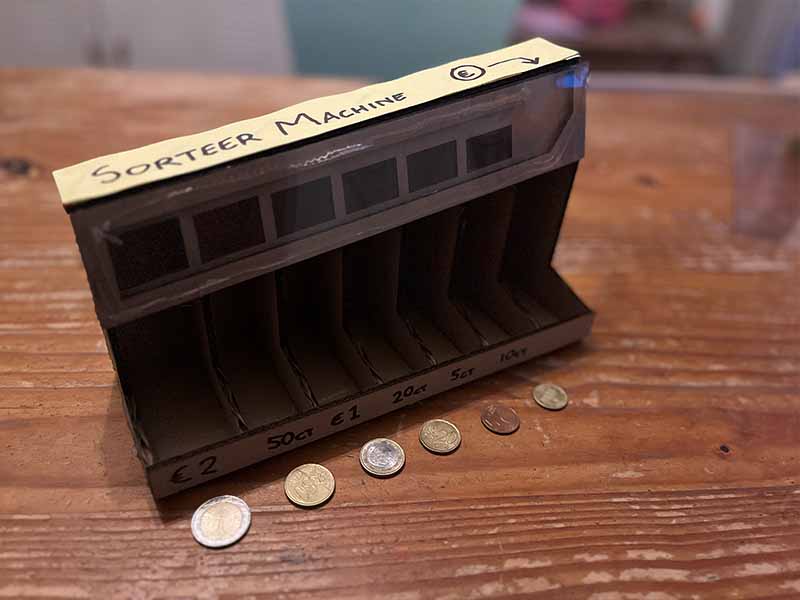
- You're all done! Go sort some coins.