Design and 3D print a Super Mario cube
duration: 45 - 60 minutes
age: from 10 years
Recreate the classic mario questionmark cube.

step 1 - The basic shape
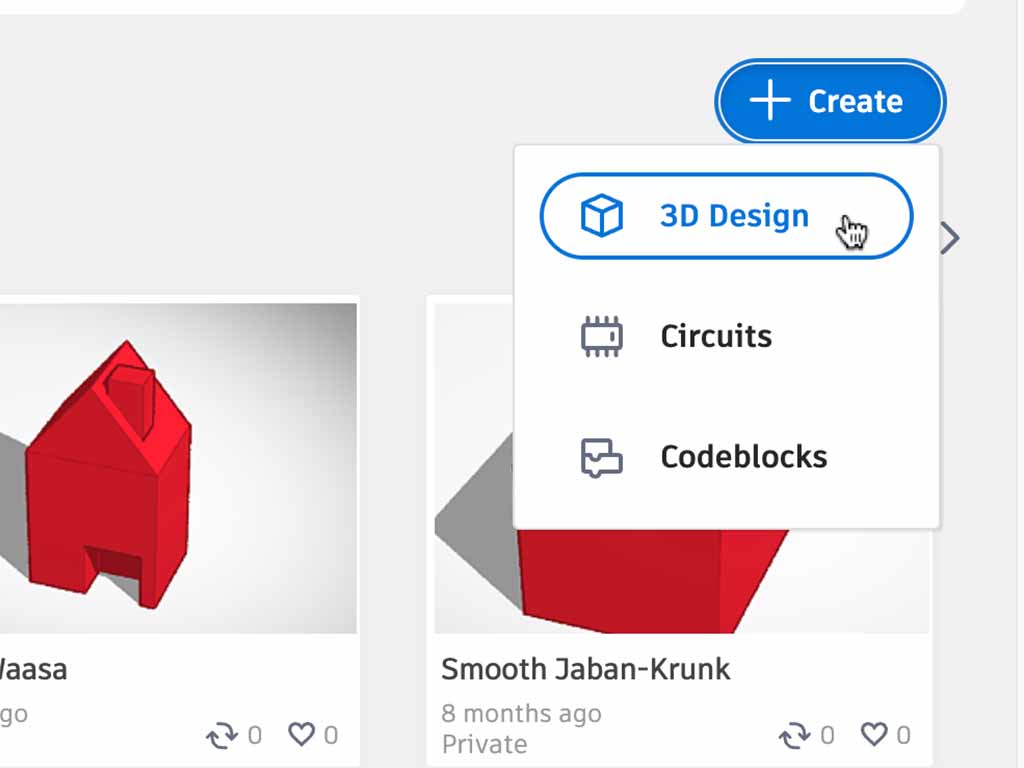
- Navigate to tinkercad.com start a new 3D design.
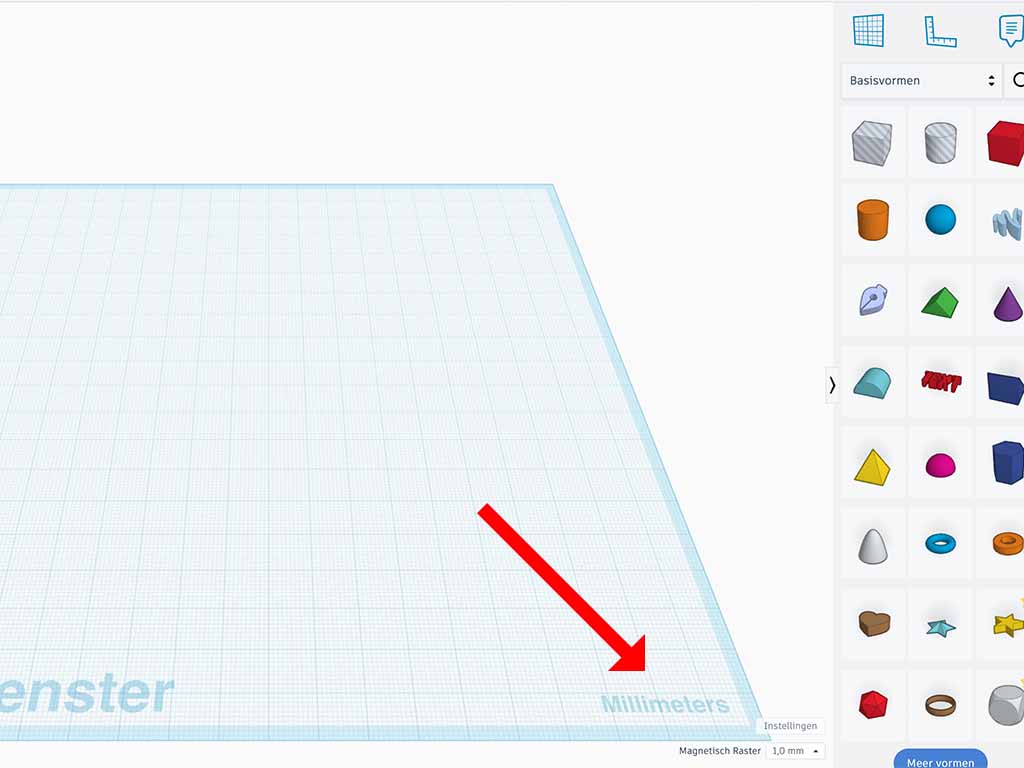
- I will use millimeters in this design. If the bottom right corner of your workplane does not show "millimeters" you can change this in the settings.
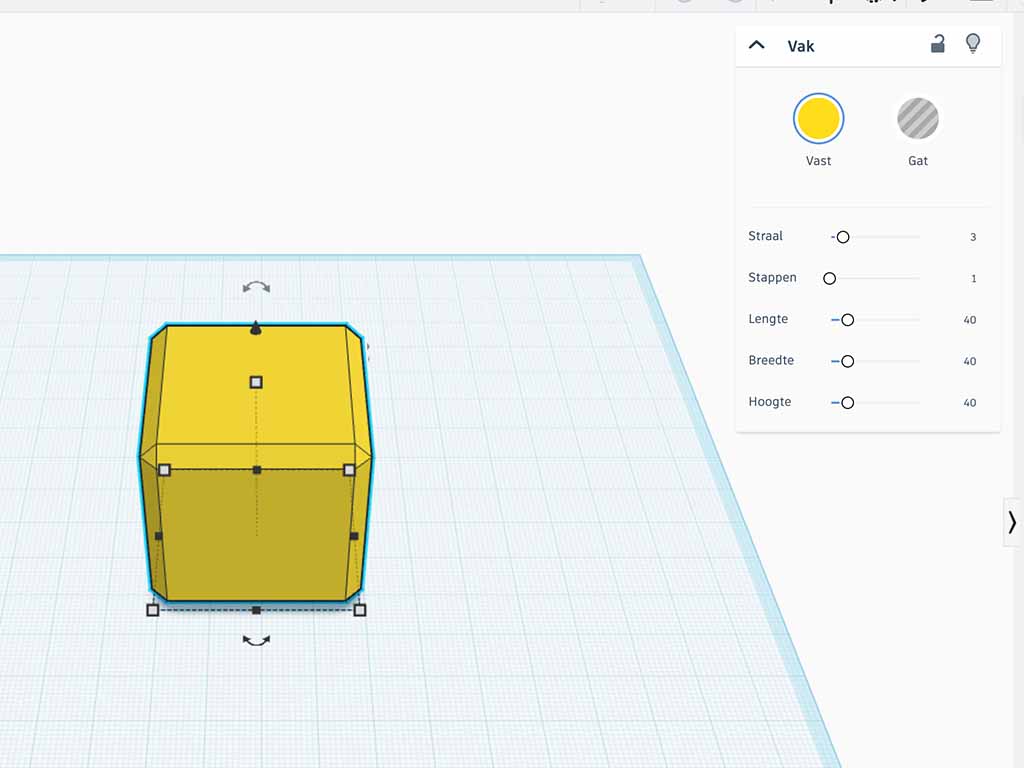
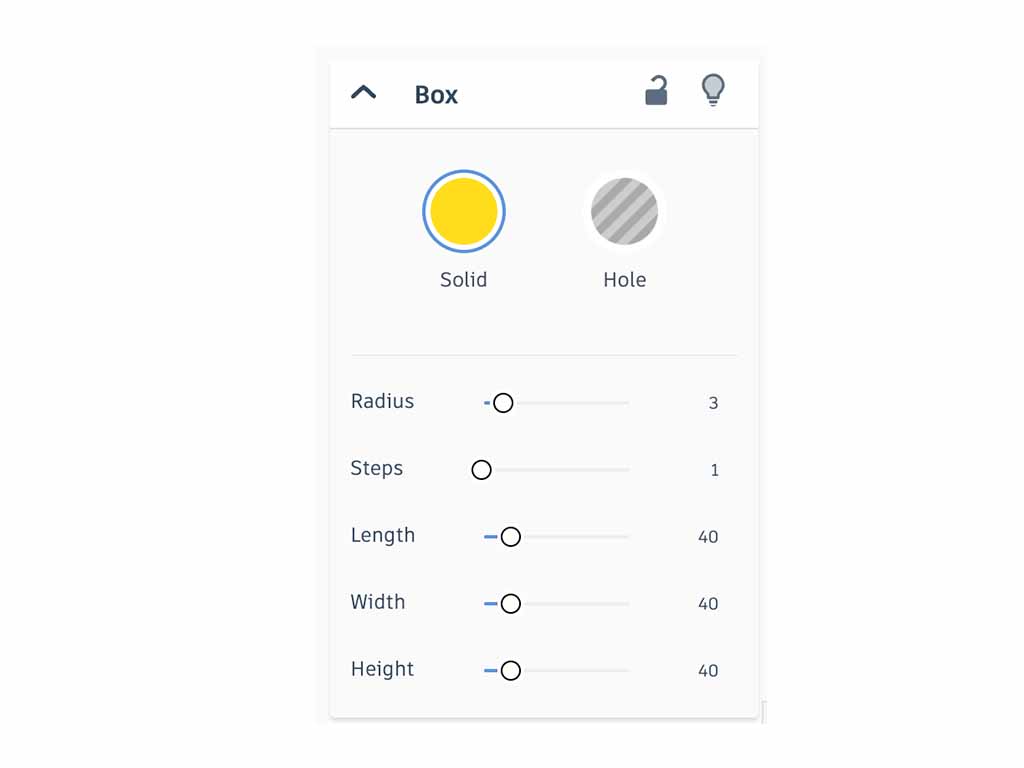
- In the property panel you can change values using the sliders, or click the numbers and enter the precise values you need.
- Because of a bug in Thinkercad, it is important to use the sliders in the property window to set the size. Do not use the white handles on the box itself.
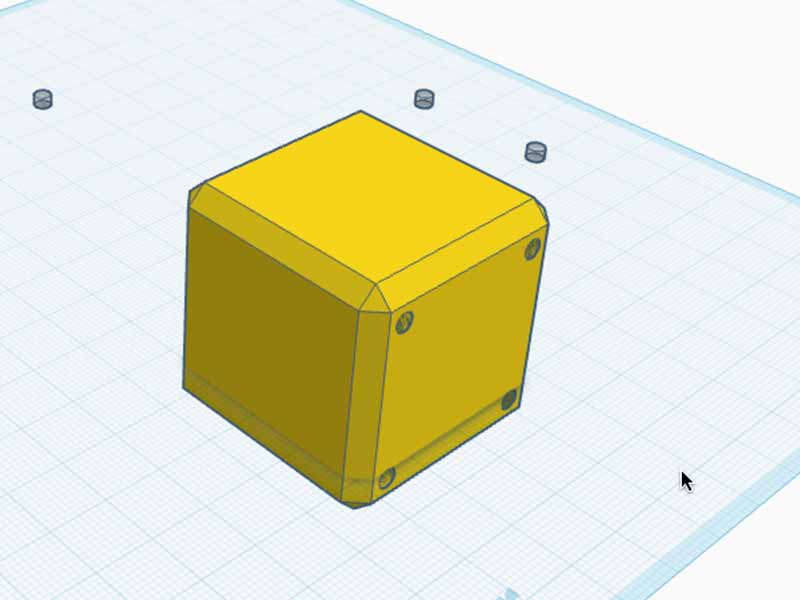
- Drag a box onto the workplane and use the property panel to set the following property values:
- Set the color to Yellow.
- Set radius to 3
- Set steps to 1
- Set length, width and height all to 40
step 2 - The holes
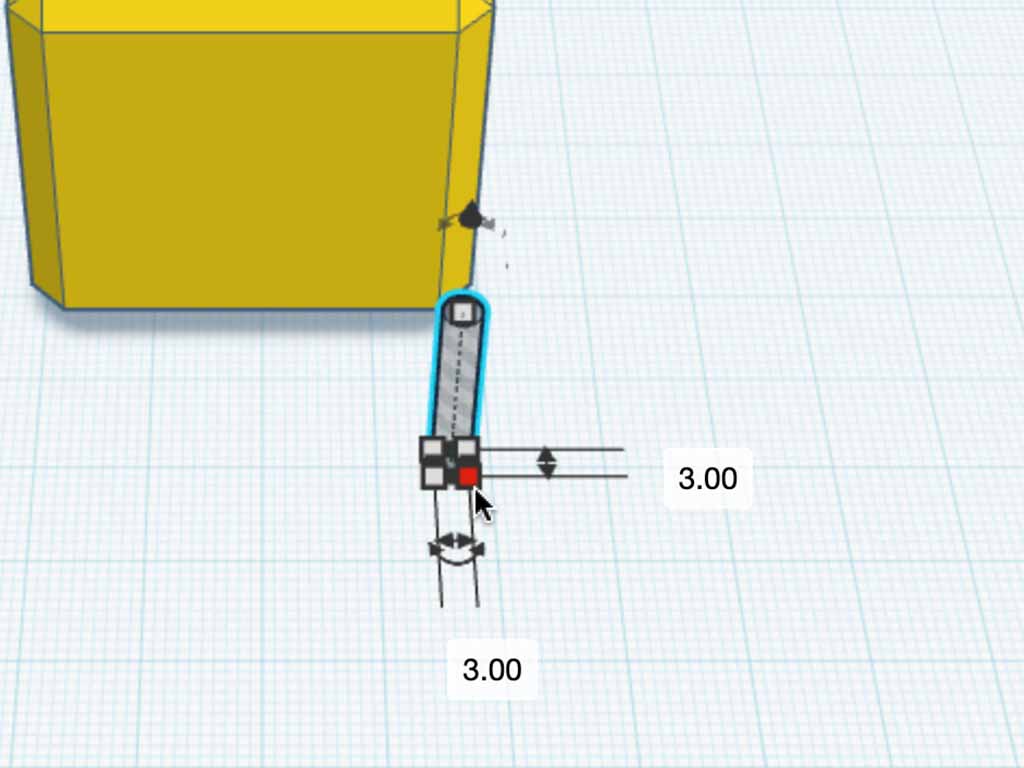
- Drag a cylindrical hole to the workplane.
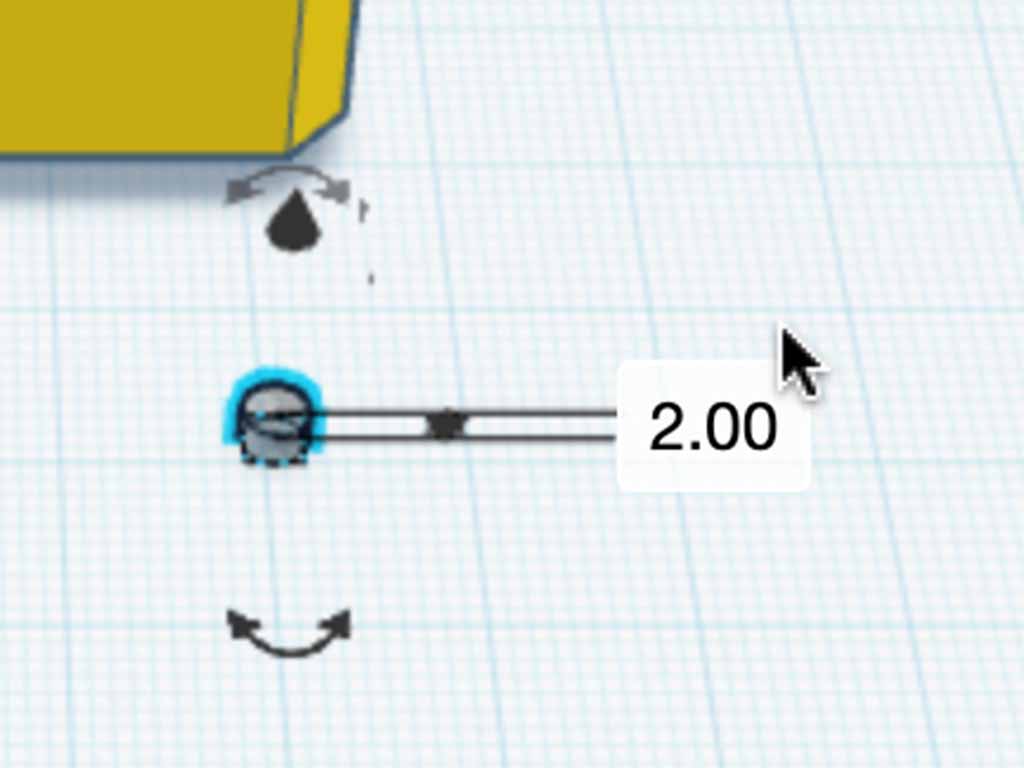
- Set the size to 3 by 3 mm, with a height of 2mm.
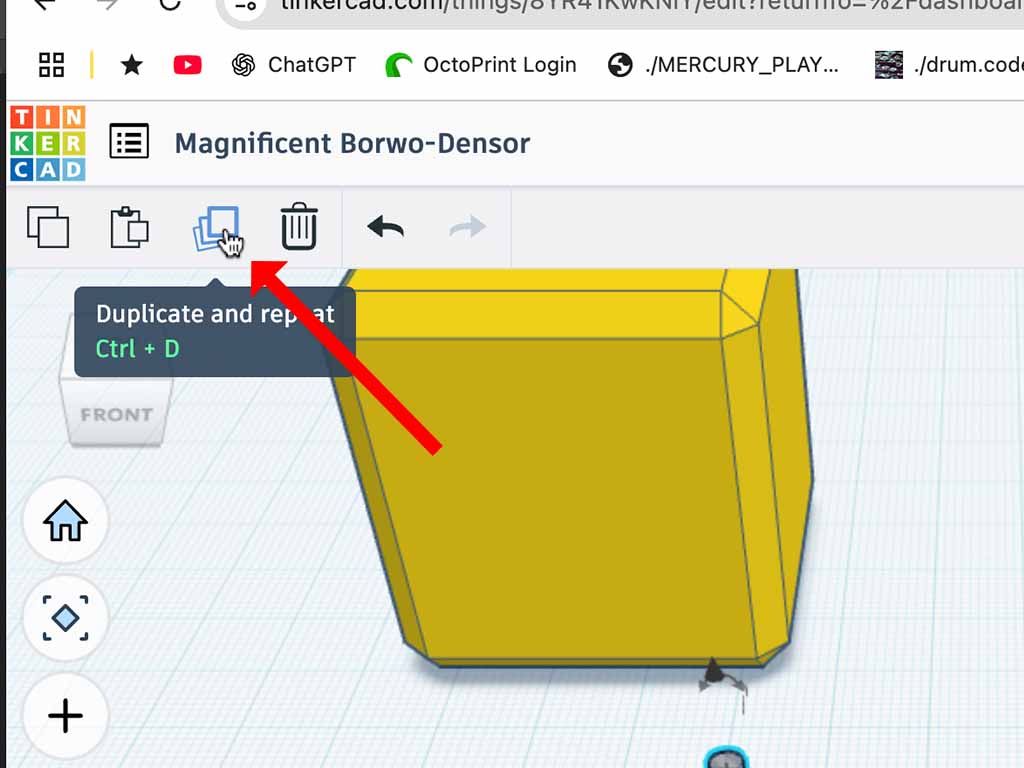
- Select the hole and click the "duplicate" button. This will create a copy of the hole directly over the first one. You may not see the compy untill you move it.
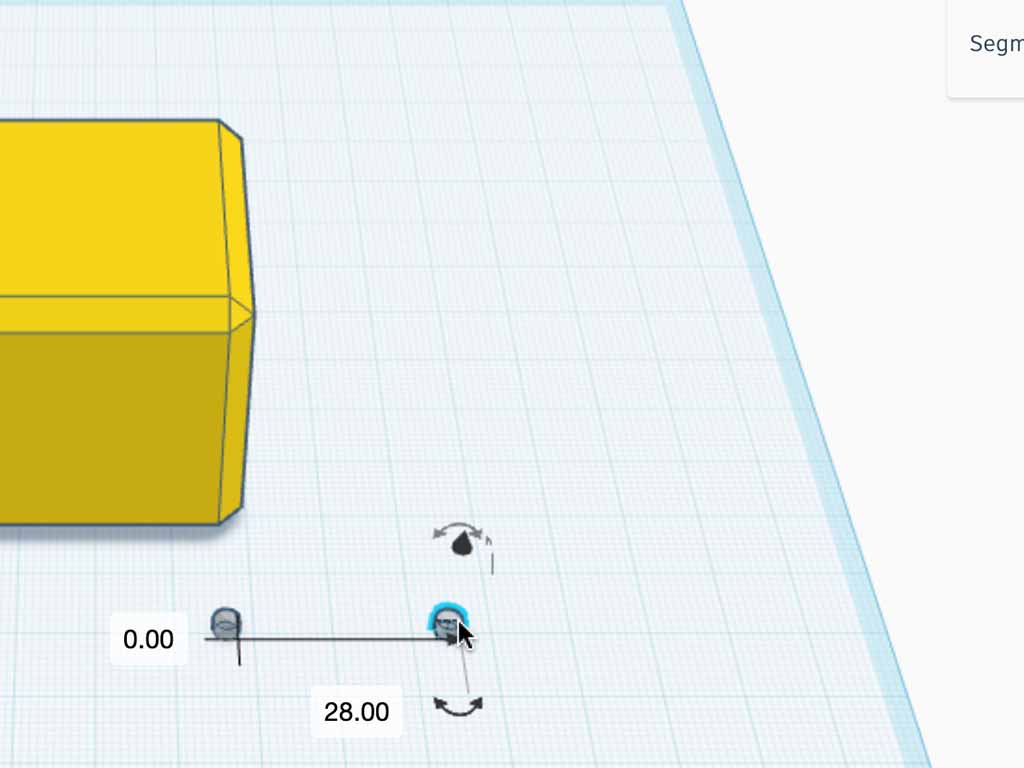
- Using the mouse, drag the copy to the side. Input boxes should appear where you can enter the exact distances to move the hole. Move it 28mm to the side, and 0mm up or down..
- Select both holes by clicking and dragging the mouse to create a selection box around both holes.
- Click "duplicate" again and move the 2 copied holes back 28mm. Make sure to not move them to the left or right.
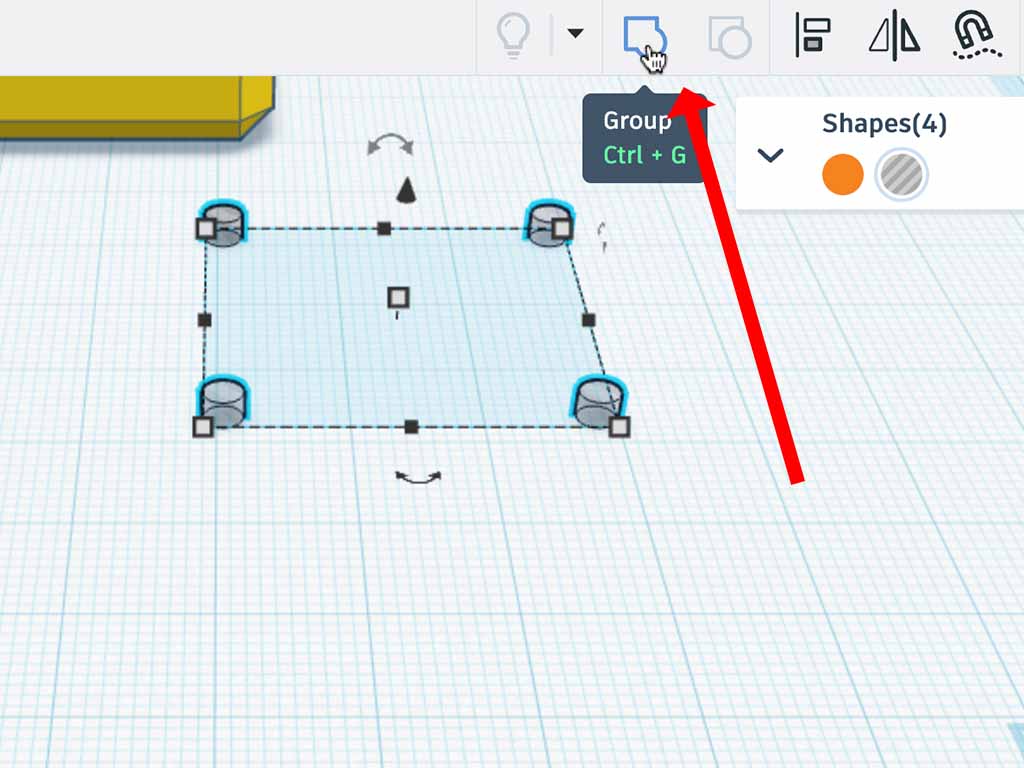
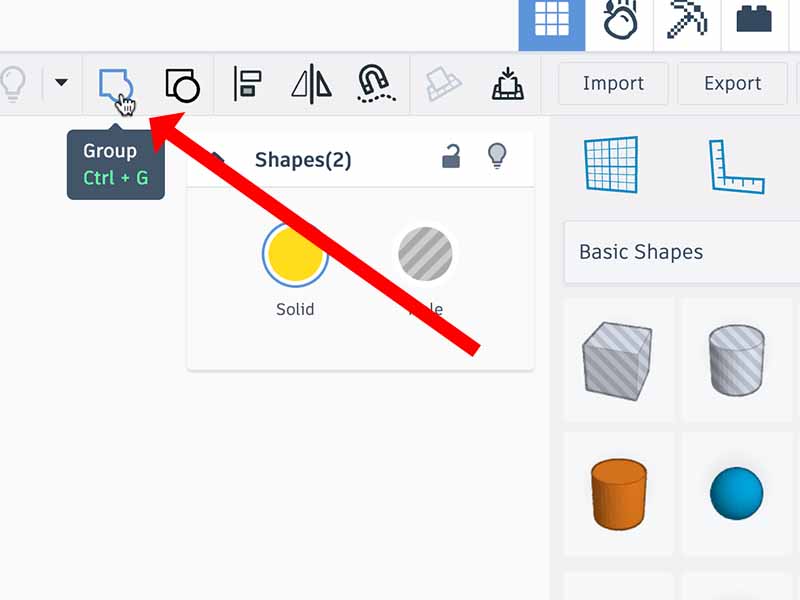
- Select all four holes and group them together using the "Group" button.
step 3 - Duplicating the holes
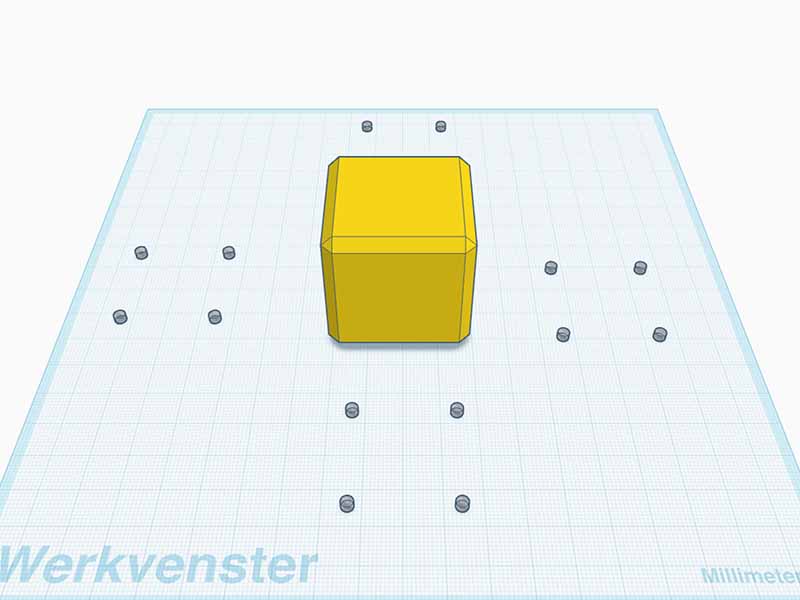
- We need holes on the front, back and both sides. Drag these holes to lay in front of the cube.
- Duplicate them and drag the duplicate to the left of the cube. Repeat for the back and the right.
step 4 - Rotating and aligning the holes
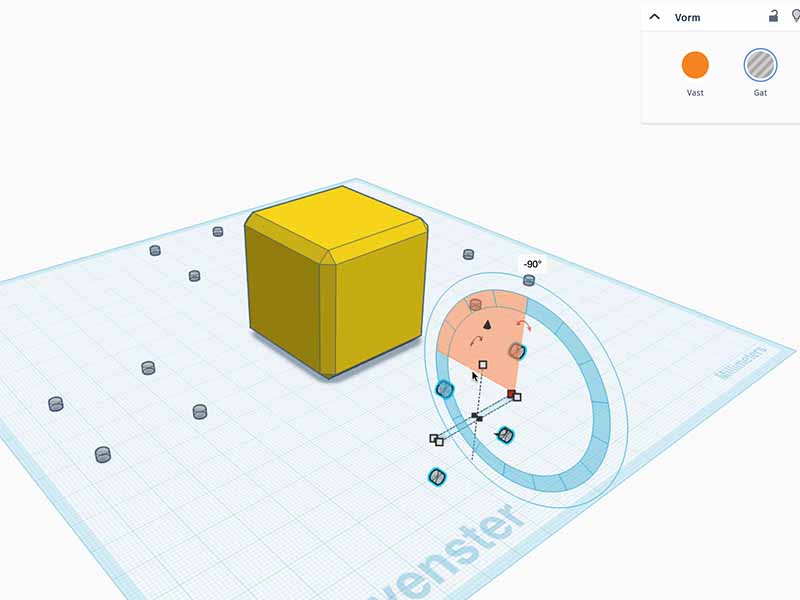

- If you can't see the rotate controls you need, you may need to rotate your workplane by using the right mouse button and dragging your mouse around.
- Rotate the holes in front of the cube 90 degrees so that they can be moved into the front of the cube.
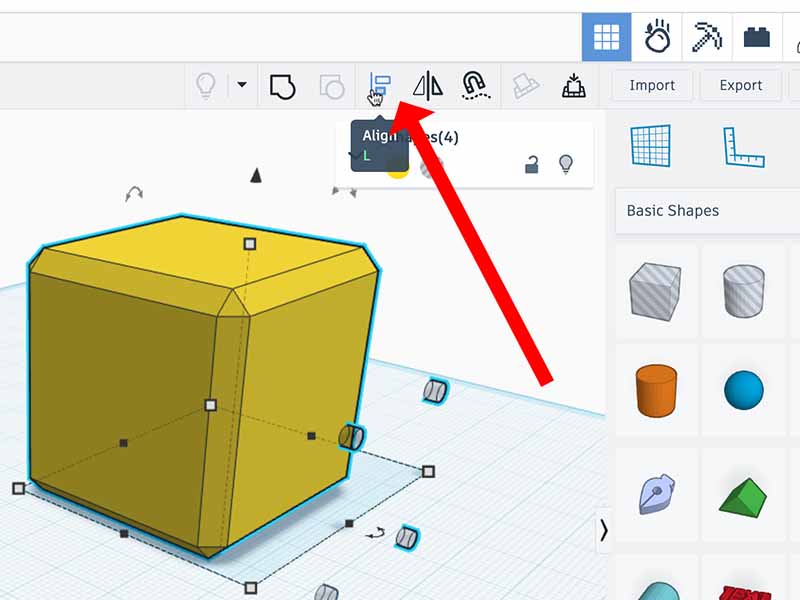
- Select the front holes and the cube together by holding the shift key and clicking both objects. Now click the "align" button.
- Align the holes so they are in the middle of and flush with the front of the cube. You can do this by clicking the circles indicated in the picture..
- With both objects still selected, click the "group" button to combine the block and the holes into one single object.
- Repeat the previous steps for the holes on the left, right and back of the cube.
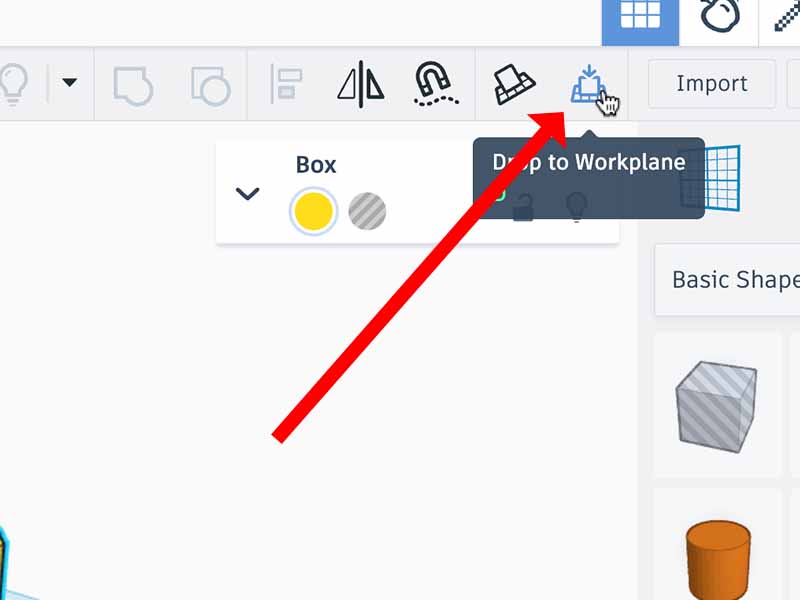
- When all the goles are done, select the cube and click the "drop to workplane" button to get the cube onto the workplane again.
step 5 - Turning it into a box and lid
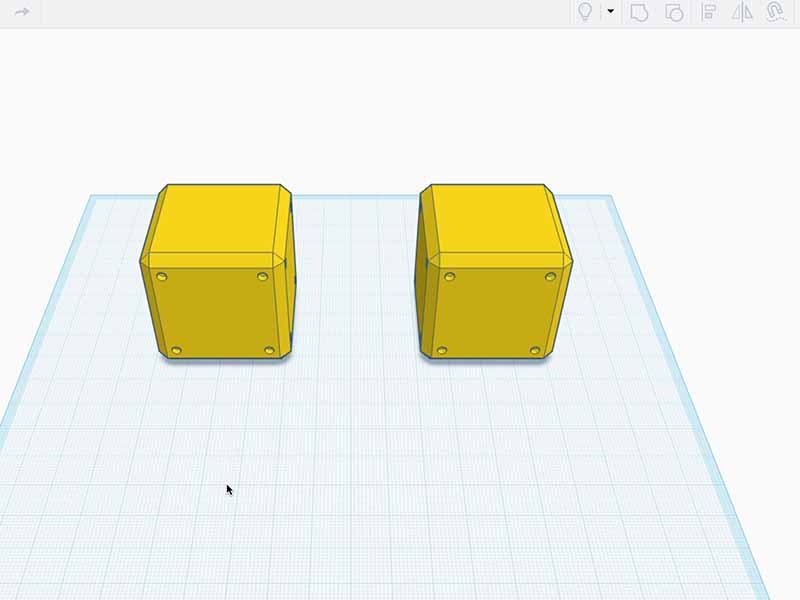
- Click the cube and duplicate it like we have done before. Drag the duplicate to be to the side of the original.
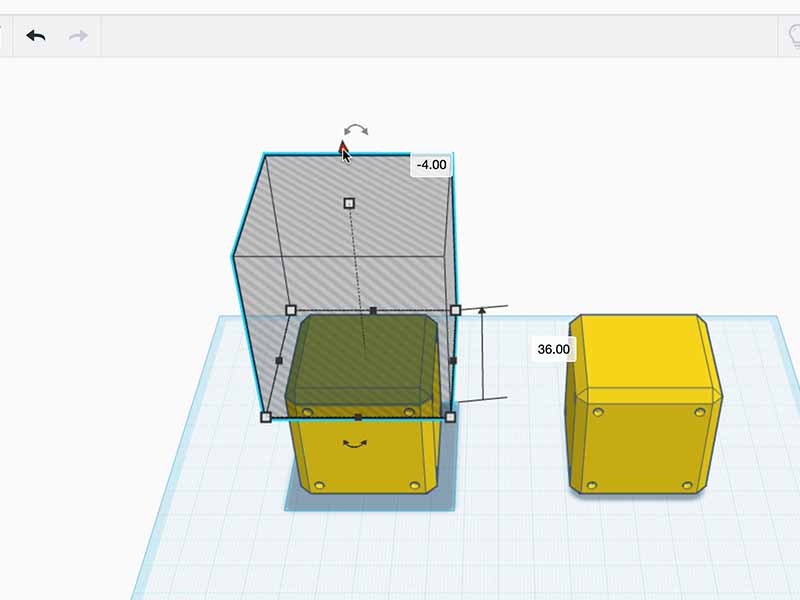
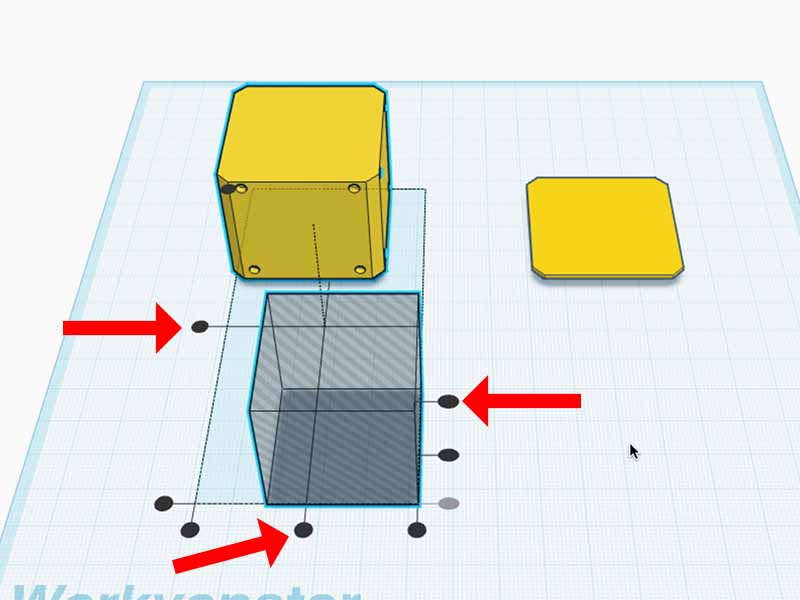
- Place a big "hole box" on top of each of the boxes. Make it big enough so it sticks out on all sides, and make them at least 36mm high.
- Move one of the "hole boxes" down 4mm. Select the cube and the box you just moved and group them together. This should cut off the top of one of the cubes.
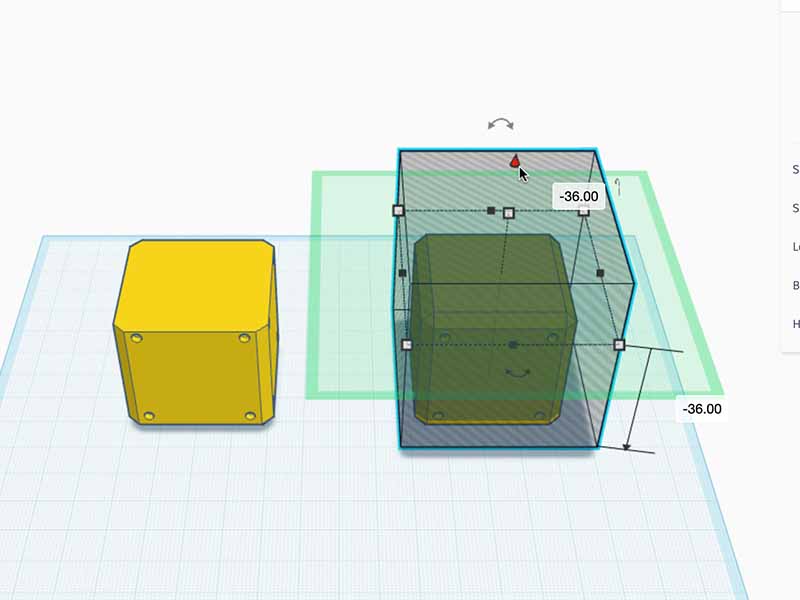
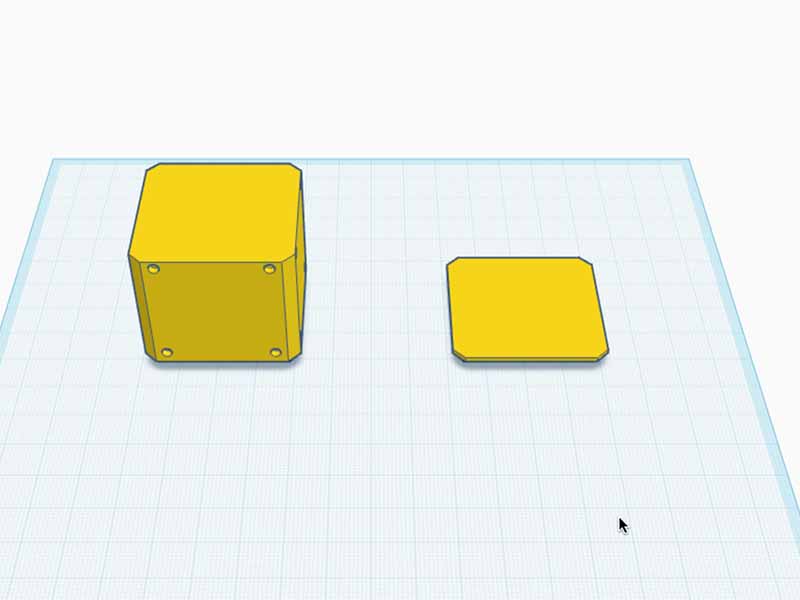
- Do the same for the other cube, but here move the hole down by 36mm. This will become the lid.
step 6 - Holow out the cube
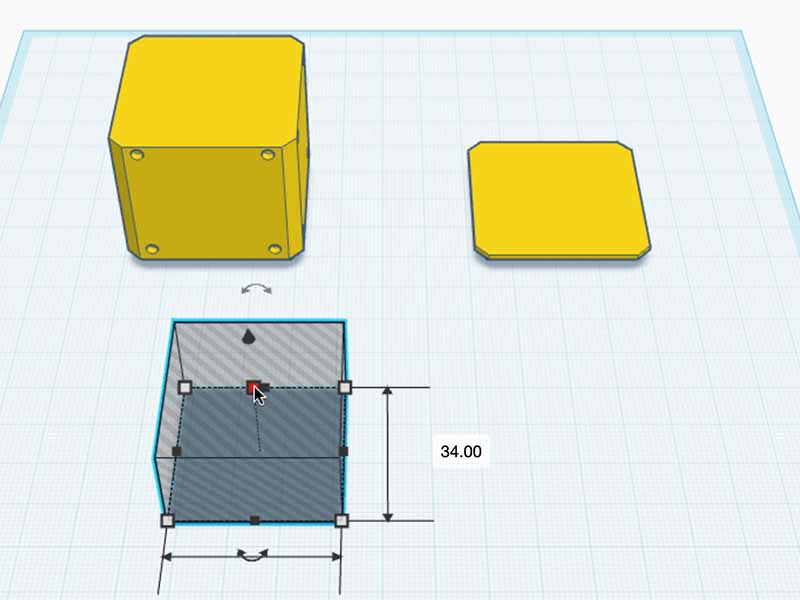
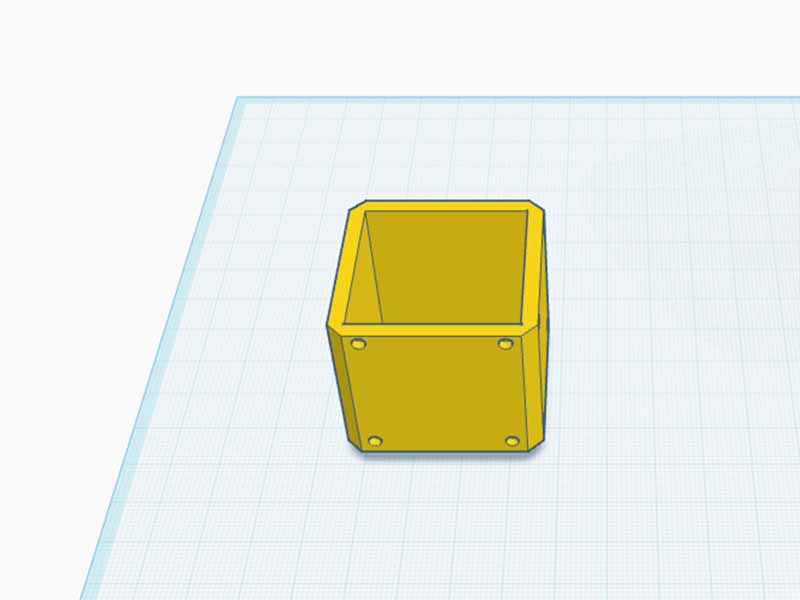
- Place a hole block on top of the tallest cube. Make the hole 34 by 34 mm, and 33mm high.
- Align the hole inside the cube so that it is centered, but flush with the top.
- With the hole and the cube still selected, click the "group" button to merge them together.
step 7 - Finishing the lid
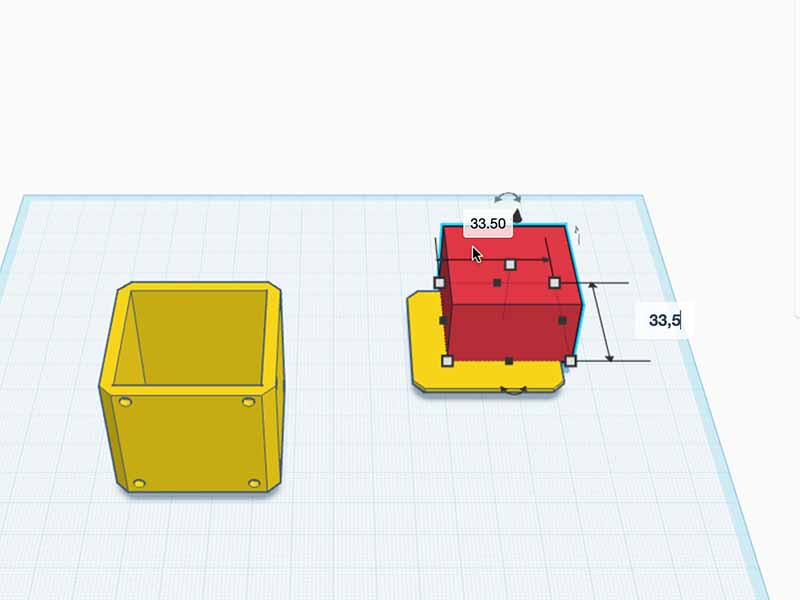
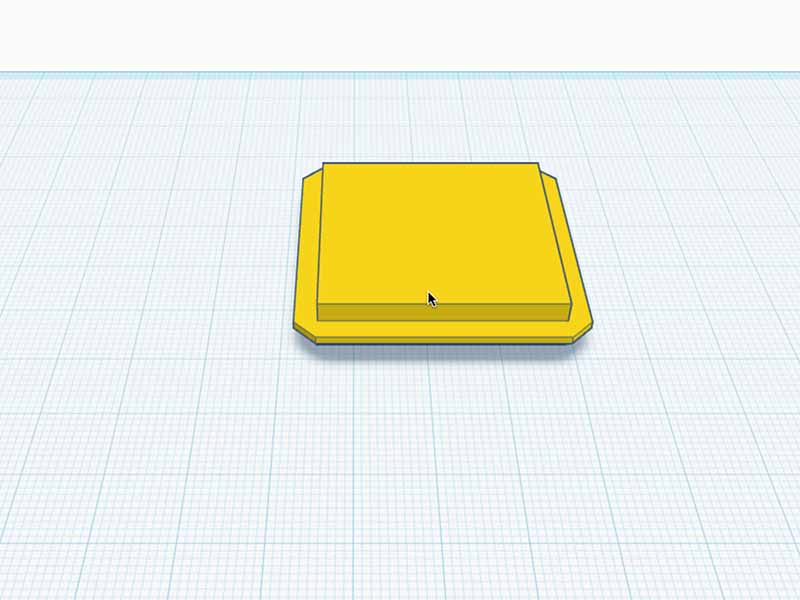
- To make sure the lid wont fall off, we will add a lip that fits inside the hole of the big cube.
- Place a box on top of the lid, and make it 33,5 by 33,5 mm, and 3mm high. This should make it fit nicely inside the hole.
- Align the new block so it is nicely centered on top of the lid, and with both objects still selected click the "group" button once again to merge them together.
step 8 - Holes for the question marks
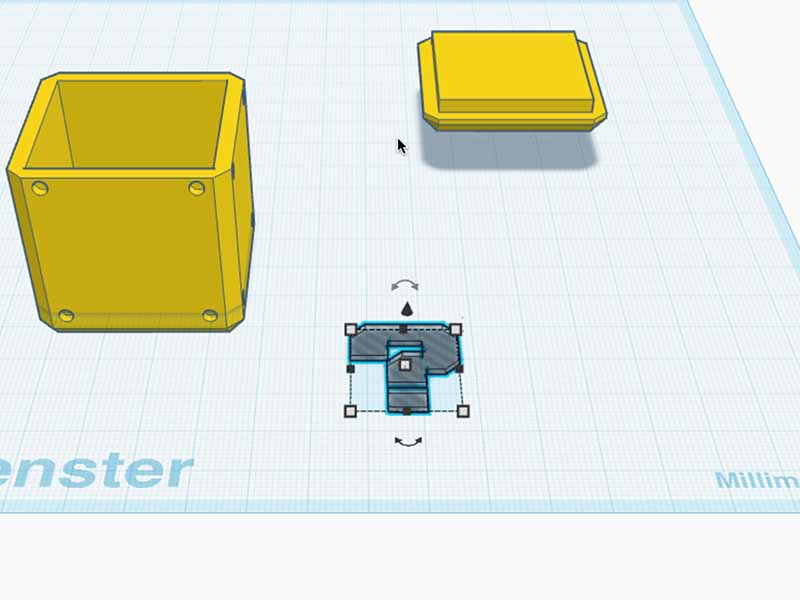
- If you have a multicolor printer you can skip this step. If you have a single color printer, this step will help you align the question marks.
- Click the "import" button. In the dialog opens select "import from url" and paste the following URL: https://makermanuals.com/mario-cube/hole.svg
- A questionmark should appear in the center of the workplane. It could be below the box or the lid, so you may need to move some things around to see it.
- Select the questionmark and change use the property pane to set it to be a hole. Set the height to 1mm.
- Like with the other holes, we need one for each side. So duplicate the question marks and move them around the cube.
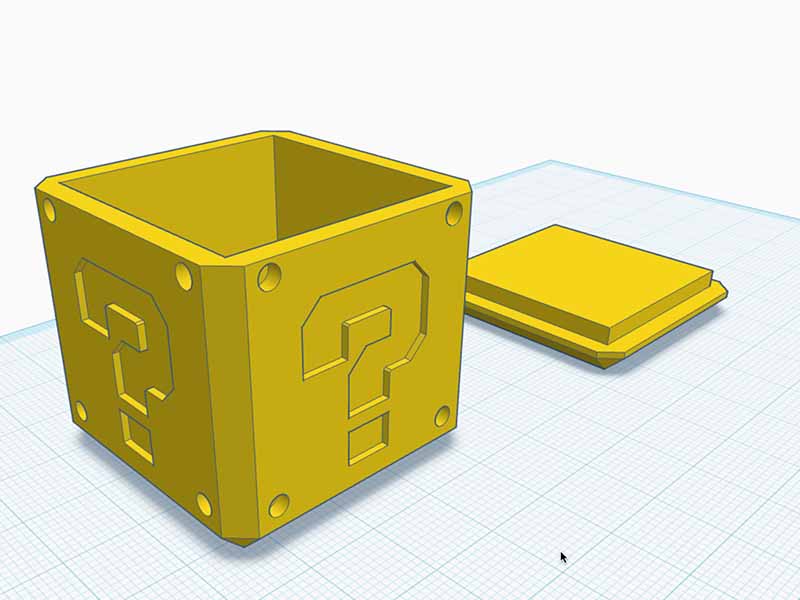
- Like before, rotate and align and group the questionmarks with the cube so they are in the middle of each side.
- When all holes are placed, select the cube and click "drop to Workplane".
step 9 - The white question marks
- If you have a multi-color 3D-printer, you can move the white questionmarks from this step to the center of each side of the cube. Push the questionmarks into the cube so that about half a millimeter sticks out.
- Click the "import" button. In the dialog opens select "import from url" and paste the following URL: https://makermanuals.com/mario-cube/questionmark.svg
- Again, a questionmark should appear in the center of the workplane. It could be below the box or the lid, so you may need to move some things around to see it.
- Select the questionmark and use the property pane to set the color to white and the height to 1,5mm.
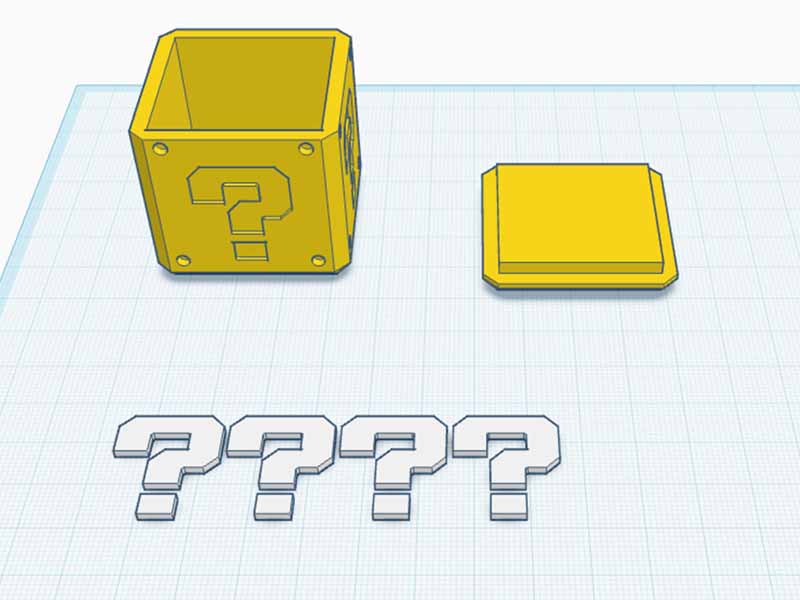
- We need a questionmark for each side, so duplicate and arrange them so you end up with a row of 4 questionmarks.
- Since we will be printing the question marks separately, we will not place them in the cube but leave them laying flat.
step 10 - Export and print

- For multicolor printers: Select the cube with the white questionmarks in it and click "export". Select ".OBJ" as the file format and export it to your computer.
- For a single color printer: Place the cube and the lid close together. Select both of them and click "export". Select ".OBJ" as the file format and export them to your computer.
- Do the same for the questionmarks. Place them close together, and export them to your computer.
step 11 - Print and glue
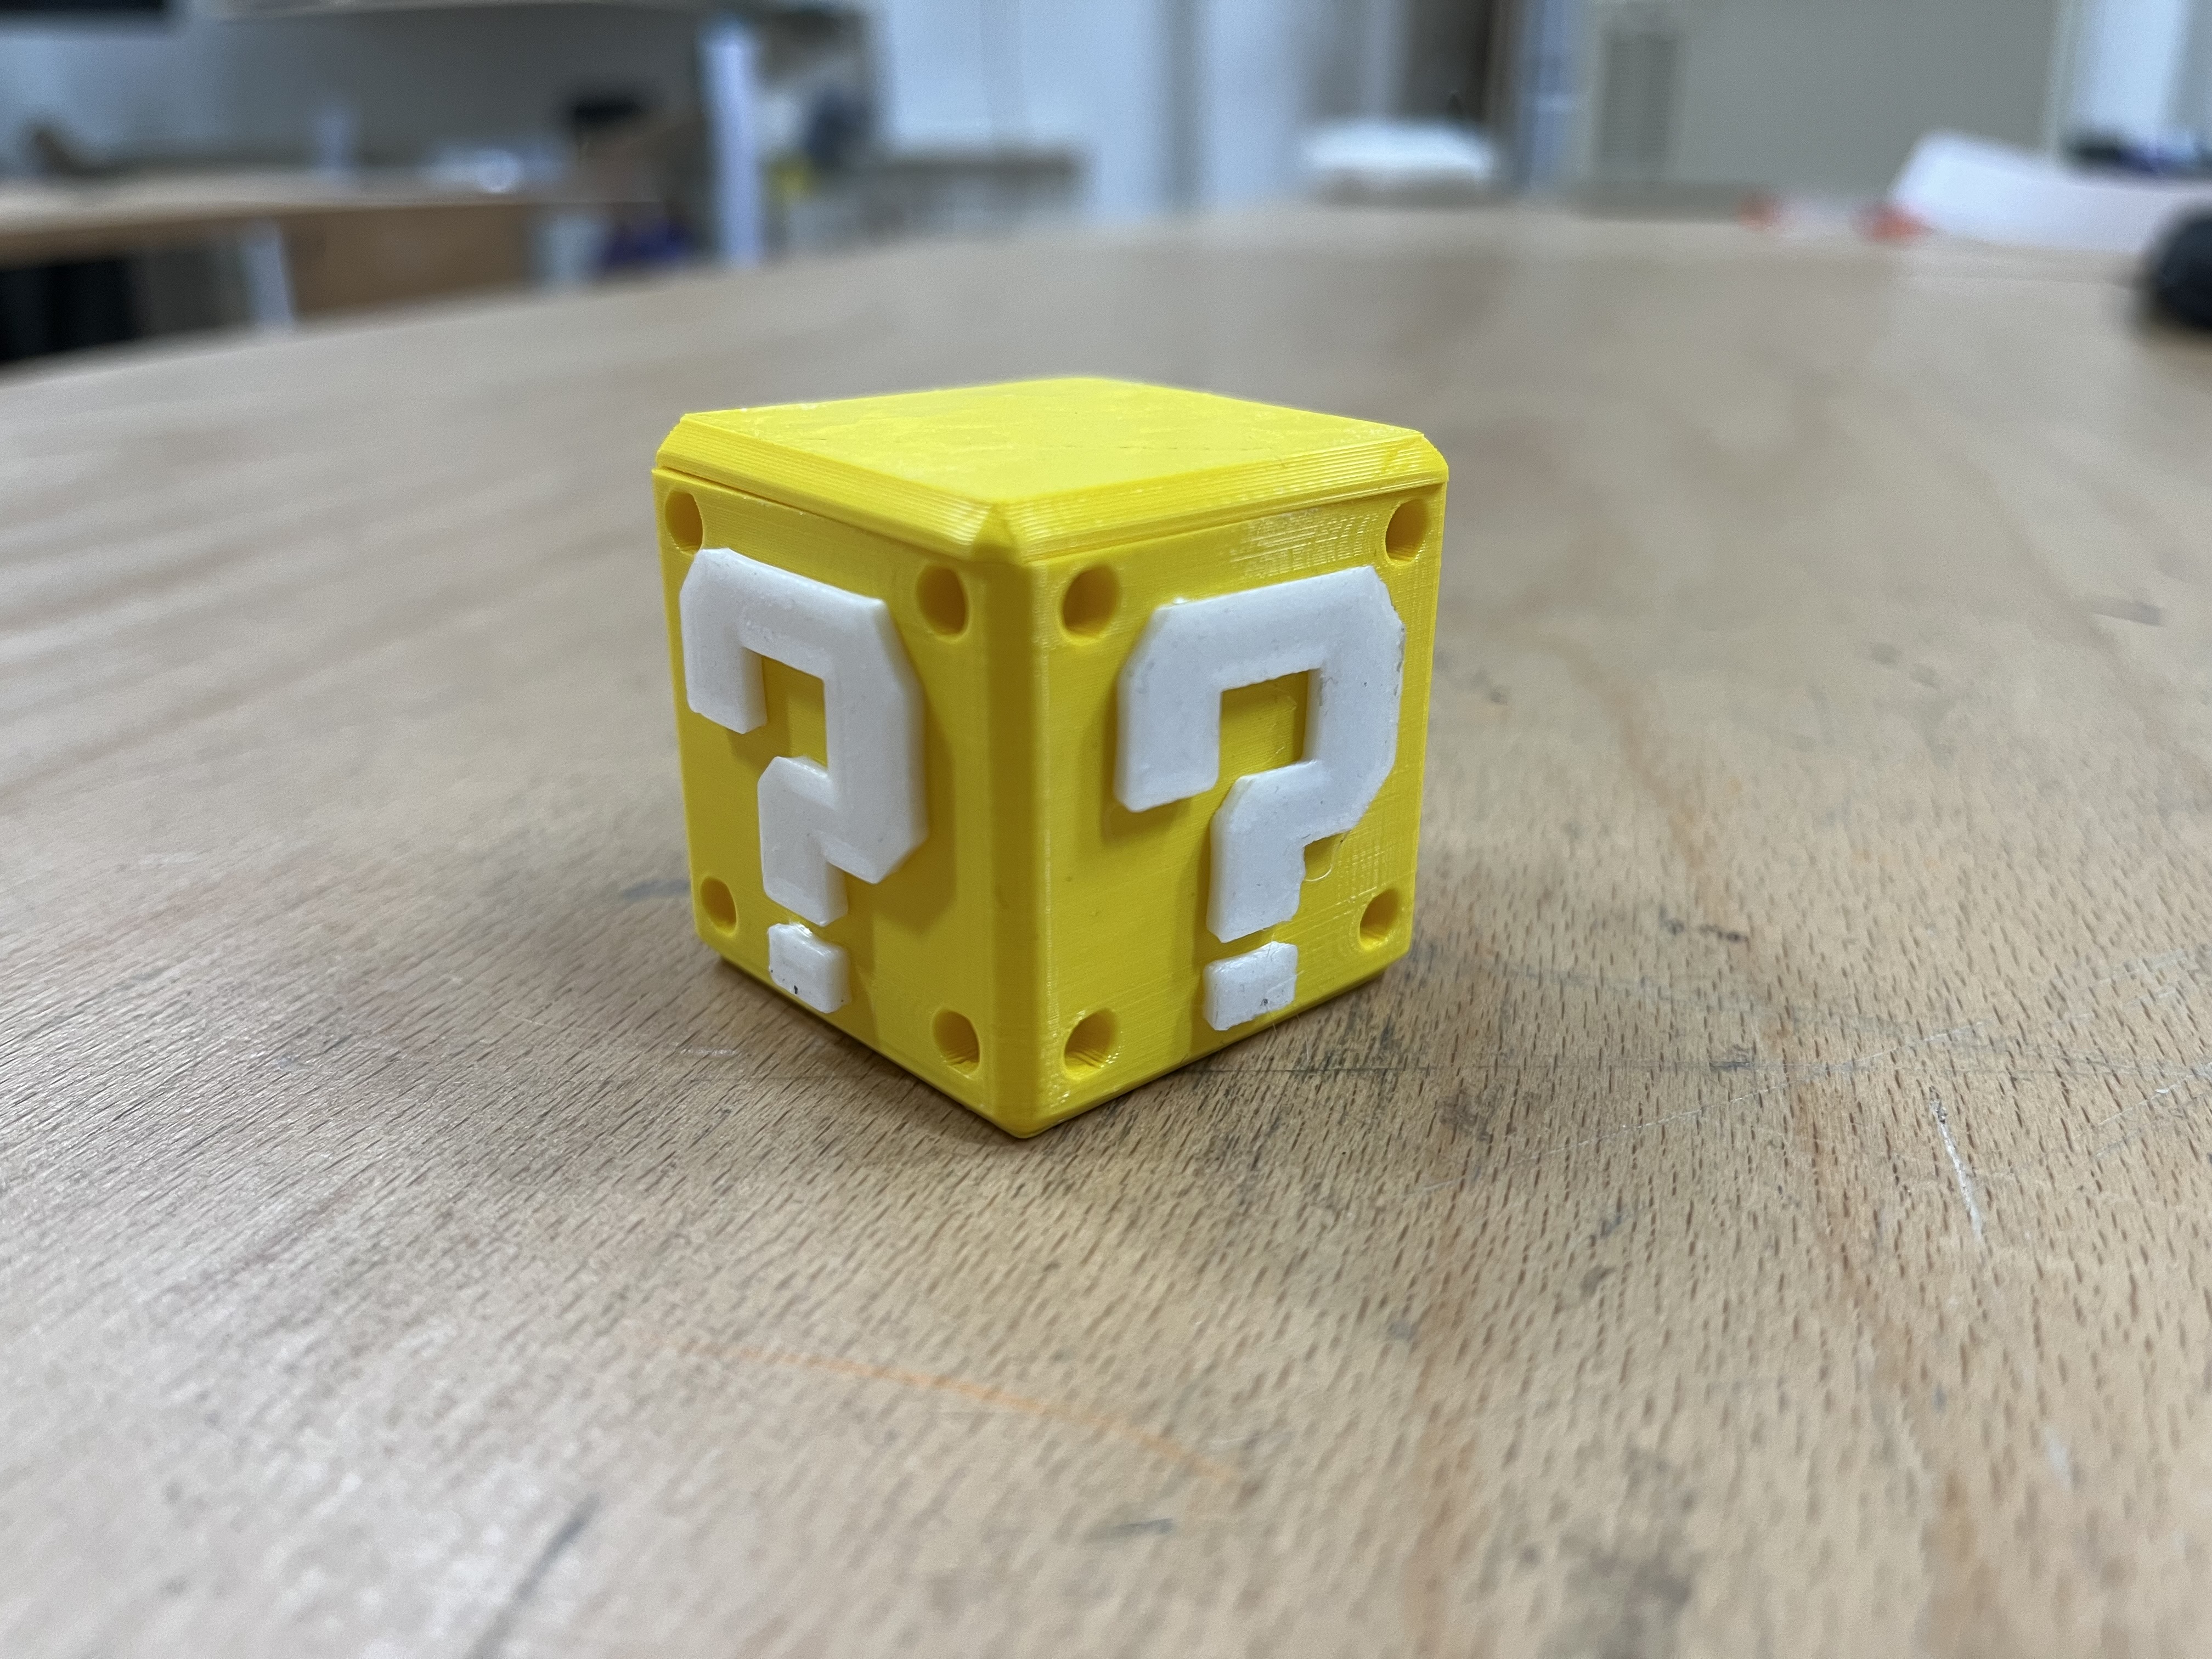
- For multicolor printers: Print your model and you're done!
- For a single color printer: Print the separate parts in the correct colors, glue them together and you're done!