Light up card
duration: 30 - 45 minutes
age: from 7 years
Make a post card that lights up.

tools
- scissors
- glue stick (optional)
- markers / pencils
- hole punch
- hammer
materials
- paper
- copper tape
- LED's
- coin cell (like a 2032)
downloads
step 1 - The card
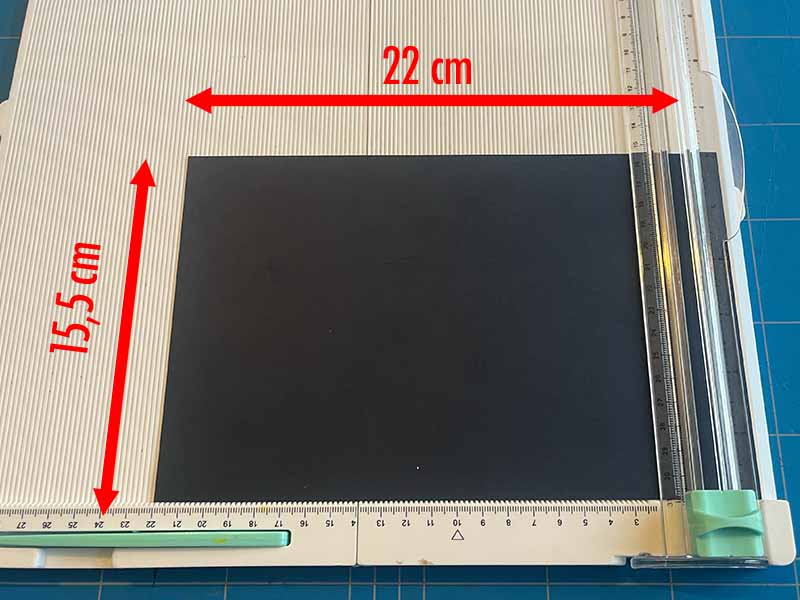
- Cut your card to size. I used an A4 sheet of paper cut in half.
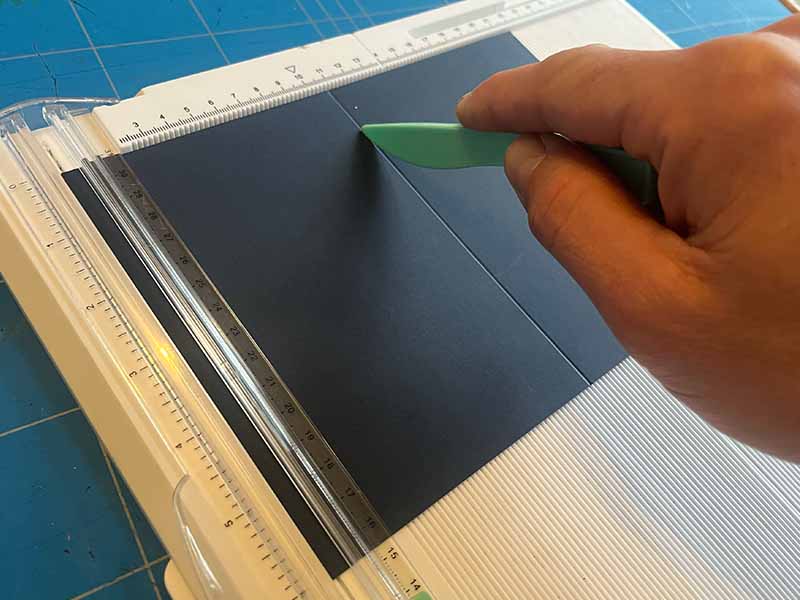
- Fold the paper in half.
- Fold the inside corner back. This will become your light switch later on.
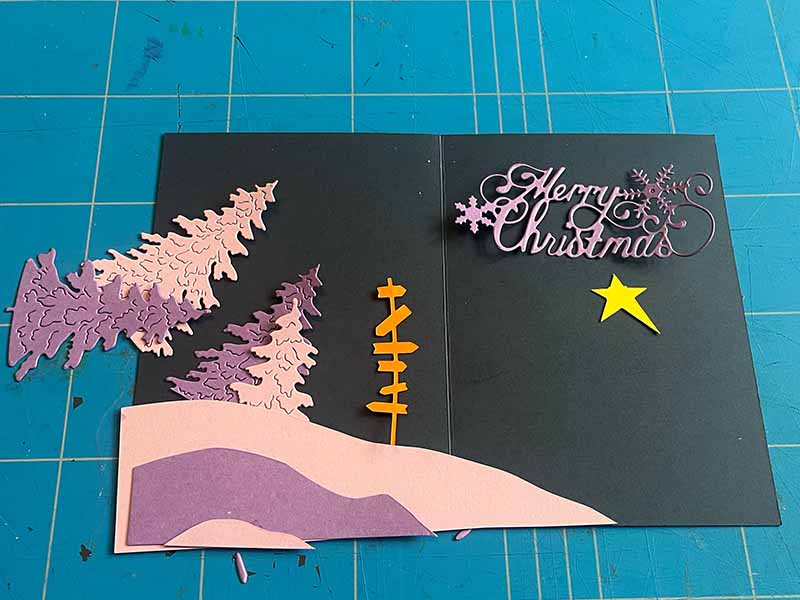
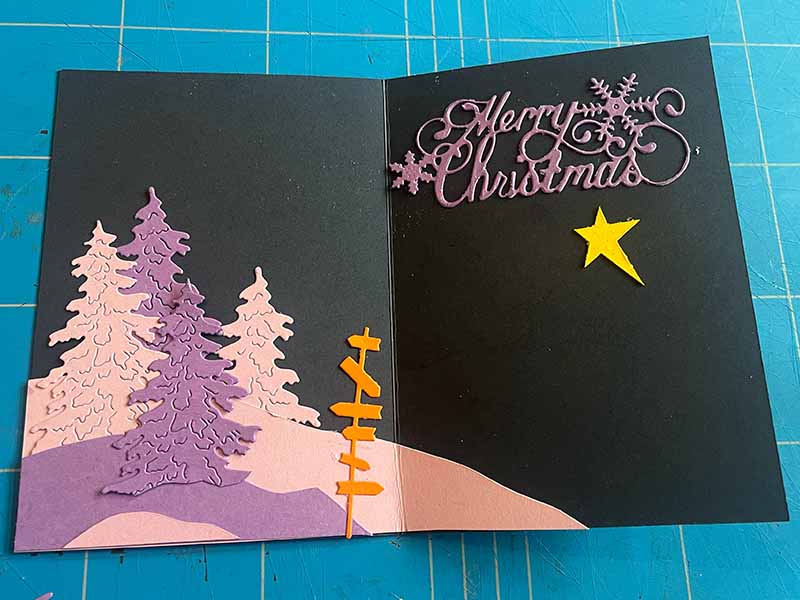
step 2 - Decorate
- Decorate your card. While decorating keep in mind where you might want to put your lights later on.
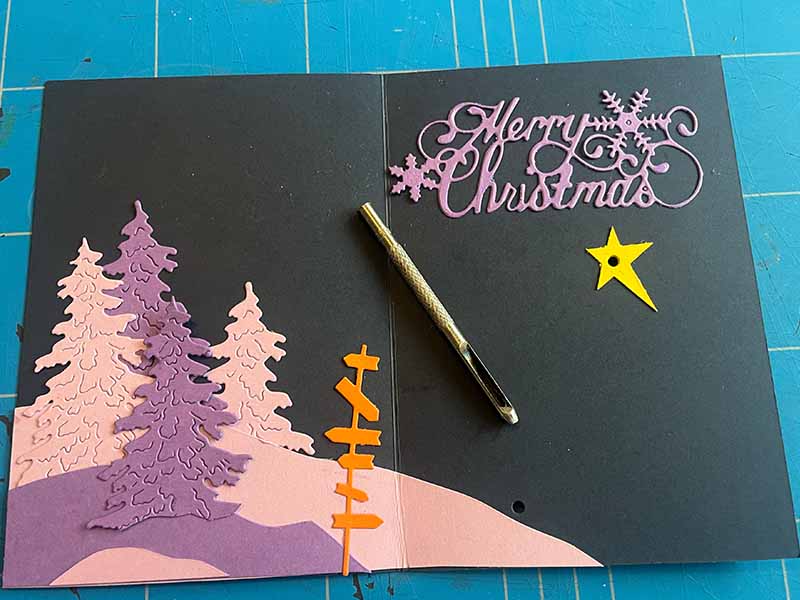
step 3 - Punch holes
- Using the hole punch, make some holes in the paper where you want your lights to come.
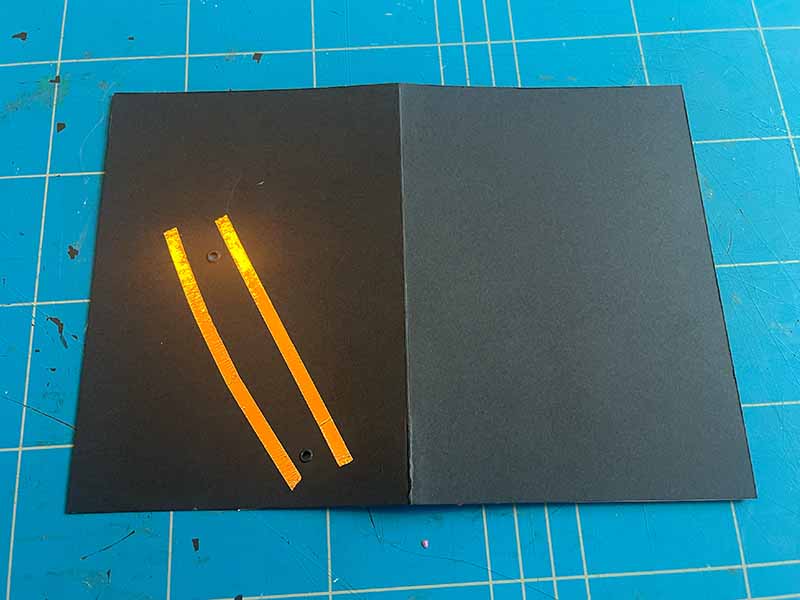
step 4 - The circuit
- When using copper tape, do not cut the tape when you want to make a corner. You must fold it so that it goes around the corner without breaking it. Electricity cant flow properly when you make a cut.
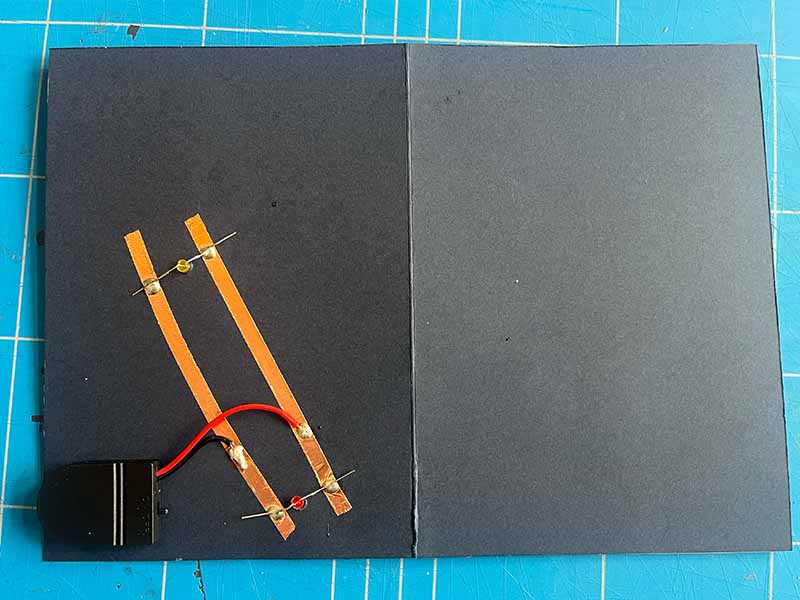
- On the back of the card, use copper tape to create a pats from either side of the holes to the corner as shown in the picture.
- Make sure you pass by both sides of each hole you made.
step 5 - The LED's
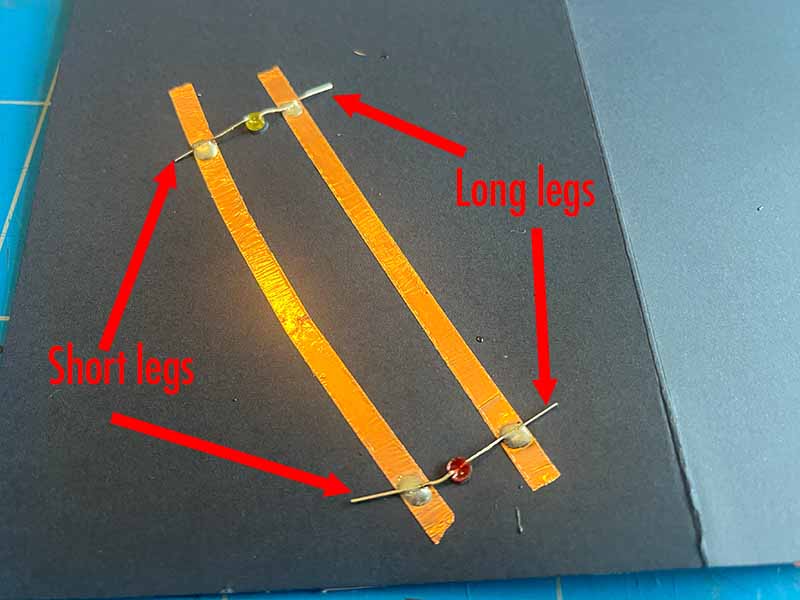
- LED's have one leg that is slightly longer. This should be attached to the + side of the battery.
- Place the LED's trough the holes and bend the legs so that they touch the copper tape. Make sure all the long legs are attached to the same path of copper tape.
- You can use some additional tape to make sure the legs are pressed down onto the tape you added before.
step 6 - The battery
- A coin cell may look innocent, but can cause a lot of harm when swallowed. Make sure very small kids can not get to the battery.
- Place the coin cell with its + side on the card as shown in the picture.
- Use some tape to stick it down. Pay attention to not fully cover the top.
step 7 - Test
- When you fold over the corner, the electricity can flow trough the coppertape and trough the LED's.