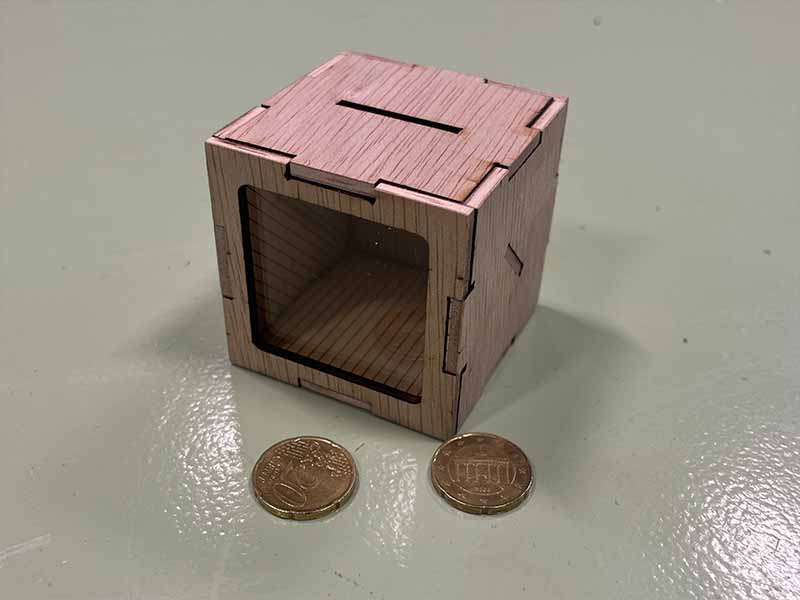
Magic Money Box
duration: 15 - 30 minutes
age: from 6 years
A money box with a magical twist!
tools
- Laser cutter
- small brush or cotton bud
- sandpaper
- small file
materials
- wood, 1/8 inch thick (=3mm)
- thin self adhesive mirror sheet
- thin 1/16 inch plexiglass (=2mm)
- wood glue
- electrical insulation tape
downloads
step 1 - Cut the wood
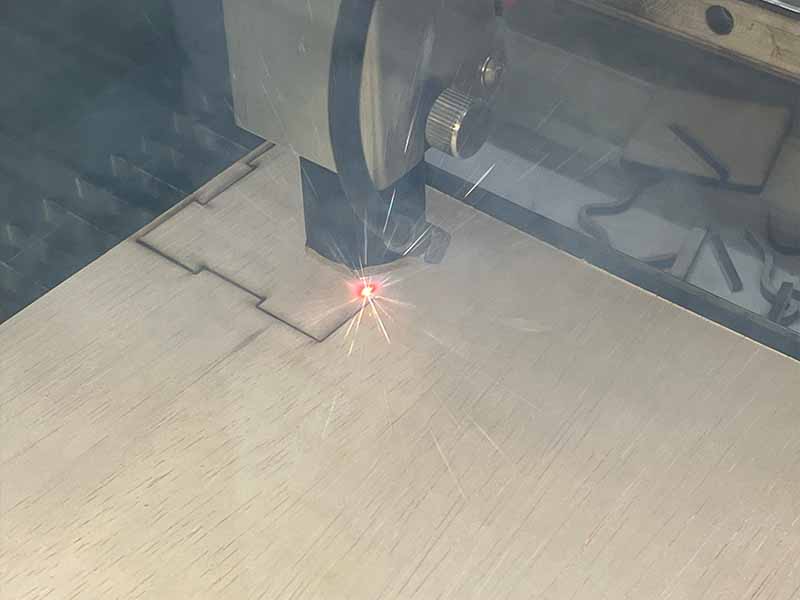
- Download the template and load it into your laser program (e.g., Lightburn).
- Add your own drawings to the design if you want. You can only add drawings to the outside.
- Use the laser cutter to cut the wood, mirror, and plexiglass.
step 2 - Sanding
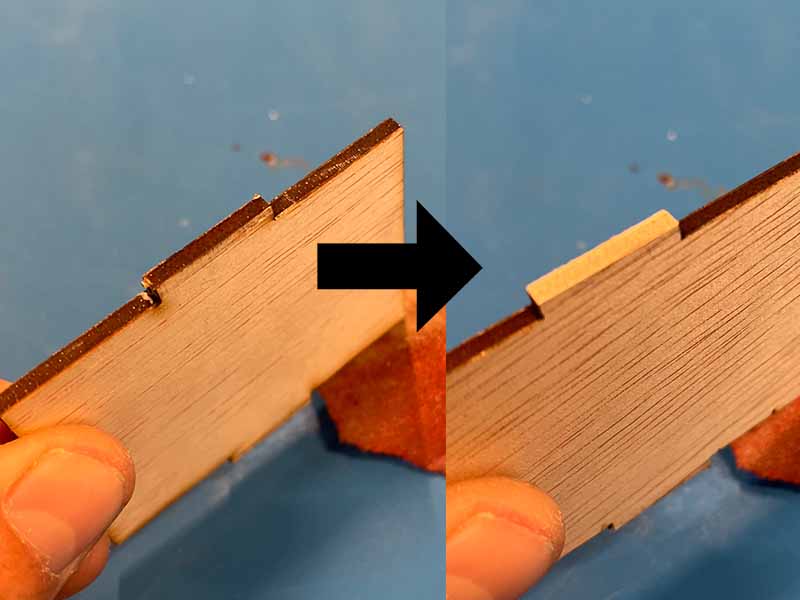
- Sand the burn marks off the extended pieces of the wood. They will be visible when you assemble the box.
step 3 - Dry fit
- Before gluing, do a dry fit to ensure everything fits together nicely.
- If the parts don't fit well, use sandpaper or a file to make them fit better.
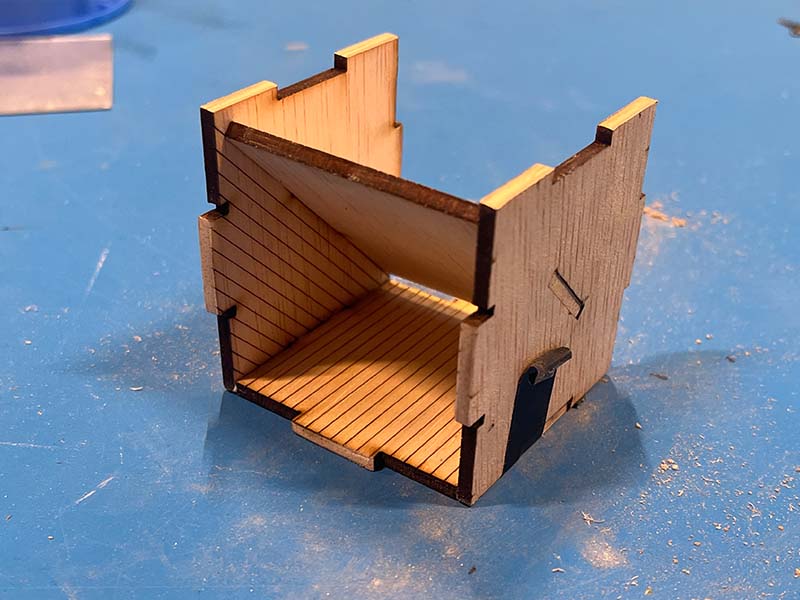
step 4 - Assemble the box
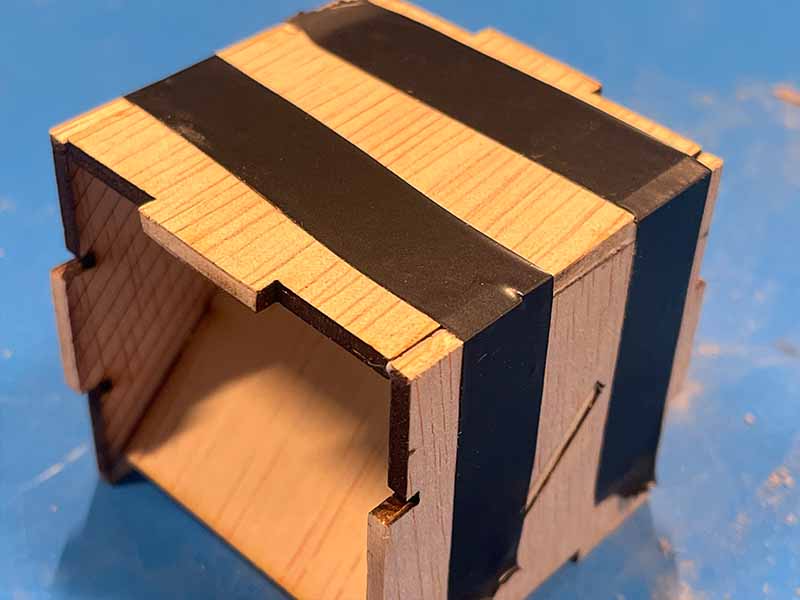
- You will glue the box together. Make sure not to glue the top. You will never be able to get your money out if you do.
- You can use electrical insulation tape to keep your box together as the glue dries. Electrical insulation tape comes off easily and does not leave any marks.
- Use some wood glue and a small brush or a cotton tip to glue the parts together.
- First, attach the slanted part to the sides. Make sure the sides with the lines all face each other.
- Now glue the bottom and the back.
step 5 - The mirror
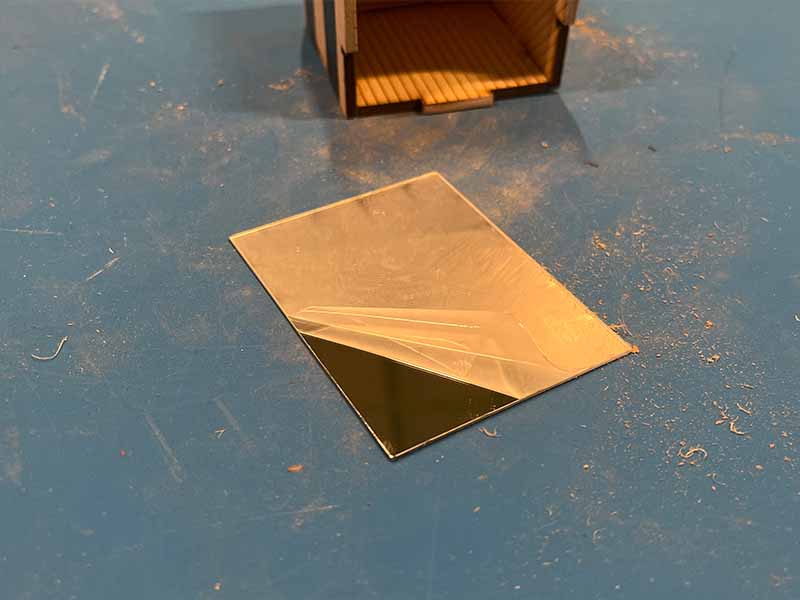
- For a good illusion the mirror needs to be clean. Its a good idea to wash your hands before continuing.
- Peel the protective layer off the mirror.
- Peel the backing off the adhesive layer.
- Attach the mirror to the slanted part so that it touches the bottom of the box.
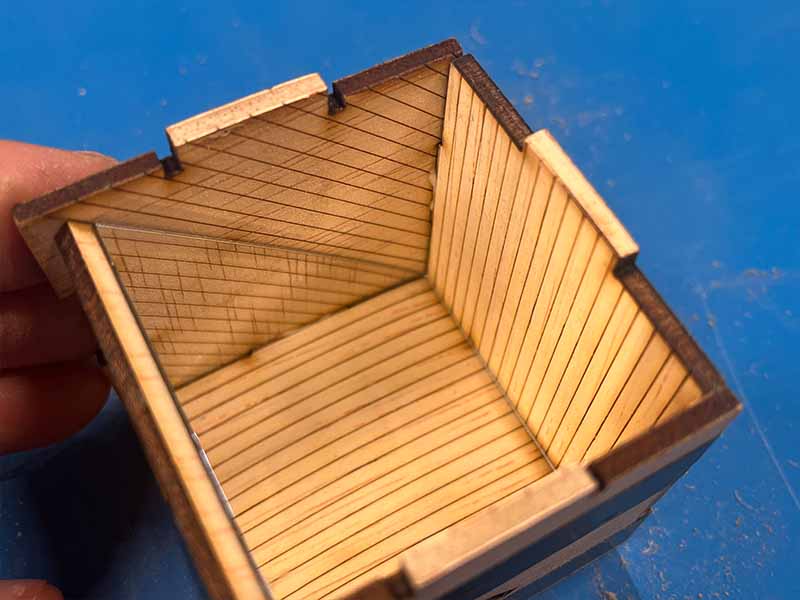
step 6 - The front

- Try to keep the plexiglass as clean as possible, you won't be able to clean the inside once the box is glued.
- Peel the protective layer off the plexiglass.
- Slot it into the cutouts of your box, don't use exessive force as the notches are thin and fragile.
- Finally glue the wooden front onto the box.
step 7 - Final steps!

- Once the glue has dried, remove the electrical insulation tape.
- Place the lid on top. Don't glue it!
- Test your money box with a coin and see who you can fool.