Triangle robot walker
duration: 30 - 45 minutes
age: from 9 years
Make a triangular robot walker
tools
- laser-cutter
- soldering iron
- hobby knife
- flush cutters
- drill
- 3mm drill bit
- pliers
materials
- 3mm plyboard
- wooden skewers
- wood glue
- paper tape
- geared motor
- candle wax
- elastic band
- 2 AAA battery holder with switch
- 2 AAA batteries
downloads
step 1 - Cut the wood
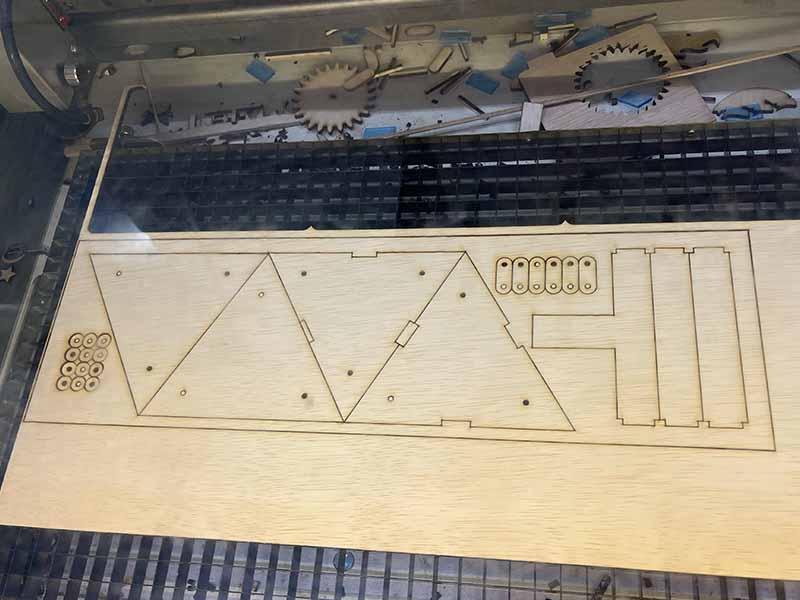
- Use the laser cutter to cut out the wood.
step 2 - Apply wax
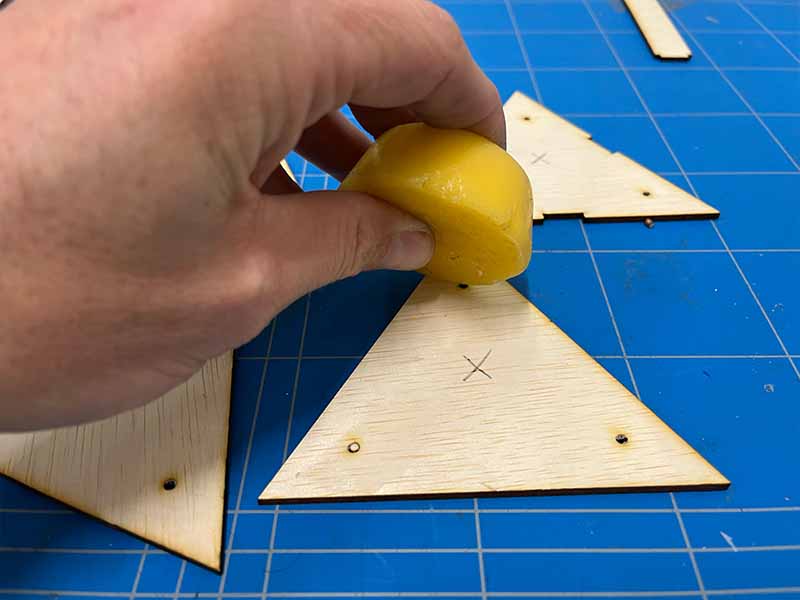
- Apply some wax around each hole on the big triangle pieces. Do this on both sides.
step 3 - Assemble the frame
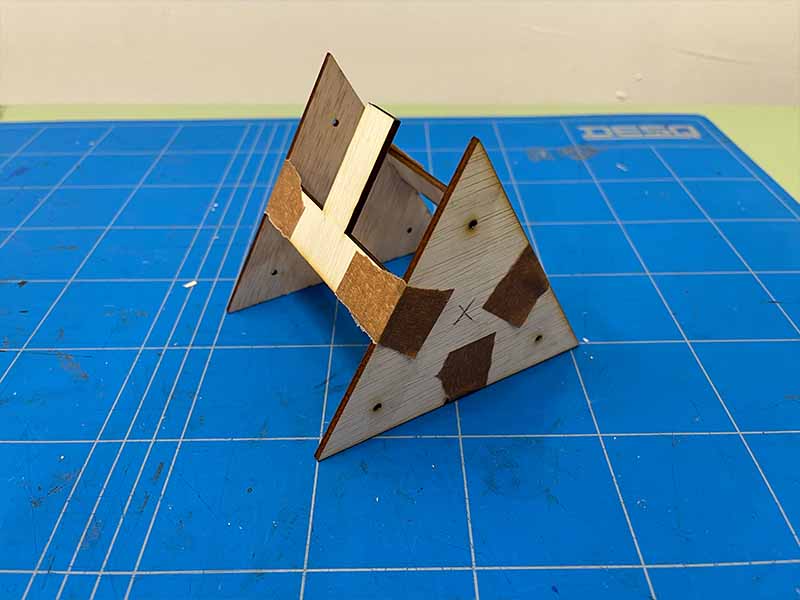
- Glue the frame together. You can use some paper tape to keep the frame together while the glue dries.
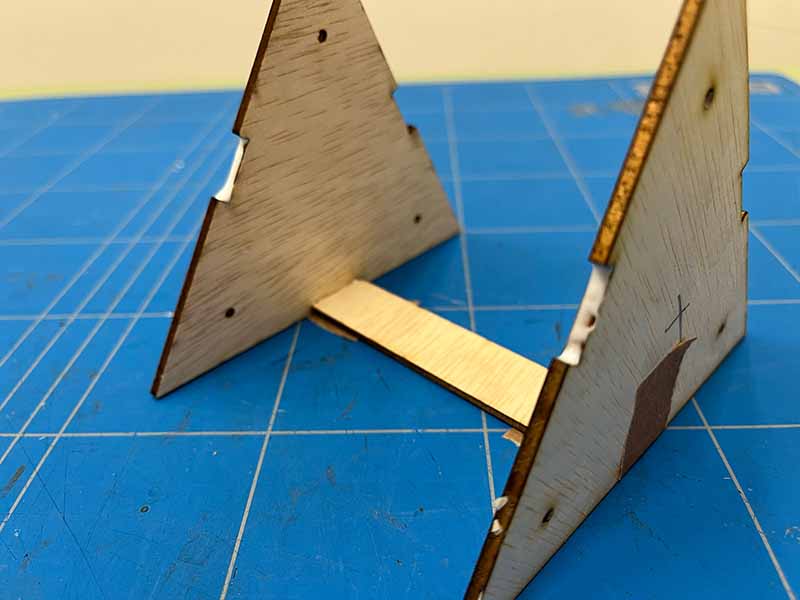
step 4 - Assemble the axles
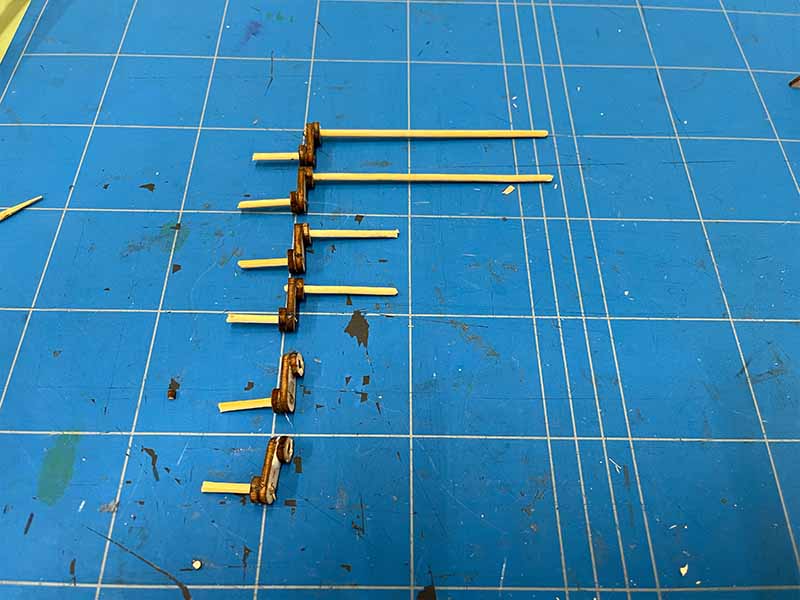
- When cutting the skewers, use a hobby knife and roll it over the skewers to create a cleaner cut. If you use side cutters, you will probably squash the ends where you cut.
- Cut 6 skewer pieces of 2cm
- Cut 2 skewer pieces of 4,5cm
- Cut 2 skewer pieces of 11,5cm
- Glue the parts together as shown on the picture.
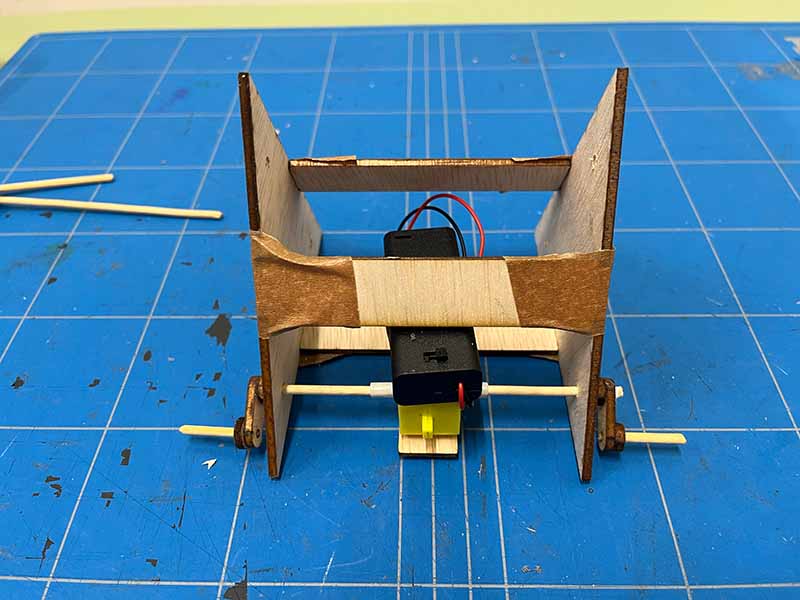
step 5 - The motor
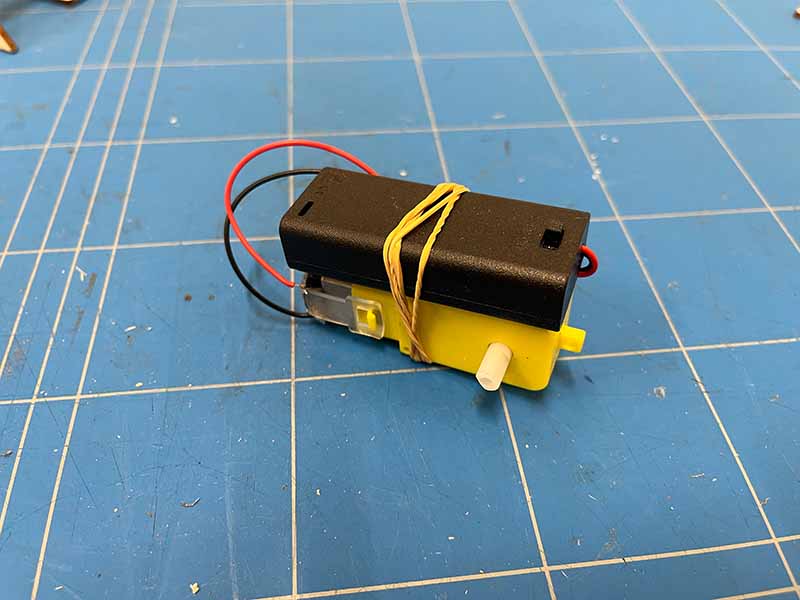
- Drill out the axle holes of the motor. Hold the axle with the pliers so it wont turn.
- Solder the leads to the terminals on the motor.
- Add batteries and test if it will turn on.
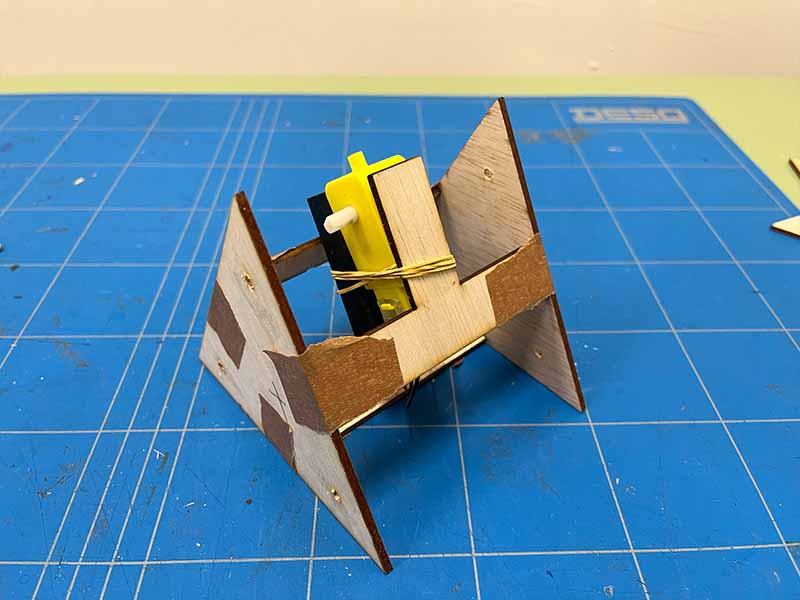
- Use the elastic band to attach the motor to the battery pack
- Attach the motor and battery pack to the frame. Make sure the holes align with the axle.
step 6 - Add the axles
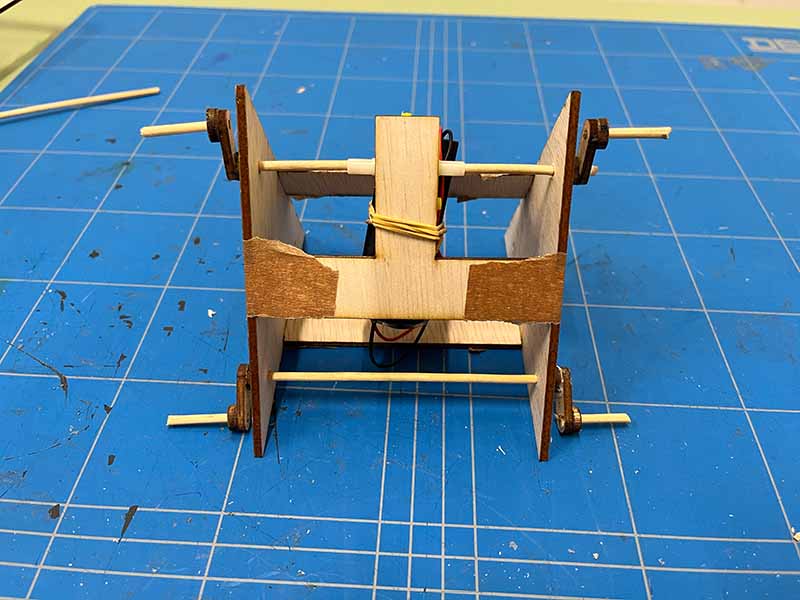
- Add the axles to the frame. Make sure the arms on the end of the skewers are aligned the same way. You can do this by pressing them on the table to align them.
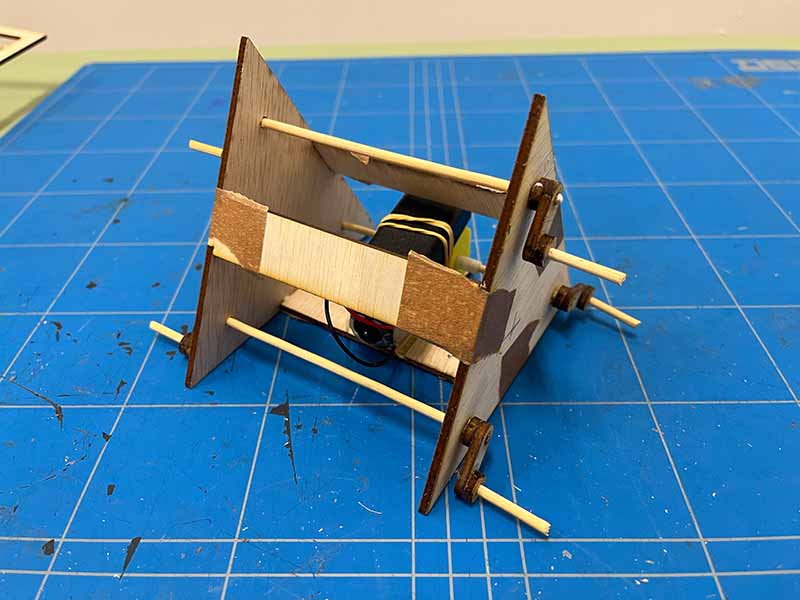
step 7 - Add the outer plates

- Add the outer plates. Fix them in place with one of the wooden washers. Make sure not to glue the washer to the plate!
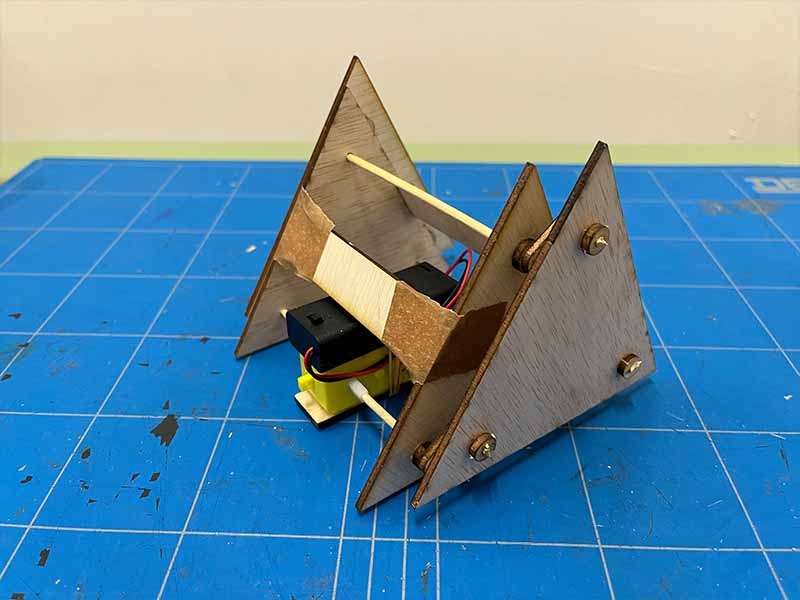
step 8 - All done!

- Your walker frame is done. You can expand on the design by adding parts to make it look even cooler!