Wheel of fortune
duration: 30 - 60 minutes
age: from 7 years
Make a bettery powered wheel of fortune

tools
- Laser cutter
- Soldering iron
- Wire cutters
- Wire strippers
- colored markers
- small file
- glue gun
materials
- Plywood, 1/8" (3mm) thick
- woodglue
- soldering wire
- AA or AAA battery holder
- Battery
- DC motor (reclaimed from an old cd player or similar)
- glue sticks for the glue gun
- Amall momentary push button
- electrical wire
downloads
step 1 - Edit the design
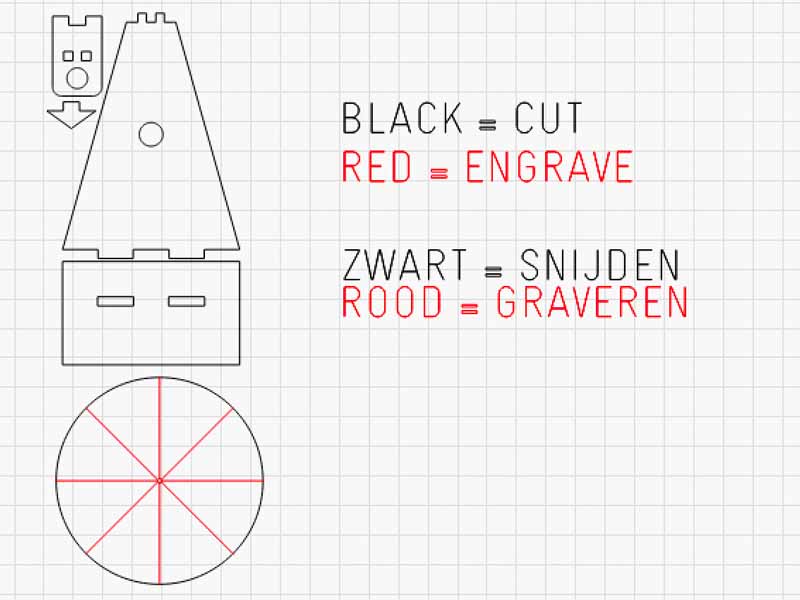
- Open the template in your laser-cutter software. (I use Lightburn)
- Edit the hole in the disk to snugly fit the shaft of your dc motor.
- Remove lines until you have the number of facets you want.
- Add text to each of the facets.
step 2 - Cut your design
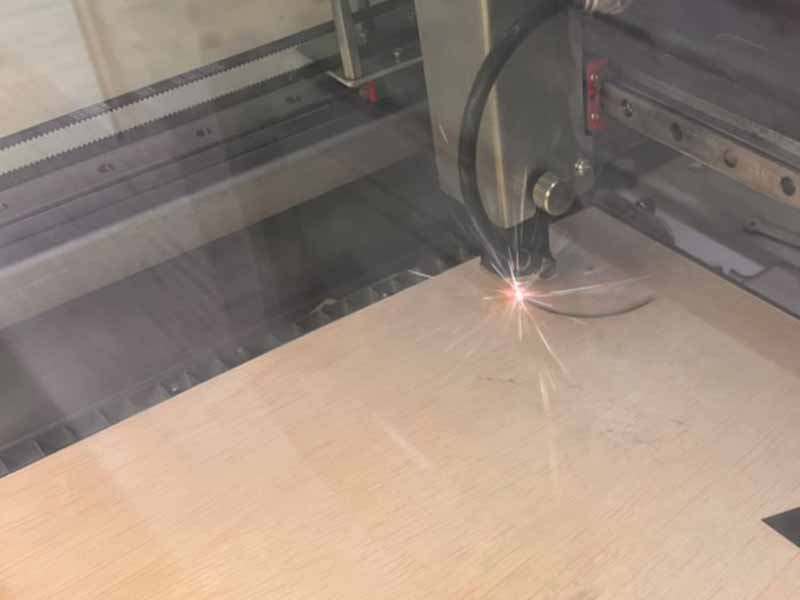
- Use the laser cutter to cut out your design.
step 3 - Assemble the base
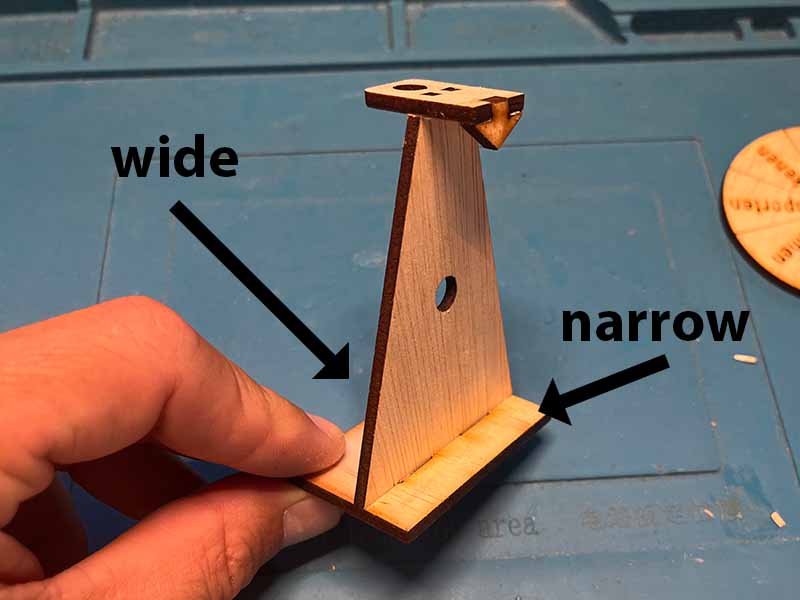
- If pieces dont fot properly, use a file to make them fit.
- Use some glue to put the base together. Make sure to have the arrow on the narrow side of the base.
step 4 - Attach the motor, battery and button
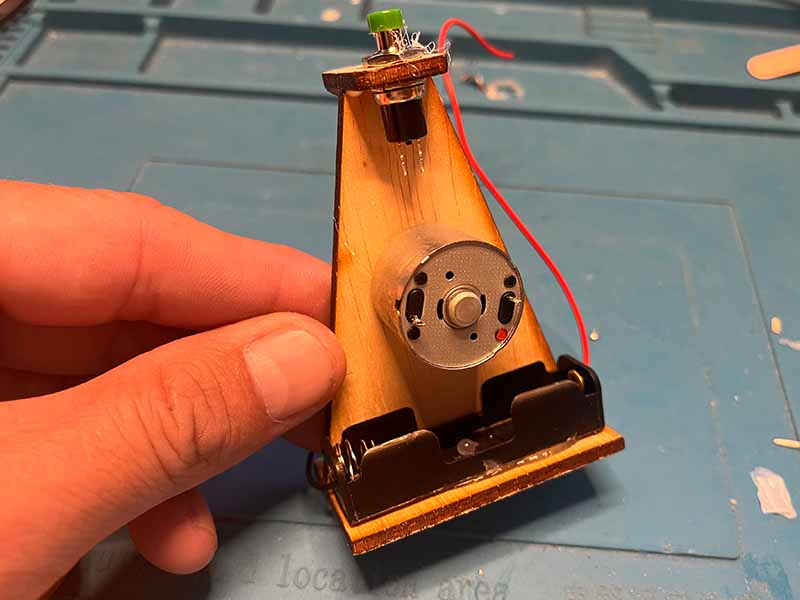
- The motor should be on the wider side of the base.
- Use the glue gun to glue the motor to the base. Make sure not tp glue the axle.
- Use the glue gun to glue the motor battery holder to the base. (on the same side as the motor)
- Fit the button trough the hole in the top and screw it tight.
step 5 - Soldering
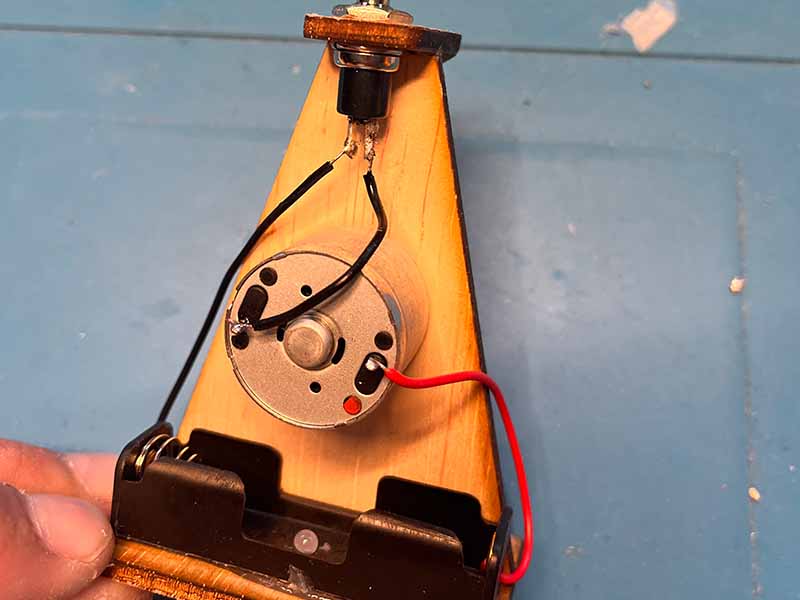
- Solder the red wire from the battery holder to one terminal on the motor.
- Solder the black wire from the battery holder to one terminal on the button.
- Solder a wire between the remaining terminals on the motor and the button.
step 6 - Color your wheel
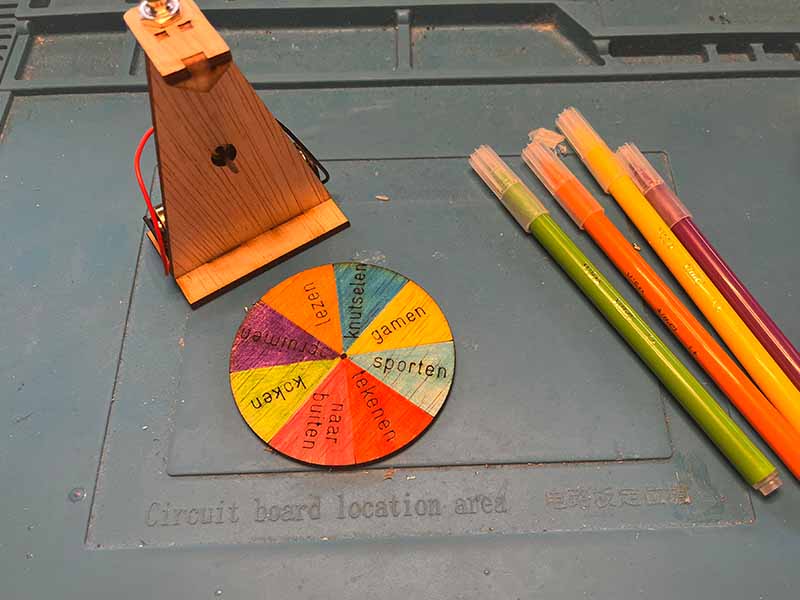
- Use the markers to give the wheel a bit of colour.
step 7 - Attach the wheel
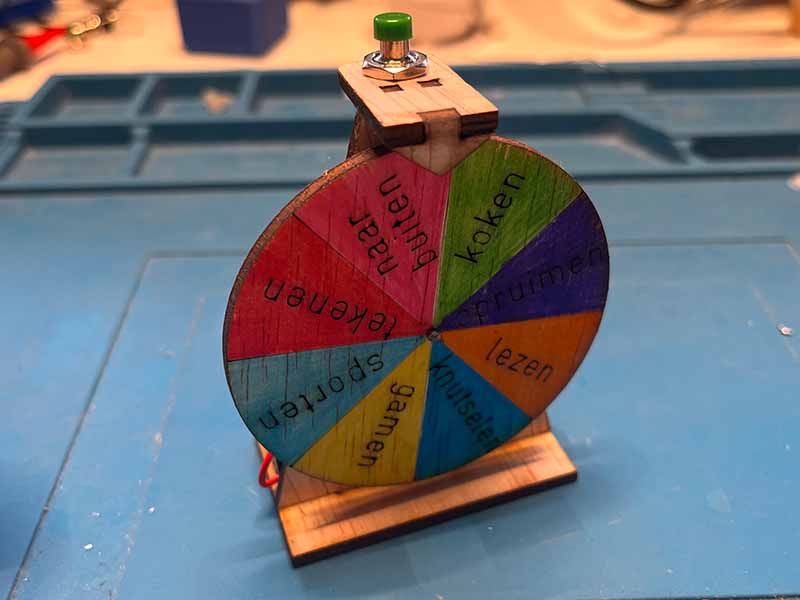
- Push the wheel onto the shaft. Mke sure you dont damage the arrow on the top
step 8 - You're done!
- Test your fully electric wheel of fortune!