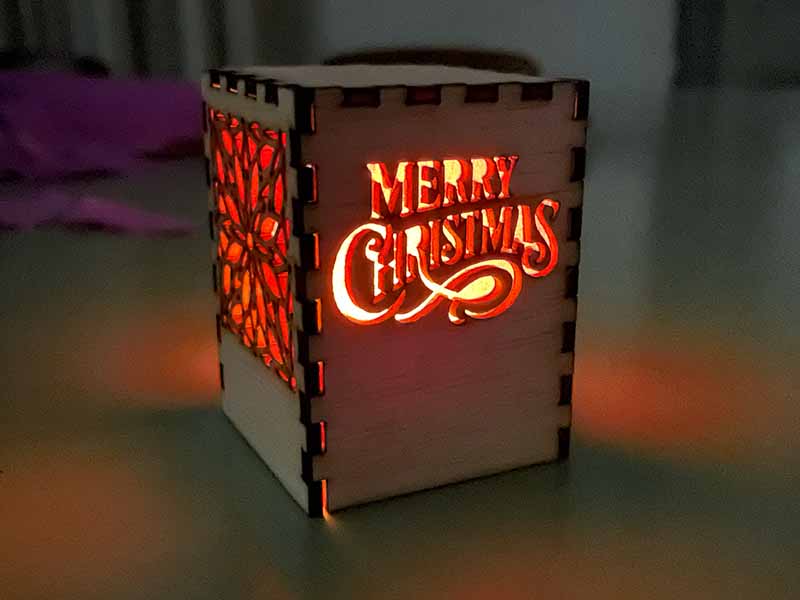
Wooden christmas lantern
duration: 20 - 40 minutes
age: from 7 years
A wooden christmas lantern that lights up.
tools
- Laser cutter
- Laptop with lasercut software
- Wood glue
- Sanding paper
- Scissors
- Glue-stick
- Hobby knife
materials
- 3mm / 1/8inch plywood
- Electric tea light (LED)
- Crêpe paper
downloads
step 1 - Make the design

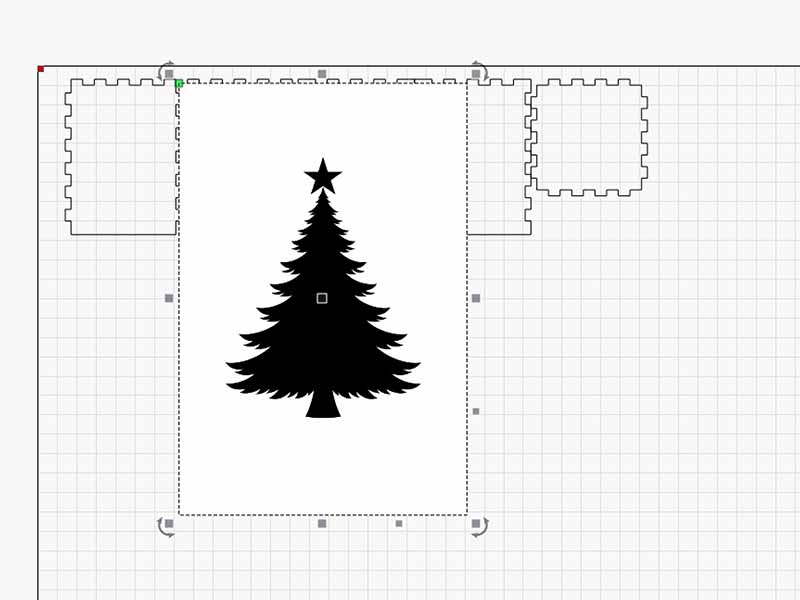
- Open the provided template in your lasercut software (I use Lightburn)
- Find some nice Christmas silhouettes on the internet.
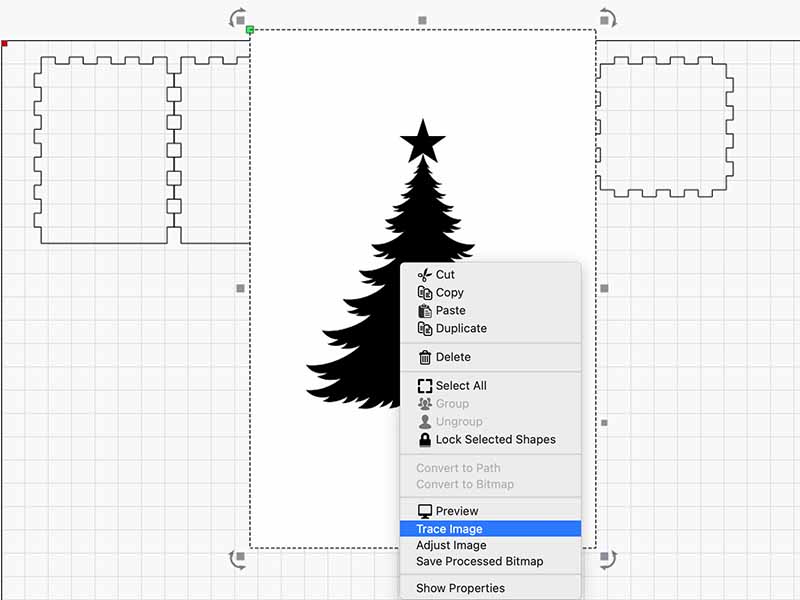
- Trace the image and scale it to fit a panel. Make sure to keep some room at the bottom to accomodate the bottom of the led light.
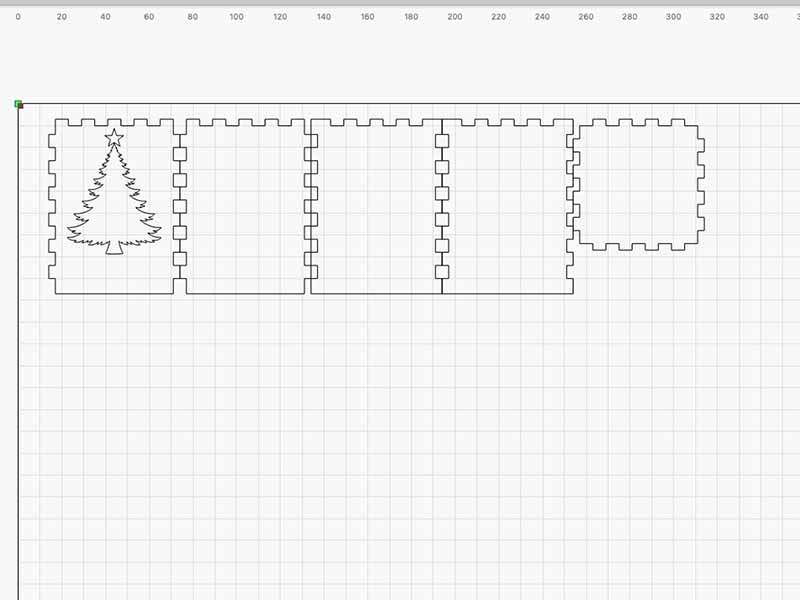
step 2 - Repeat the design for all panels
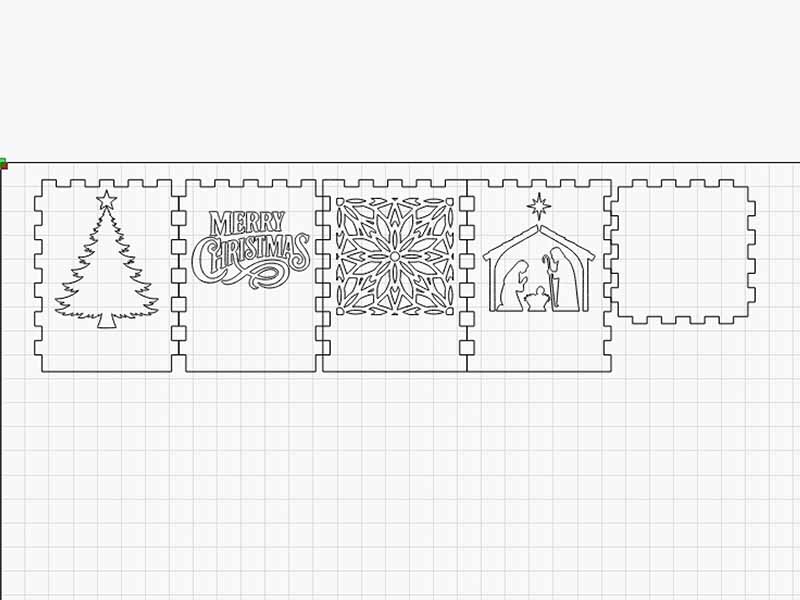
- Repeat the previous step for all the big panels. You dan also add something to the smaller top panel if you wish.
step 3 - Cut your design
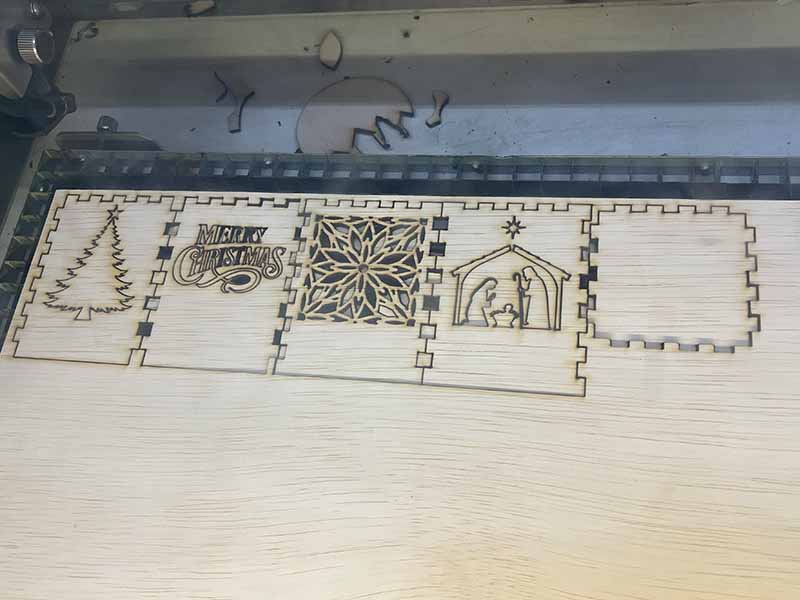
- Cut your design with the laser cutter.
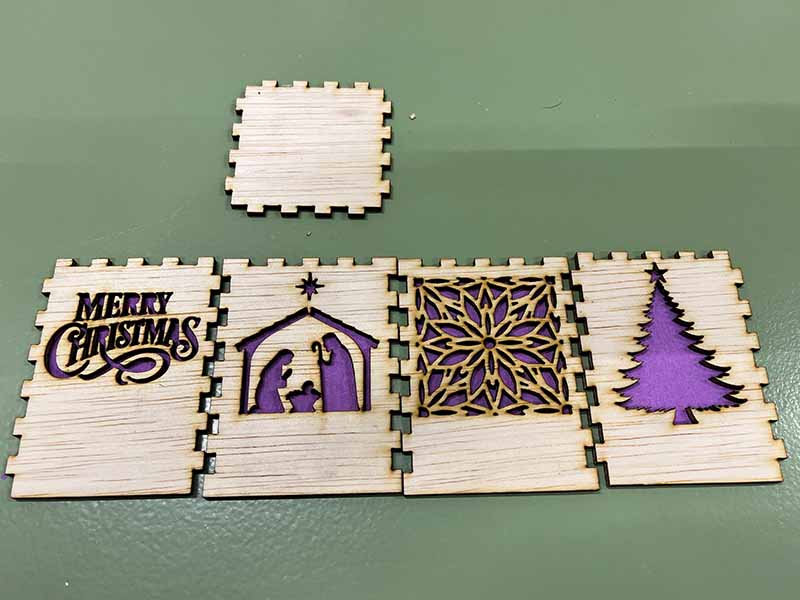
step 4 - Add the crepe paper
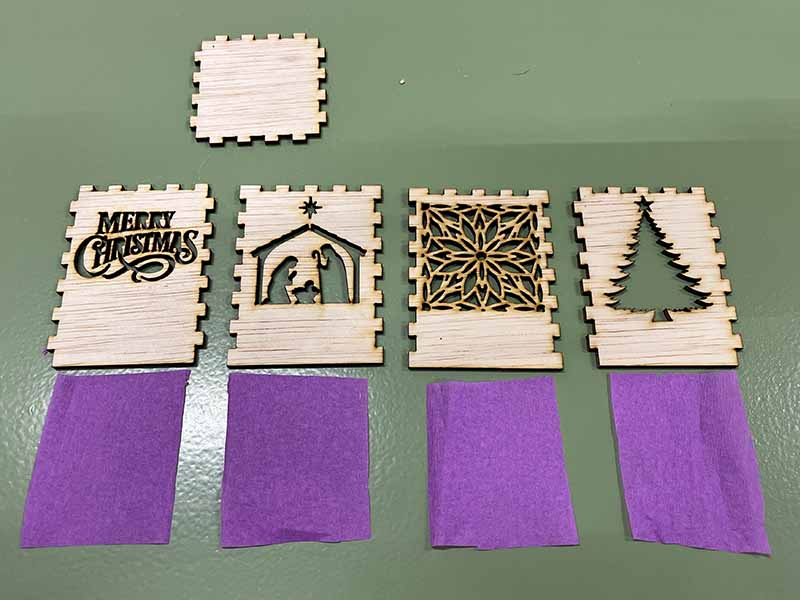
- Cut pieces of crêpe paper a bit larger than the cutouts in the panels.
- Apply glue stick to the back of the panels and glue the crêpe paper over the cutouts.
- Trim any paper that sticks out over the side with a hobby knife.
step 5 - Glue the lantern together
- Do a dry-fit to see how the panels fit together.
- Use some sanding paper to loosen up any joints that are too tight.
- Use some wood glue to glue the panels together.
step 6 - Place it over your led light and.. Merry Christmas!

- Make sure to only use an electric led tea light, not a real candle!
- Place your lantern over the tea-light and enjoy your creation.
- Merry Christmas!.