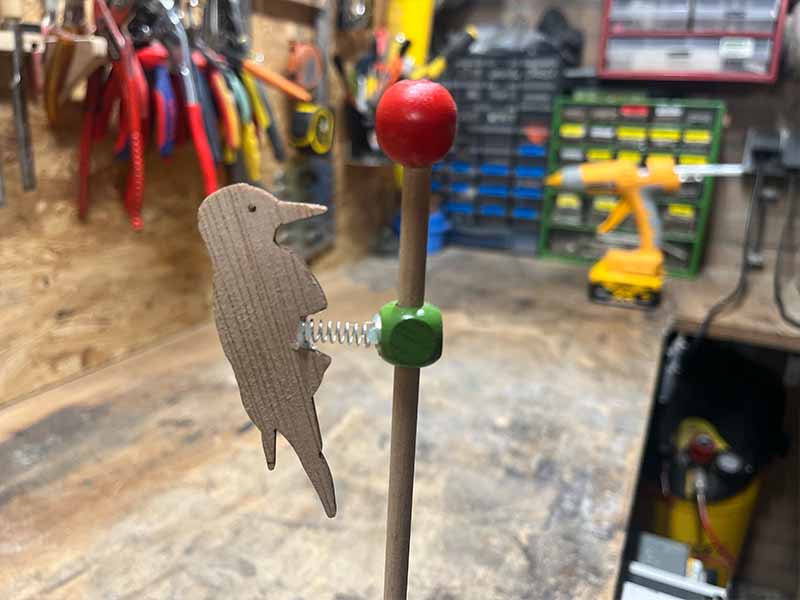
Woodpecker toy
duration: 15 - 45 minutes
age: from 7 years
Make a classic woodpecker toy
tools
- Drill
- Drill bits (one the width of the dowel, one slightly bigger)
- Lasercutter or coping saw
- gluegun
- Pencil sharpener
- Pencil
materials
- Wooden dowel 1/4"
- thin plywood (1/8")
- wood glue
- glue gun
- coil spring
- thicker wood for the base (3/4" ply for example)
- big wooden bead
downloads
step 1 - Make the base
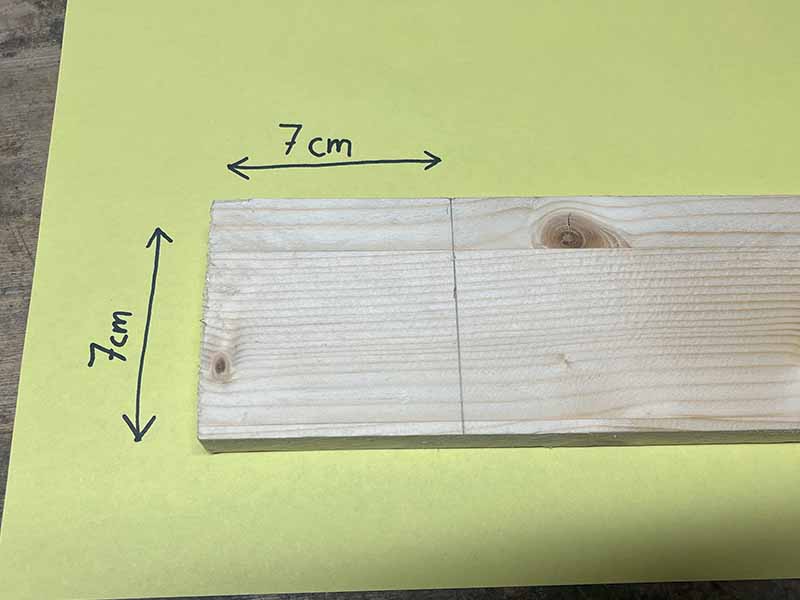
- Cut a piece of wood to form the base of your toy
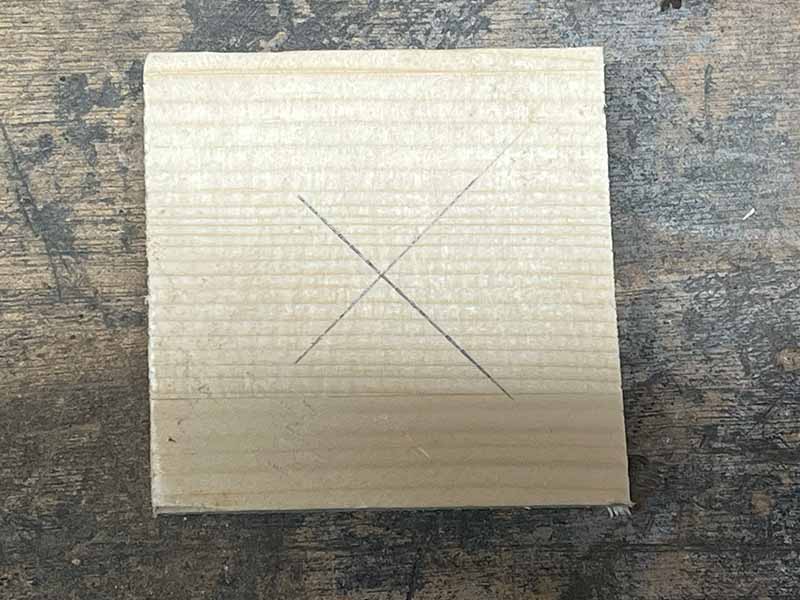
- Determine the center by drawing lines from corner to corner.
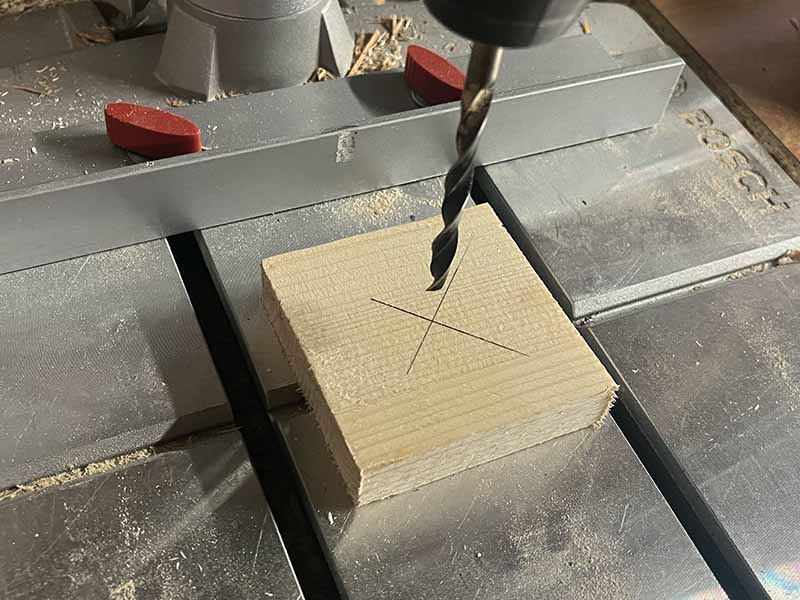
- Drill a hole the same size as the dowel trough the center of the base.
step 2 - The dowel
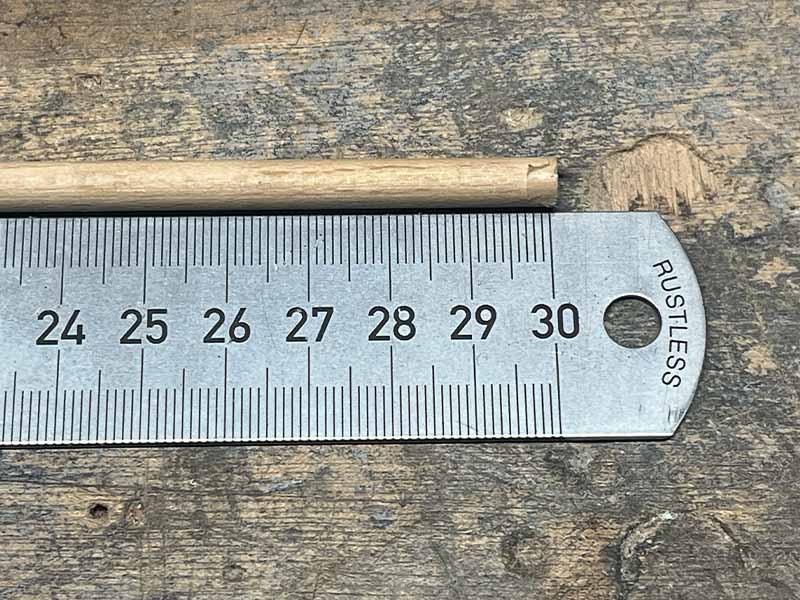
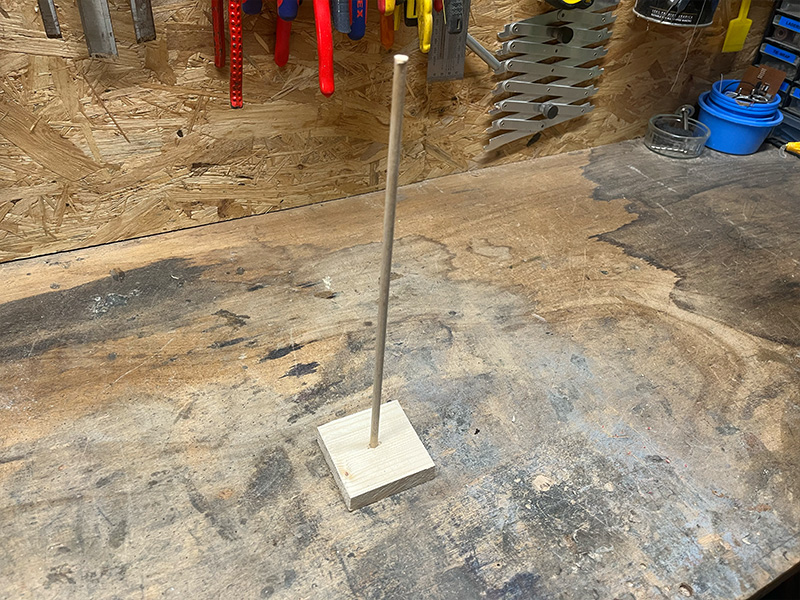
- Cut the dowel to about 20" in length.
- Use the pencil sharoener to slightly taper one end of the dowel. A slight taper is enough.
- Use woodglue to glue the stick into the hole in the base.
step 3 - The bird
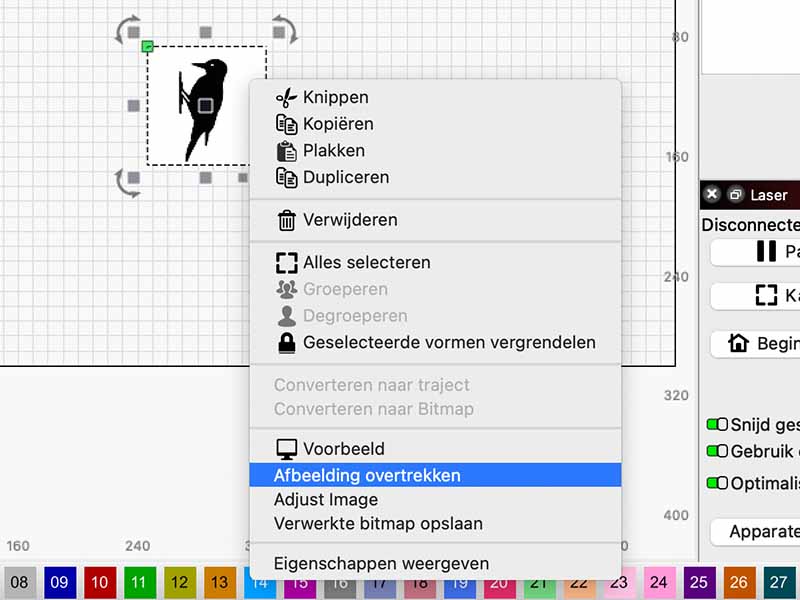
- Find a silhouette of a woodpecker.
- Use the trace function in your lasercutter program (I use Lightburn) to trace the woodpecker.
- Scale it so it is about 4 inches tall.
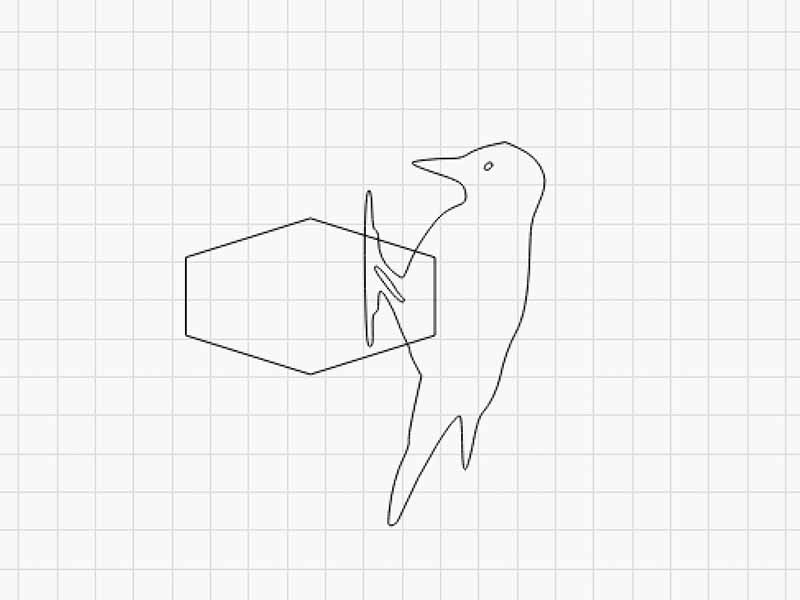
- Edit the outline as shown in the photo so there is some room for the spring .
- Cut out your design with the lasercutter.
step 4 - Assembly
- Drill out the hole in the wooden bead so that it is slightly bigger than the dowel.
- Use hot glue to attach the spring to the bead and the woodpecker.
- Once the glue cools down: test your woodpecker. You might need to stretch out the coilspring to get the best effect.