Button

Make your own button

Age
7+ yrs
Time
30–45 min
PDF

What do you need?

Materials

  • Magazine or printed image
  • Button parts

Tools

  • Circle cutter
  • Cutting mat
  • Button press

Steps

1

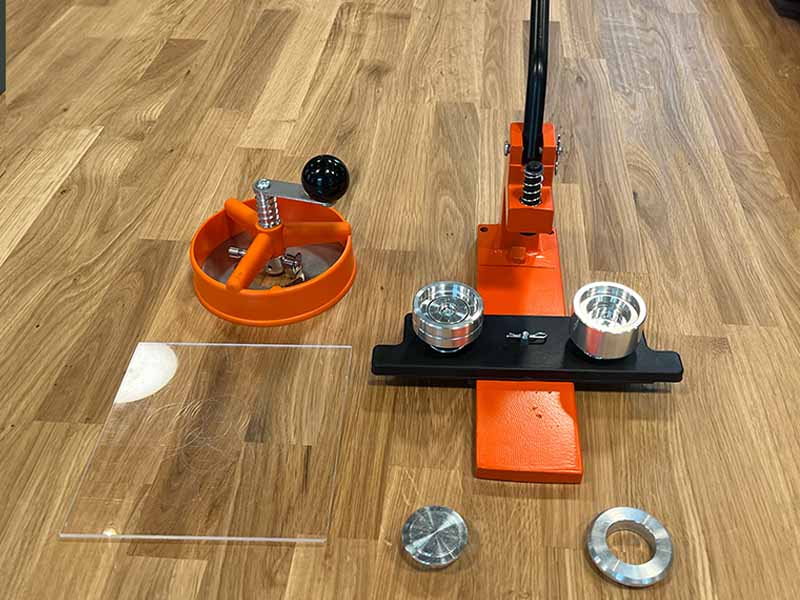
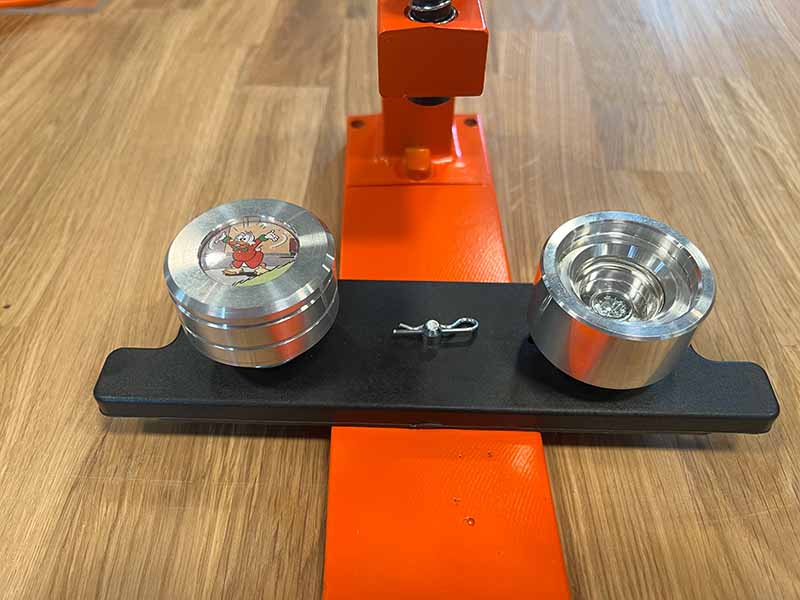
Parts of the press

  • Make sure you have all parts of the press.
  • cutting board + circle cutter
  • press
  • ring
  • plunger
2

Cut the image

  • Look for a nice image that will fit the size of your button.
  • Place the image on top of the cutting board, and cut it out with the circle cutter.
3

Loading the press

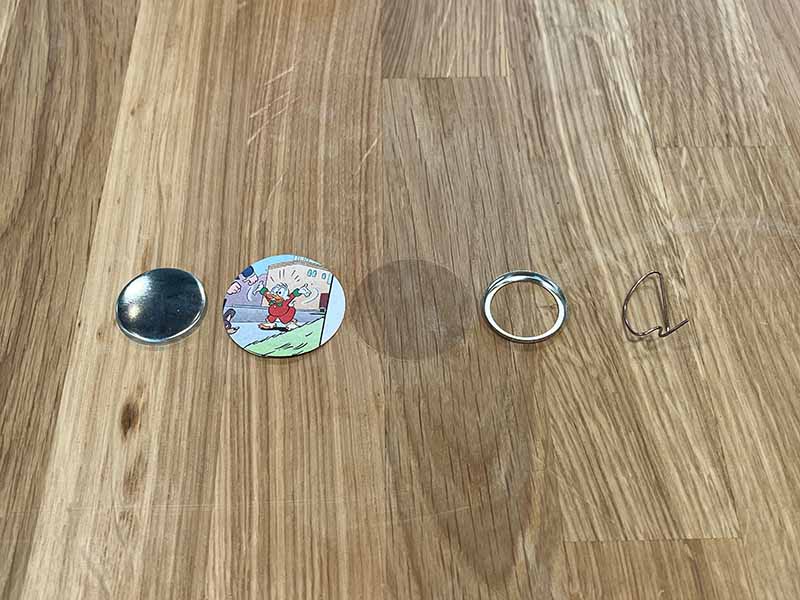
  • Gather the following parts: a shield, your cut-out image, a transparent film, a ring, a pin.
  • Rotate the press so that the two cylinders are on the left and right side.
  • On the left side place the shield with the edge down.
  • Place your image on top of the shield (image facing up).
  • Cover your image with the transparent film.
  • On the right side, place the ring, with the narrow bent up side facing up.
4

First press

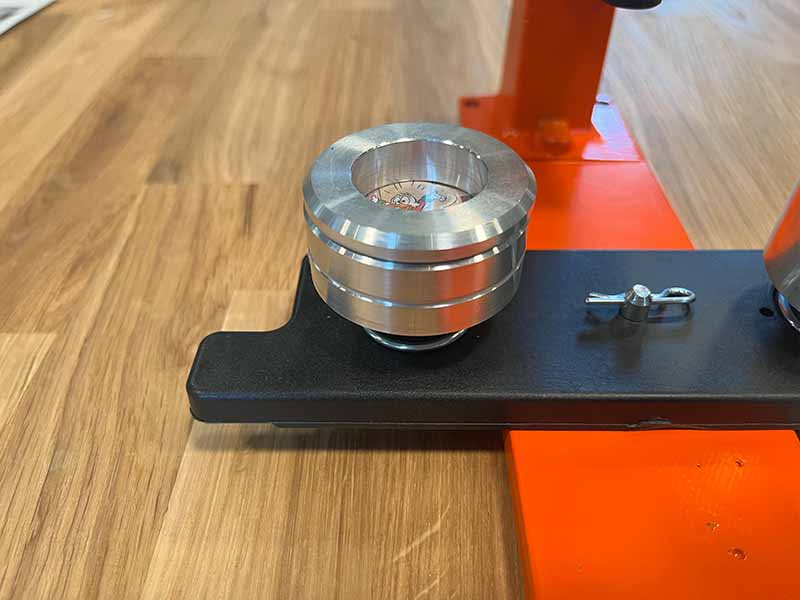
  • Place the big metal ring on the left cylinder.
  • Place the plunger on top of the big ring with the narrow side up.
  • Use the press to push down firmly.
5

Second press

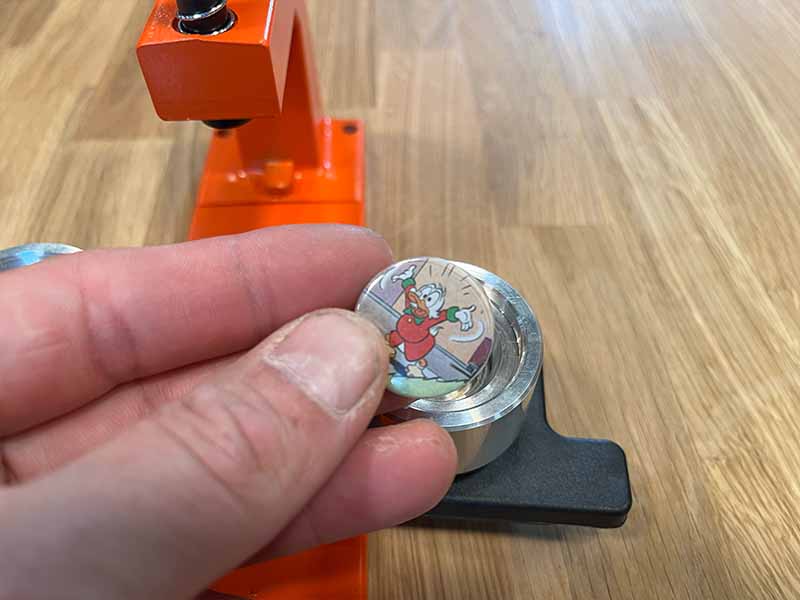
  • Transfer the ring (with your button inside) to the right cylinder.
  • Put the plunger on top with the narrow side down.
  • Use the press to push down firmly.
6

Attach the pin

  • Carefully put the pin in the ridge on the back of the button.
7

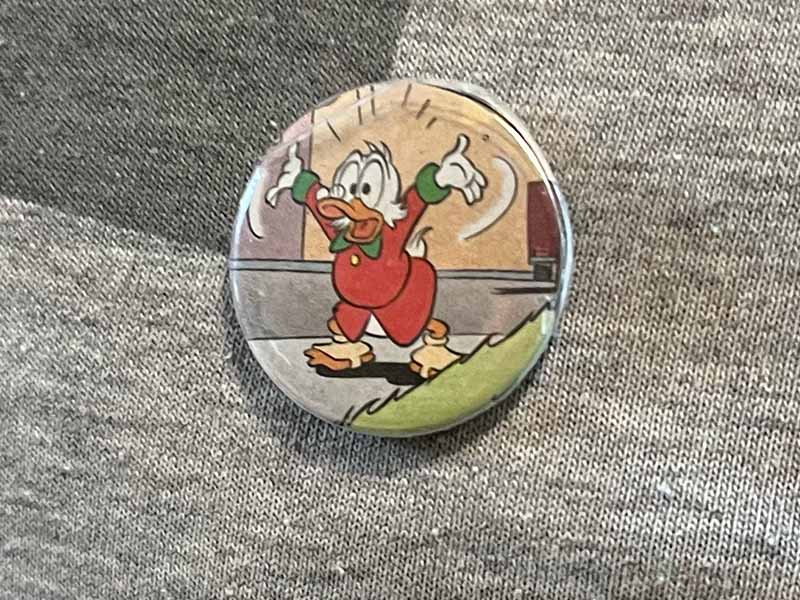
Done

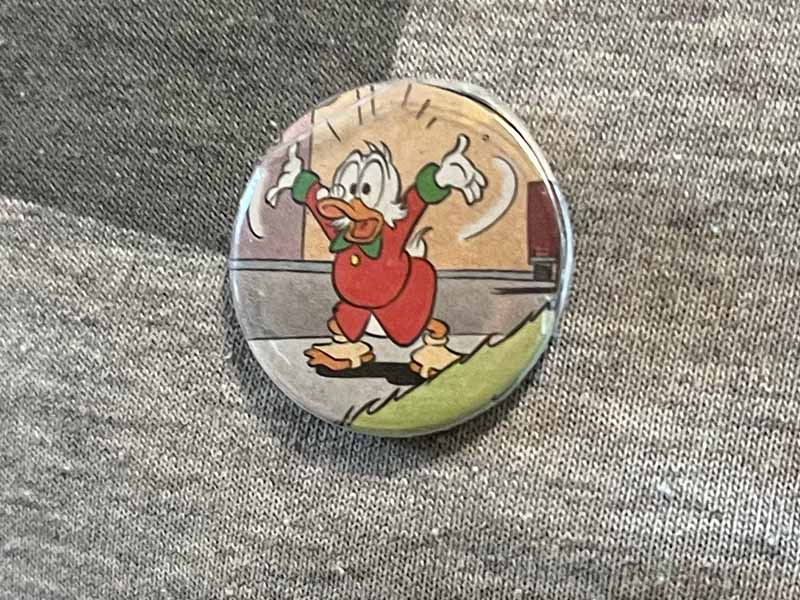
  • All done! You can now pin your button to your bag or jacket.