Cut the wood — continued |
|
|
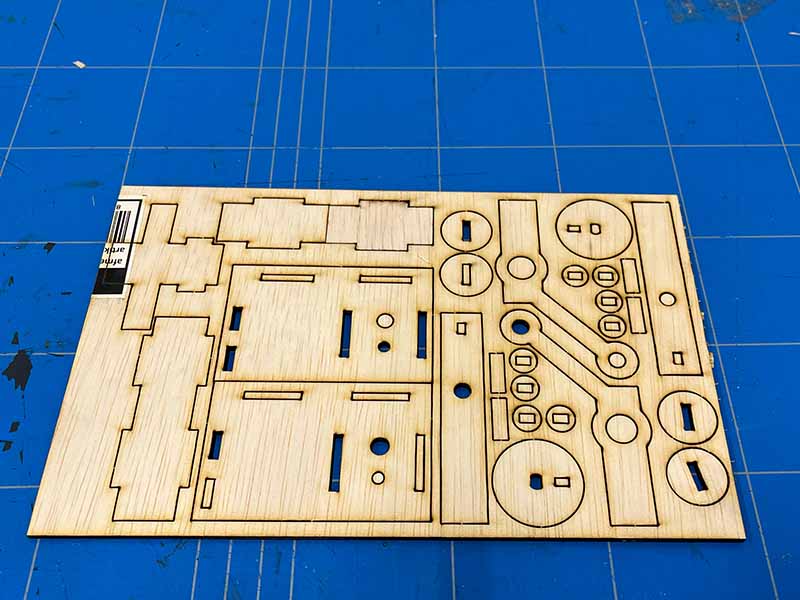
Cut the wood
|
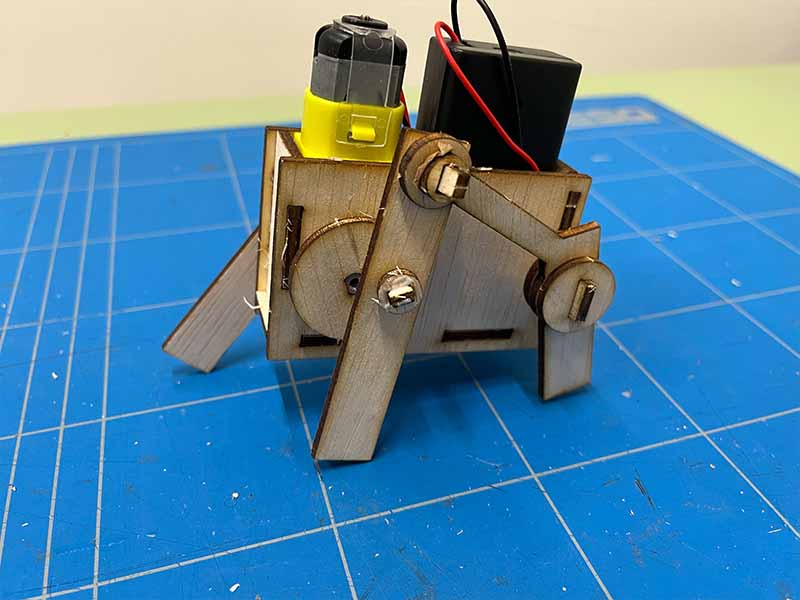
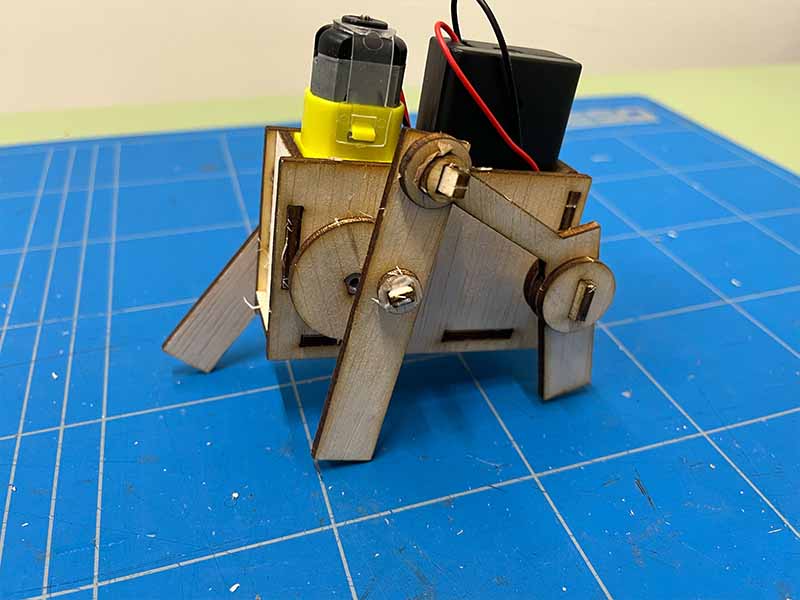
Four legged robot walker
Make a little walking robot with four legs
- Age
- 9+ yrs
- Time
- 30–45 min
Lasercut template (template.dxf): scan the QR code
Scan for the online version
What do you need?
Materials
- 3 mm plyboard
- Wooden skewers
- Wood glue (or hot glue)
- Geared motor
- Candle wax
- 2 AA battery holder with switch
- 2 AA batteries
Tools
- Laser-cutter
- Soldering iron
Steps
Solder the motor — continued |
|
|
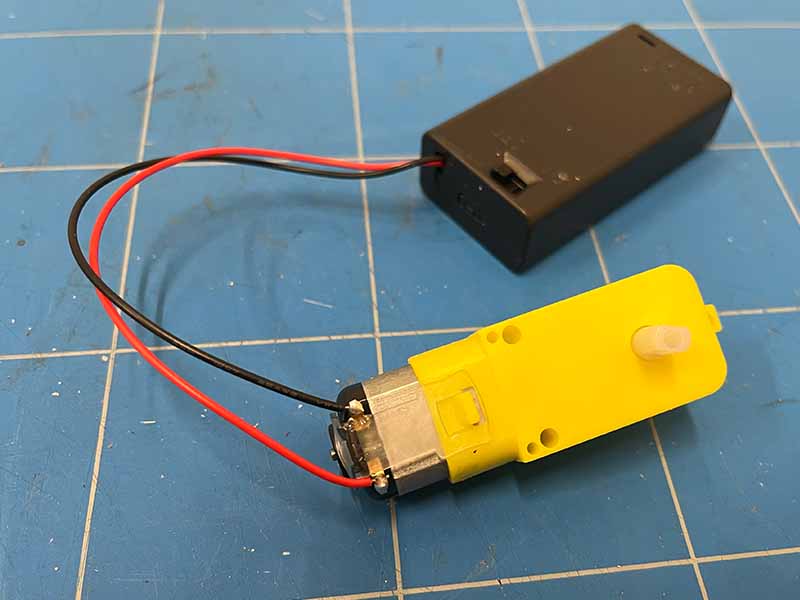
Solder the motor
|
Assemble the body — continued |
|
|
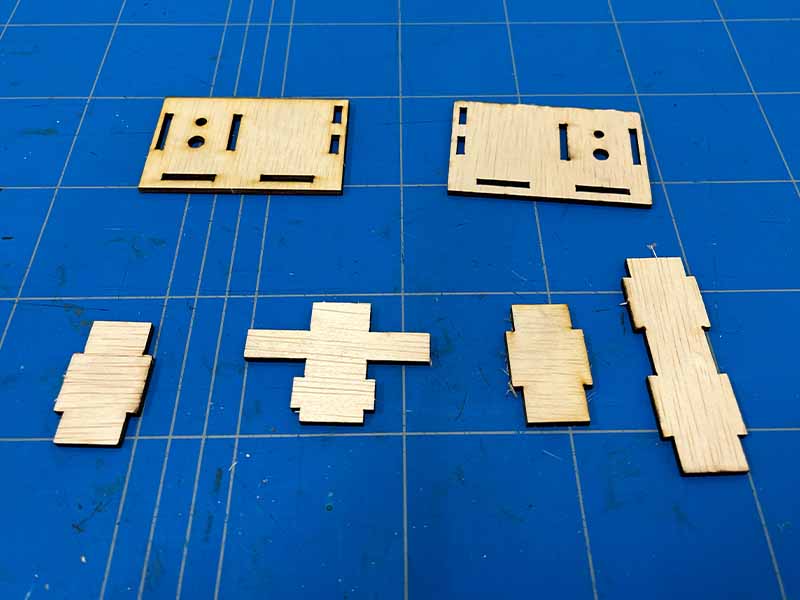
Assemble the body
|
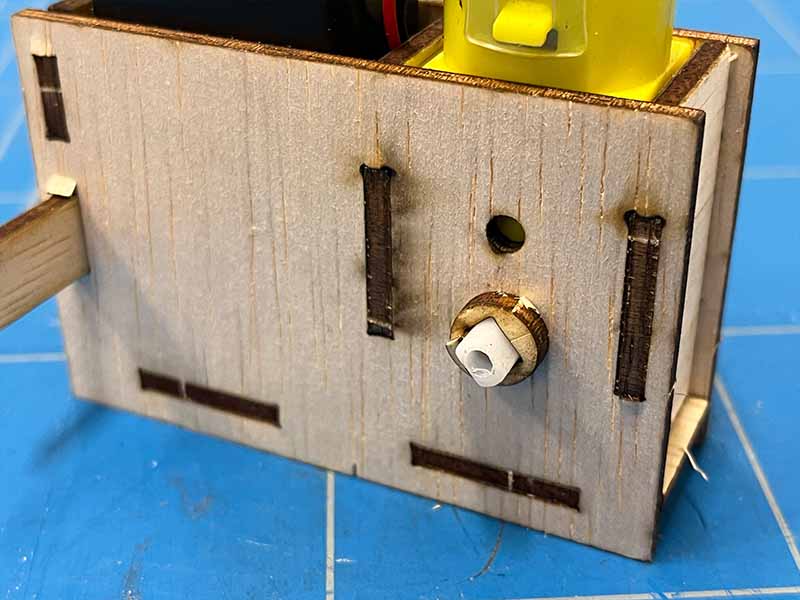
Wax and apply spacers — continued |
|
|
Wax and apply spacers
|
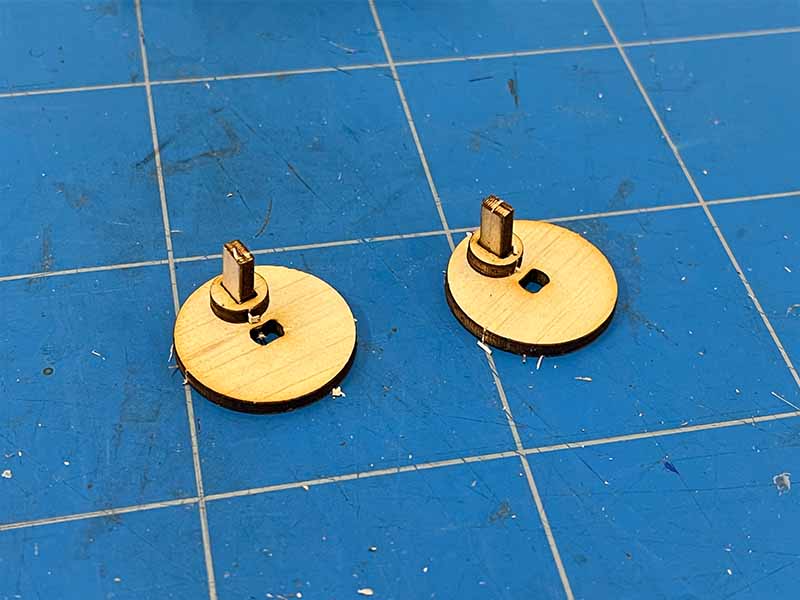
The crank — continued |
|
|
The crank
|
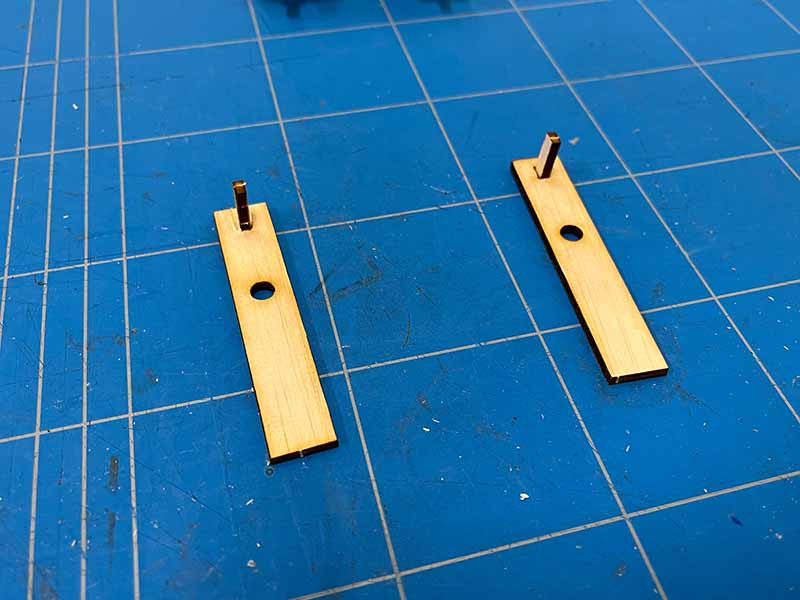
Assemble the legs — continued |
|
|
Assemble the legs
|
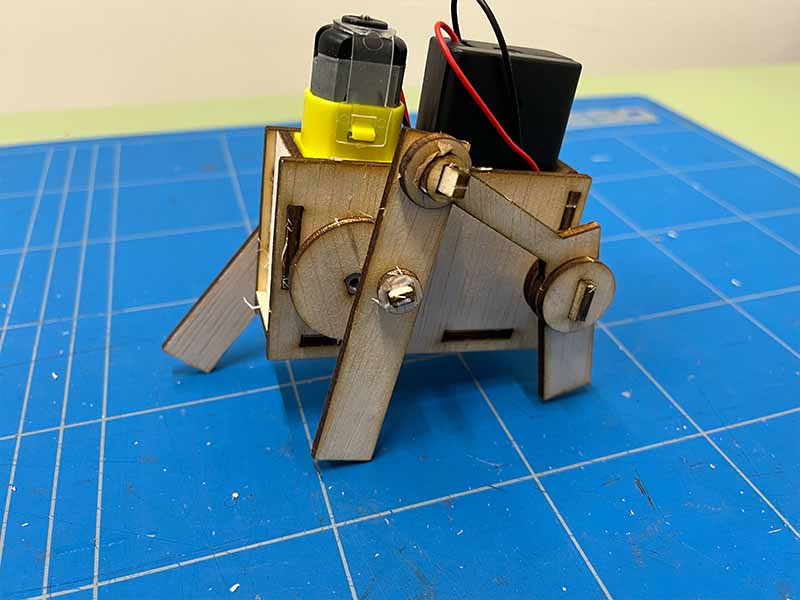
Add the legs to the body — continued |
|
|
Add the legs to the body
|
All done! — continued |
|
|
All done!
|