Handheld fan
duration: 30 - 45 minutes
age: from 7 years
Make a working hand fan.

tools
- laser cutter
- awl
- soldering iron
- wire cutters
- wire stripper
- caliper
- drill with 4mm bit
materials
- wooden plate
- fan
- cable ties
- push button
- 9V battery connector
downloads
step 1 - Test the fan
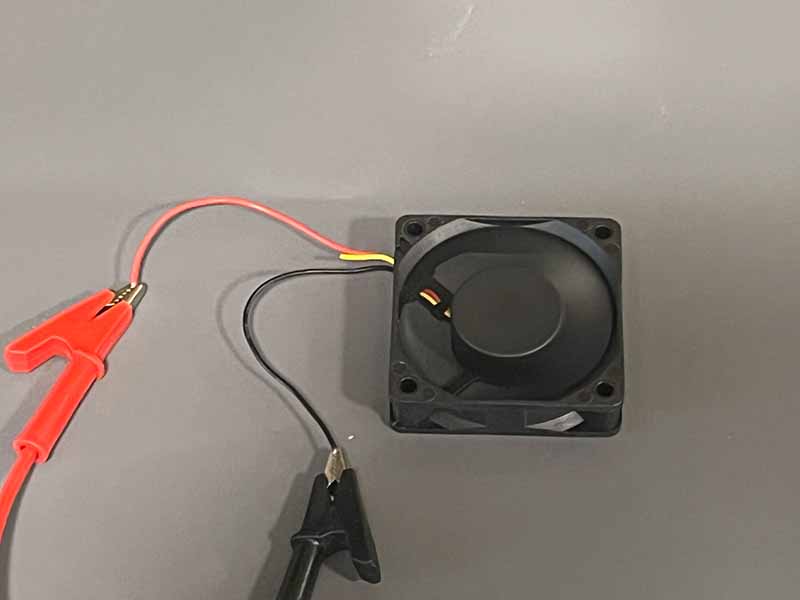
- Test the fan to see if it works with 9 volts.
- Most fans have an arrow indicating which way they blow. If not, mark it on your fan now.
step 2 - Measure and sketch
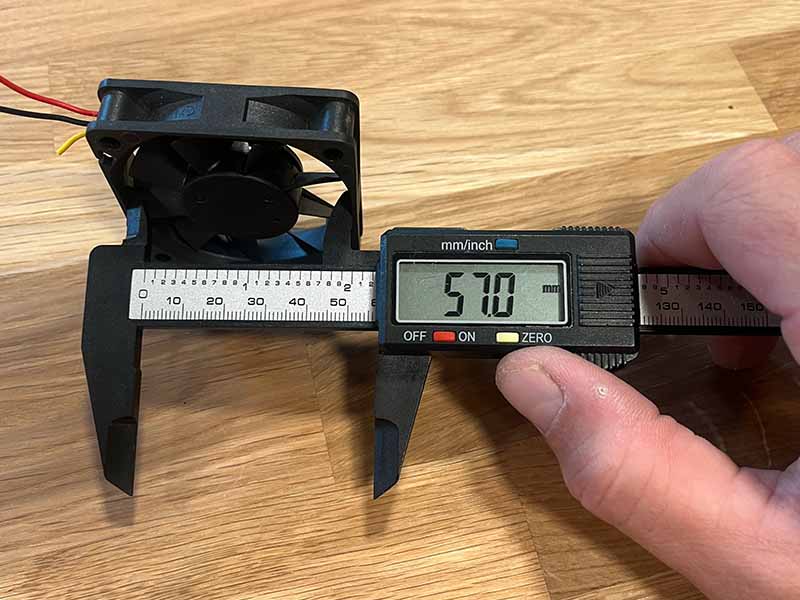
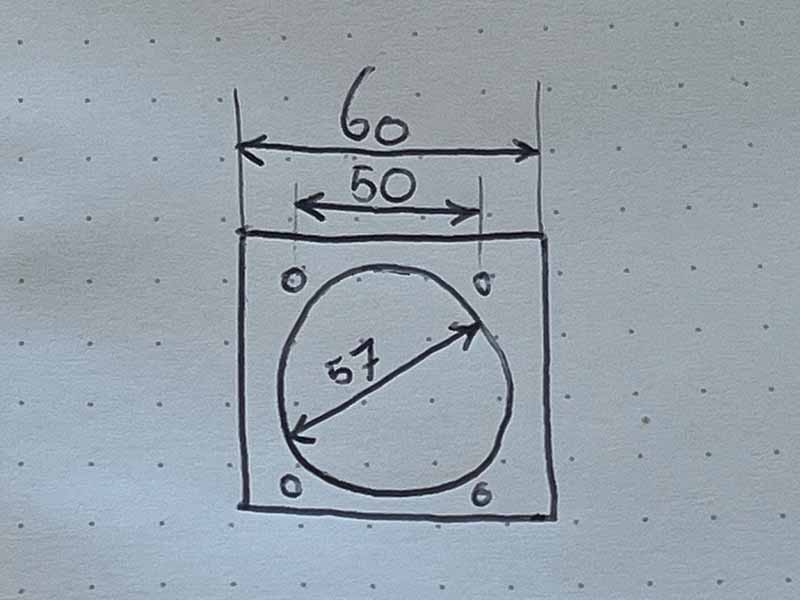
- Measure how big your fan is.
- Make a small sketch and write down the required dimensions.
step 3 - Draw your design
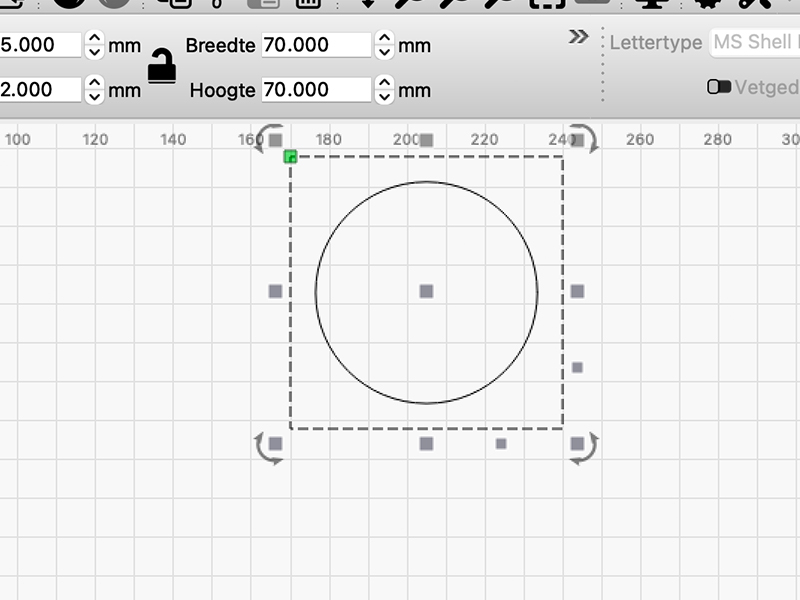
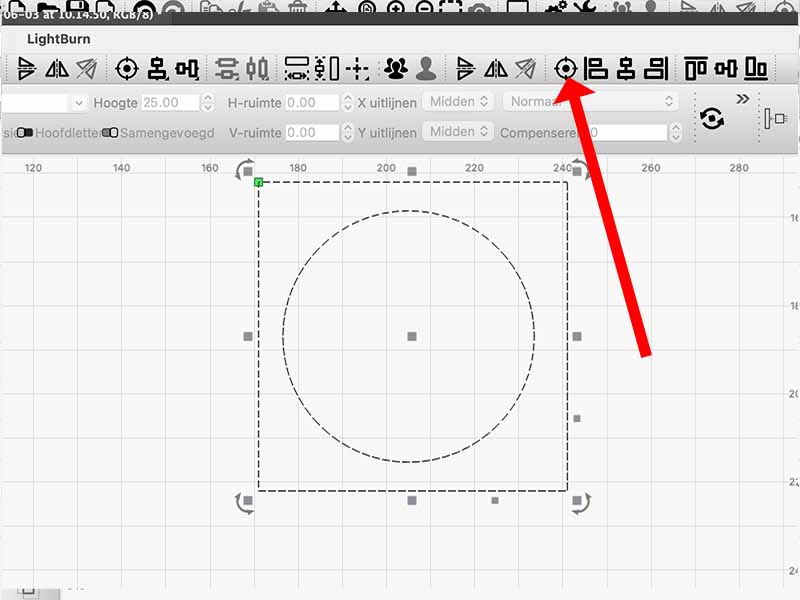
- Open LightBurn and draw a circle. By entering the width and height you can ensure the size is exact.
- Make the outer edge slightly larger than the fan. This gives extra strength.
- You can center the hole using the align button. (2nd photo)
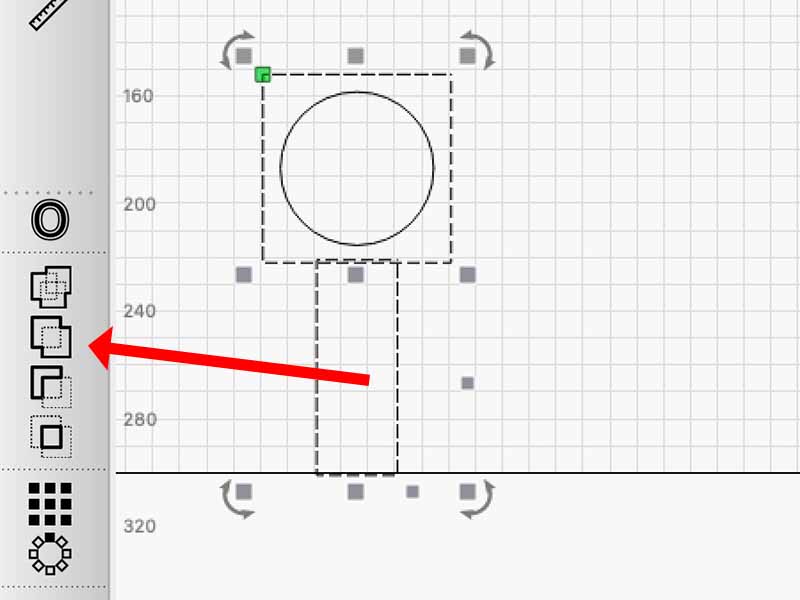
- You can combine the handle and the top with the `combine` button. (3rd photo)
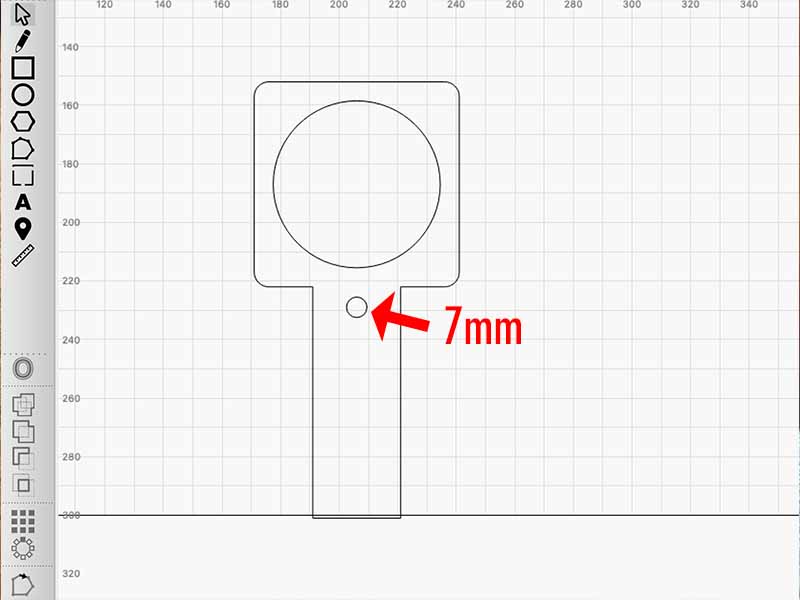
- Finally make a hole for the button. It should have a diameter of 7mm.
step 4 - Cut out the design

- Use the laser cutter to cut out your design.
step 5 - Mark and drill holes
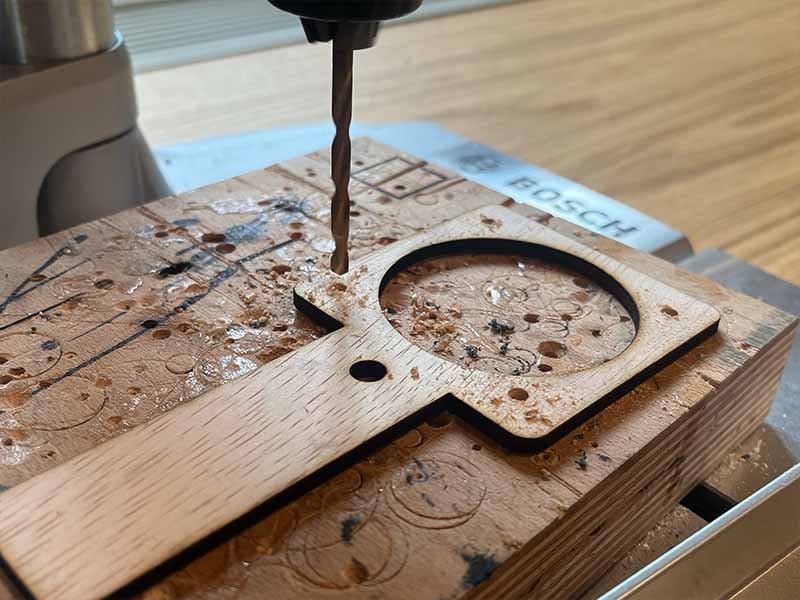
- Use an awl to mark the positions of the holes.
- Drill holes at the marked spots.
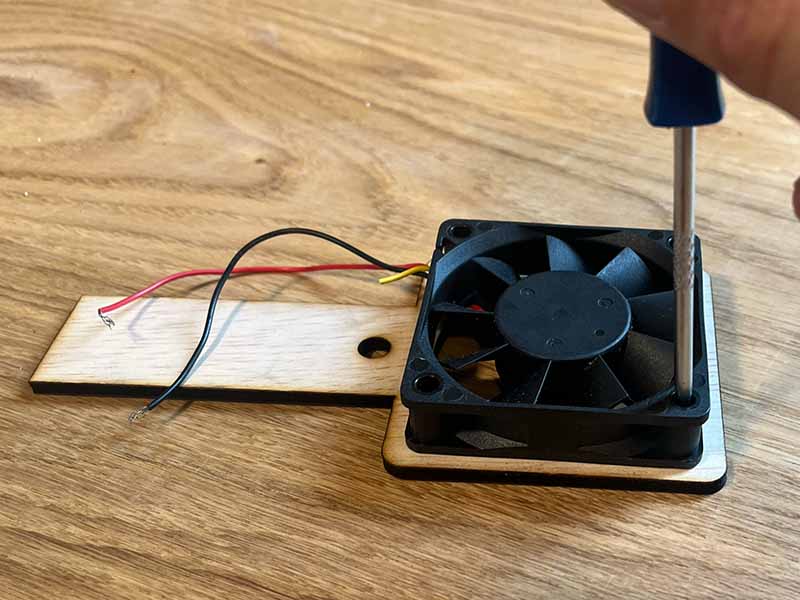
step 6 - Assemble
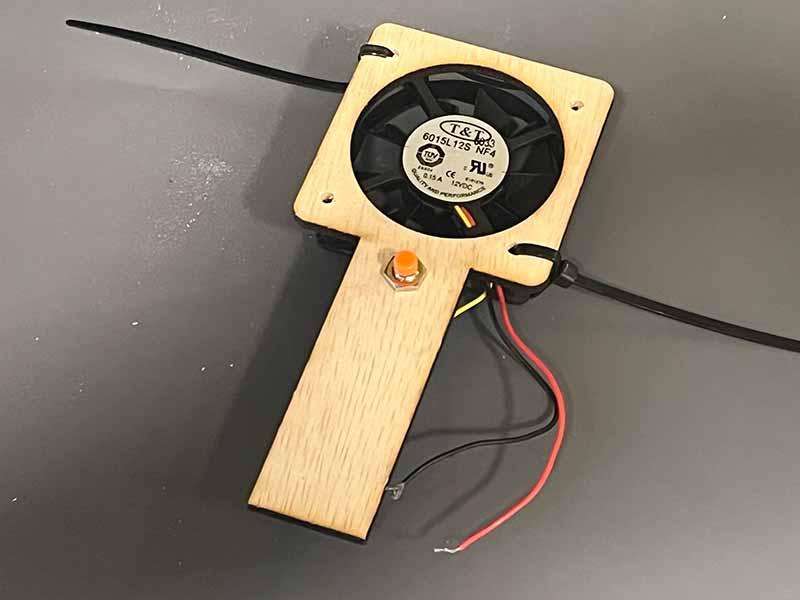
- Make sure the fan is blowing in the correct direction when you attach it.
- Use cable ties to fasten the fan to the wooden plate.
- Screw the button into the hole.
step 7 - Soldering
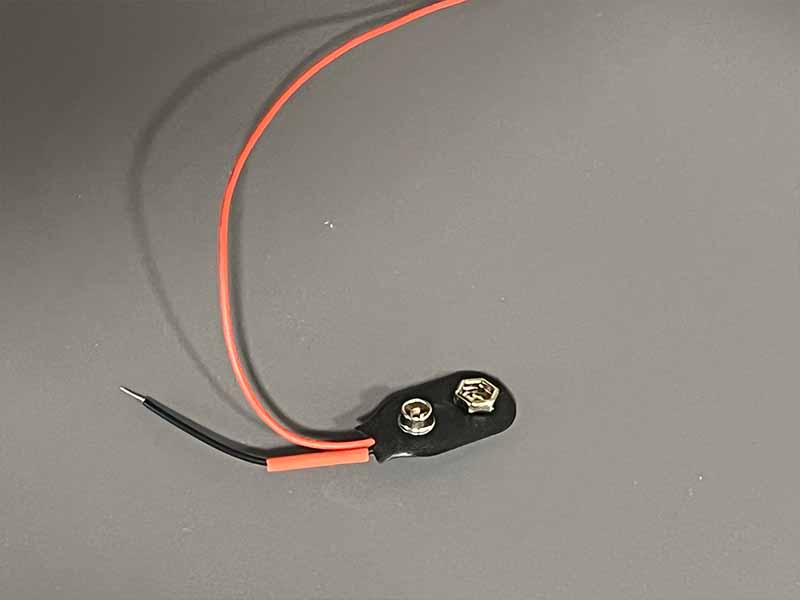
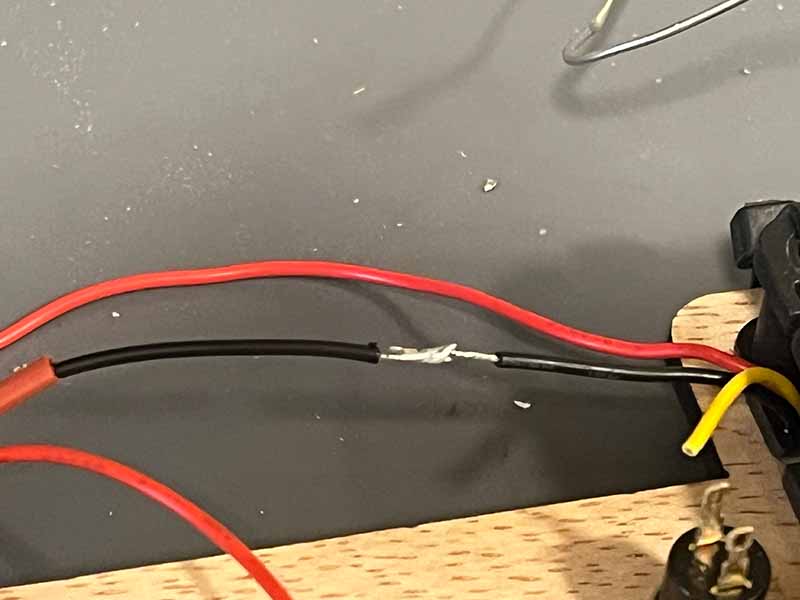
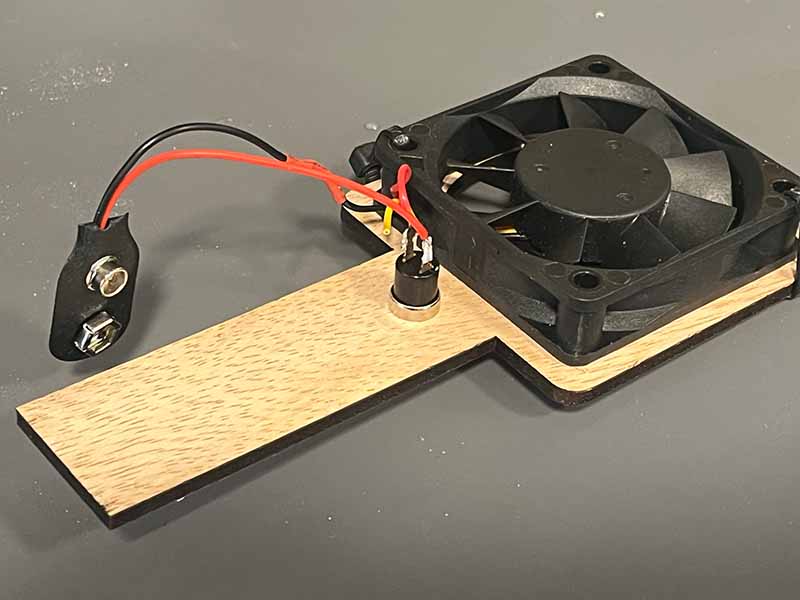
- Cut the wires of the fan and the battery clip to length.
- Strip the ends.
- Slide a piece of heat shrink over a black wire and solder the black wires together.
- Solder the two red wires to the button terminals.
step 8 - Insert battery
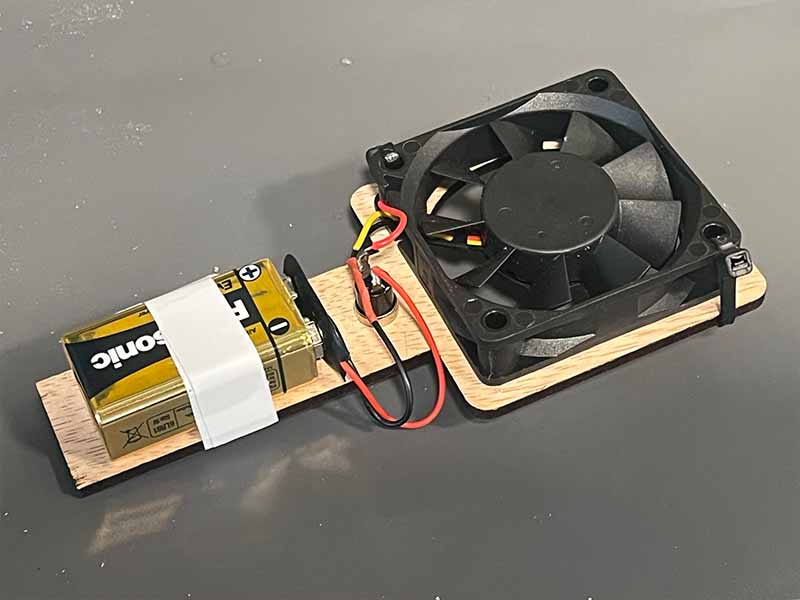
- Place the battery and tape it to the handle.
step 9 - Done!
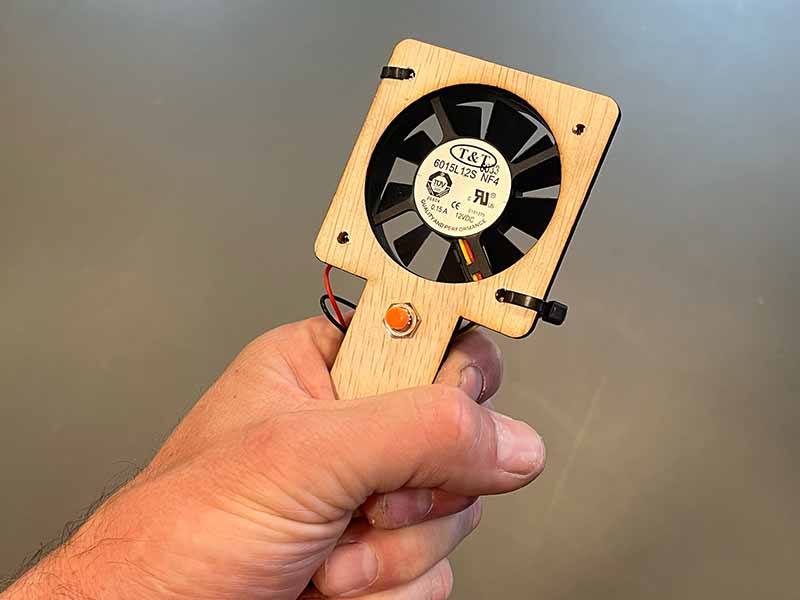
- Your hand fan is ready. Let the summer come!