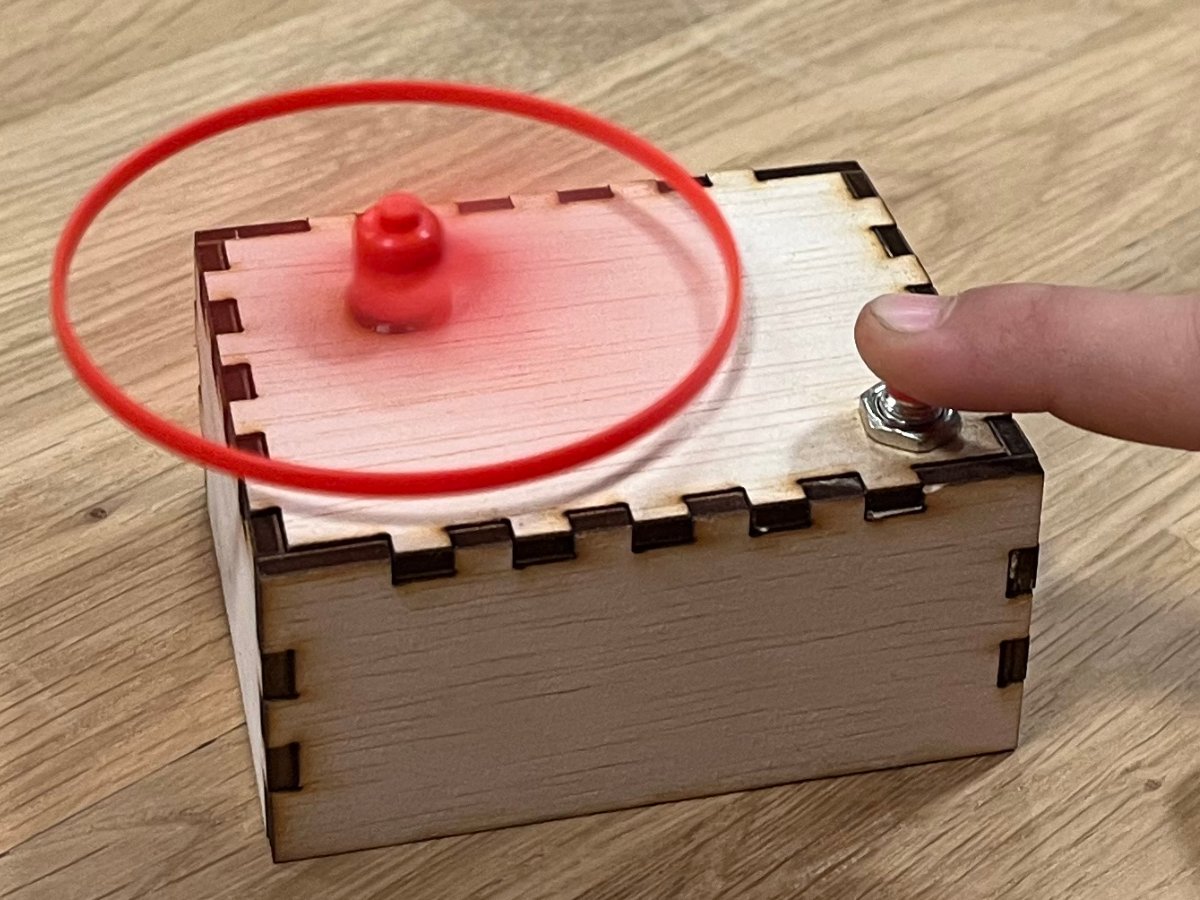
Helicopter box

Launch a propeller!

Age
7+ yrs
Time
20–40 min

What do you need?

Materials

  • 3 mm plywood
  • Small motor
  • 9V battery clip
  • 9V battery
  • Press the button
  • Heat-shrink tubing
  • Little propeller
  • Wood glue

Tools

  • Laser cutter
  • Glue gun
  • Soldering iron
  • Lighter

Steps

1

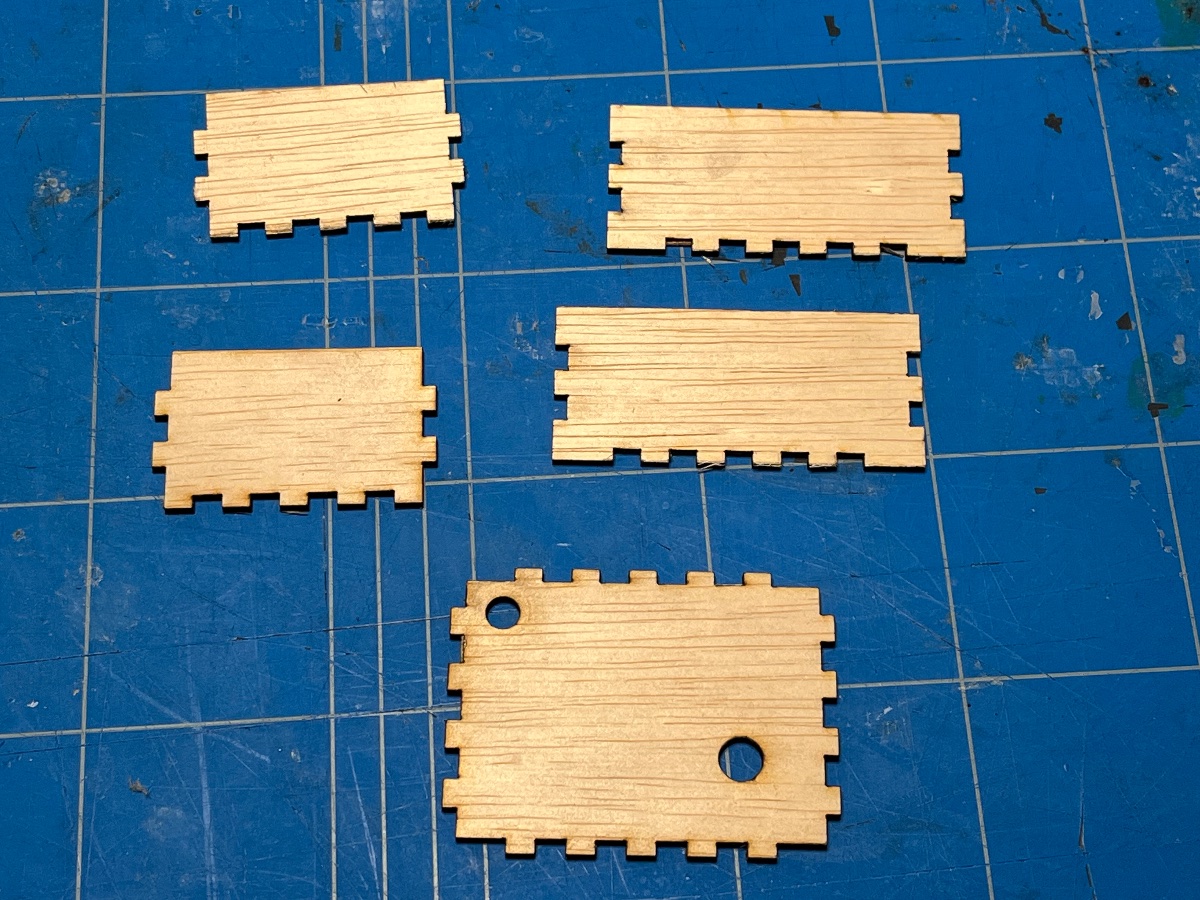
Cut out the template

  • Use the laser cutter and the downloadable template to cut out the wooden box
2

Build the box

  • Assemble the box. Use a small amount of wood glue.
3

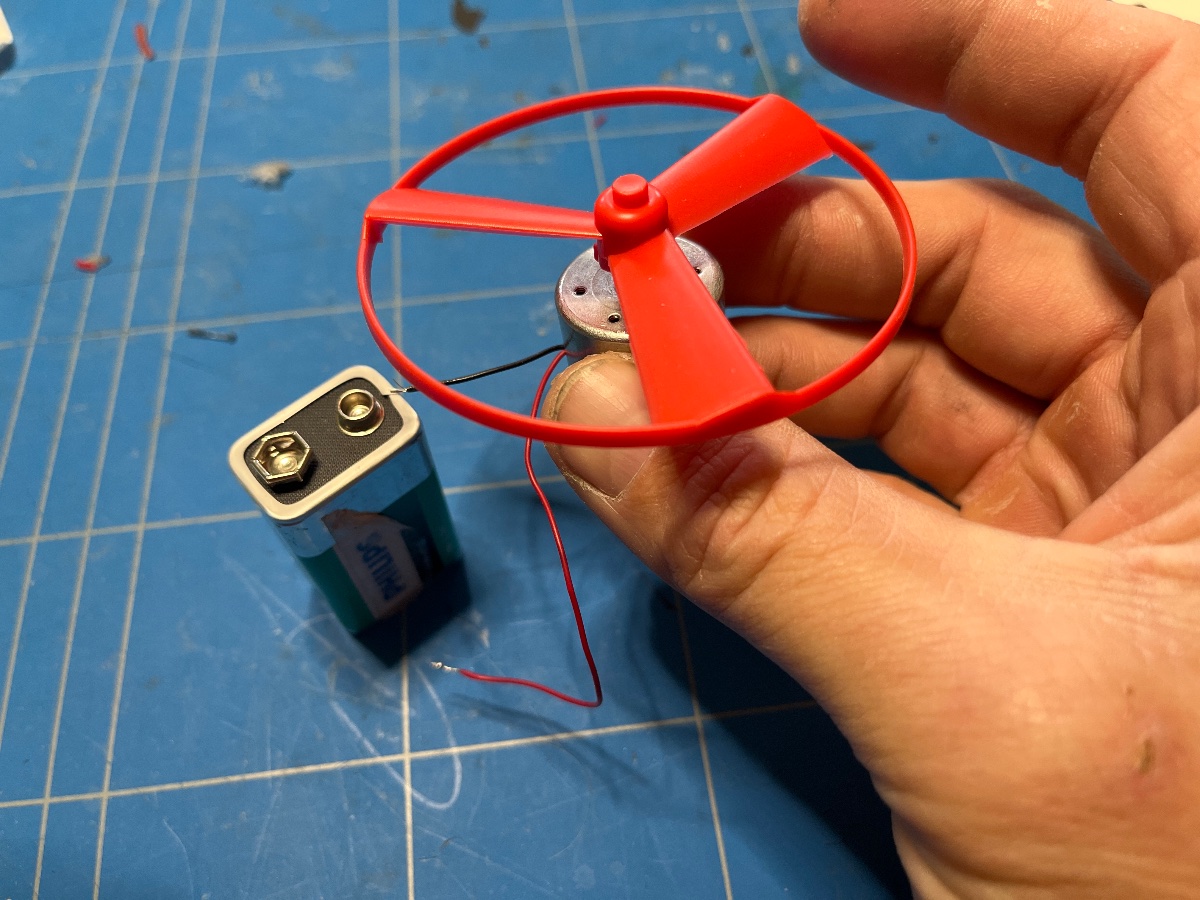
Test the direction of rotation

  • attach the little propeller to the motor
  • Touch the red wire to the ‘+’ and the black wire to the ‘-’ on the battery
  • If the propeller wants to take off, the red wire must be connected to the positive terminal of the battery. If the propeller doesn’t want to take off, the red wire must be connected from the motor to the negative terminal of the battery. Bear this in mind for the next step.
4

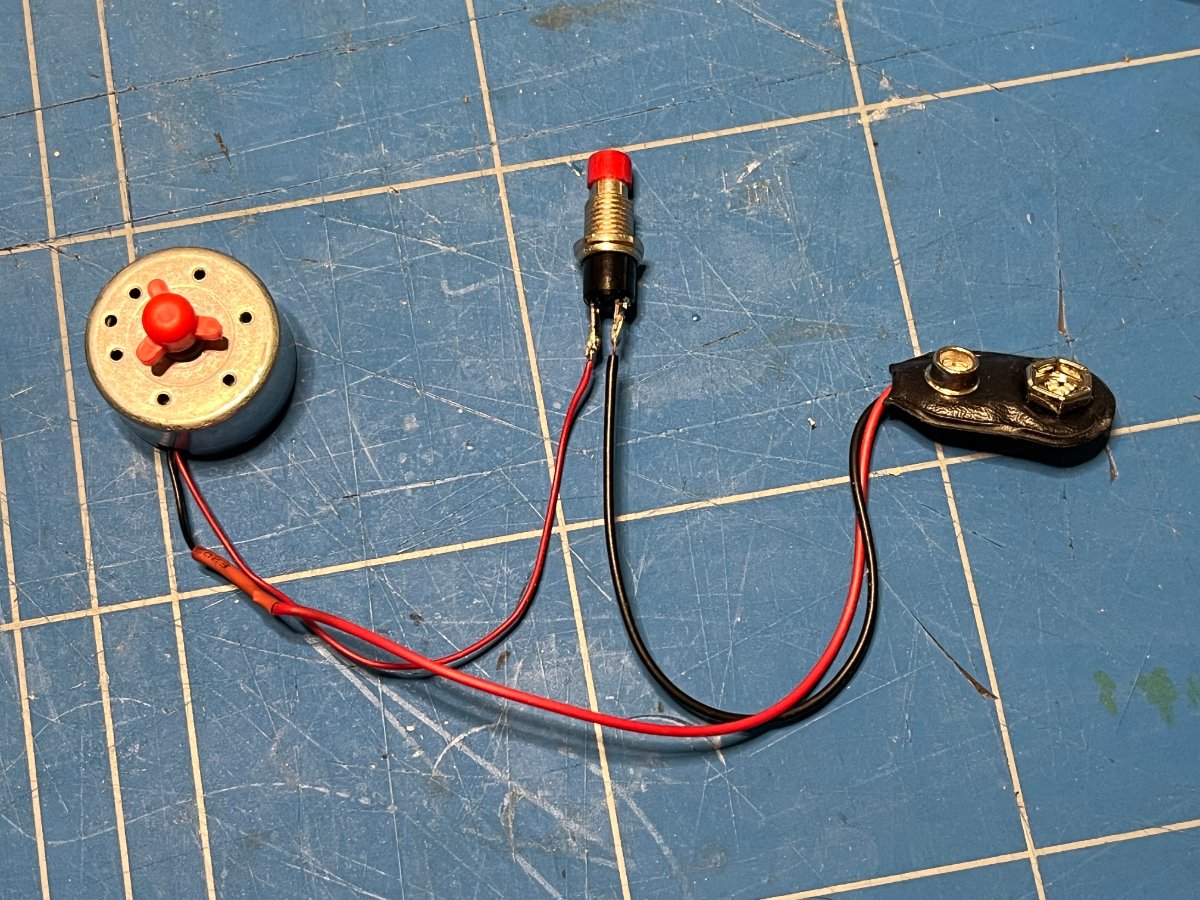
Solder the motor

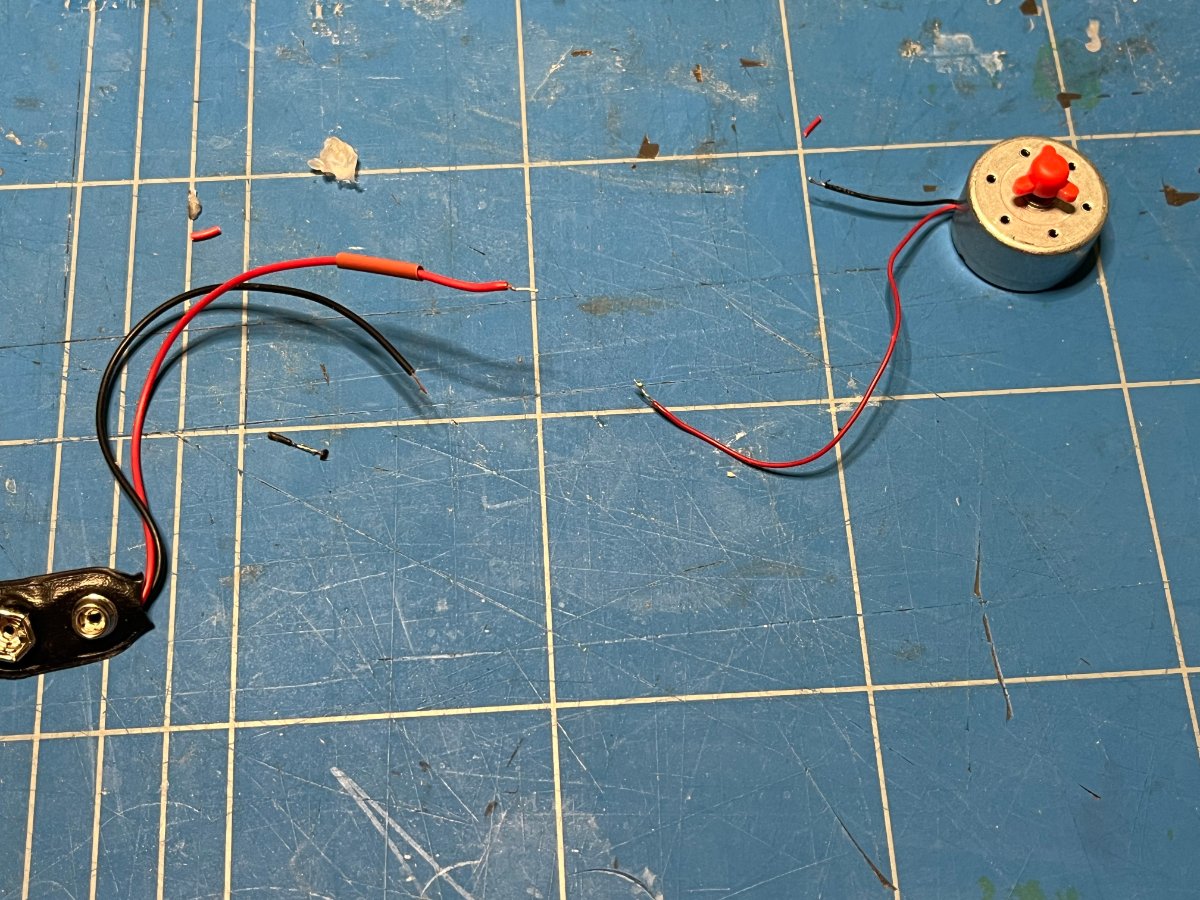
  • Good to knowThe red wire from the battery clip is the positive terminal of the battery. In the previous step, you identified which wire on the motor it should be connected to.
  • Slip some heat-shrink tubing over the red wire of the battery clip.
  • Solder the red wire from the battery clip to the corresponding wire on the motor.
  • Slide the heat-shrink tubing over the solder joint and heat it with a lighter.
5

Solder the button

  • Solder the other wire from the battery and the other wire from the motor to the button.
6

Fitting the button and motor inside the box

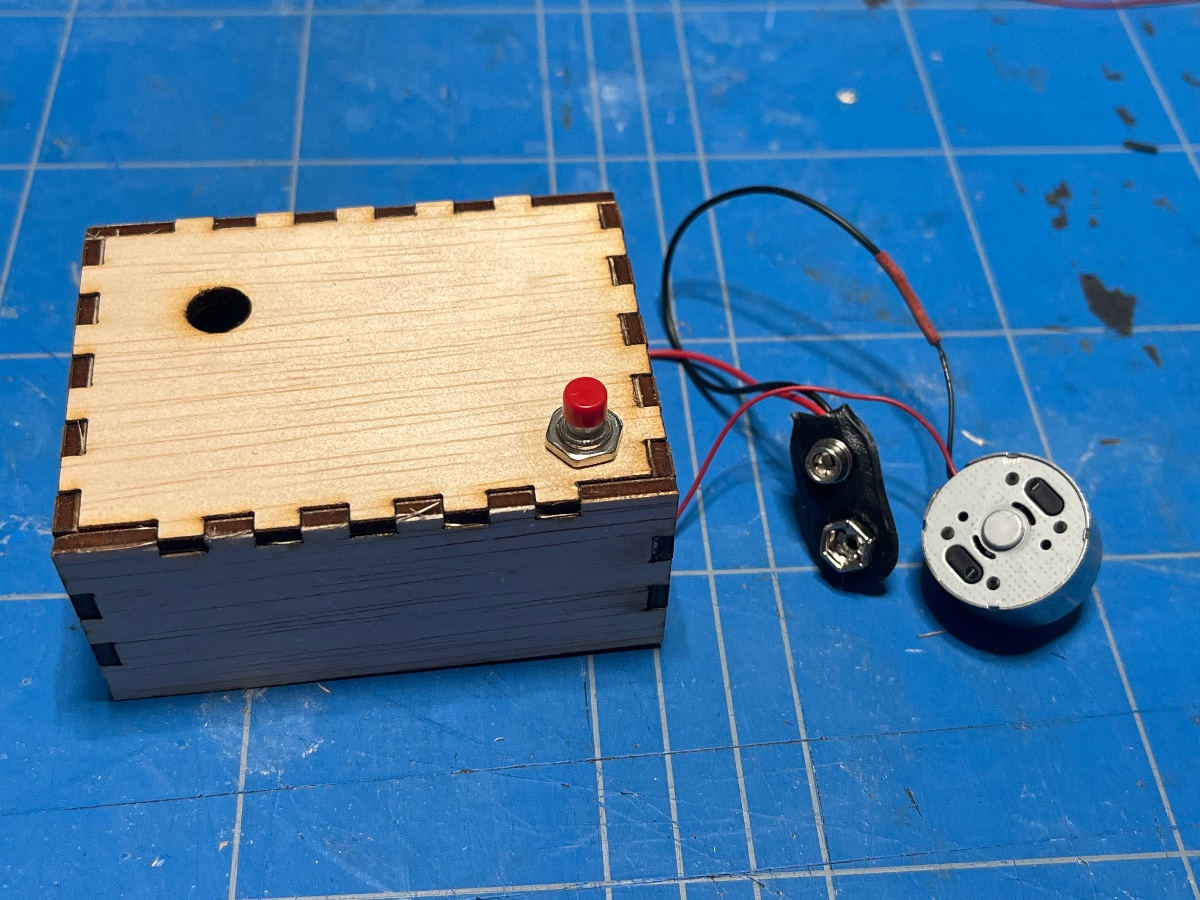
  • Attach the button to the small hole in the box.
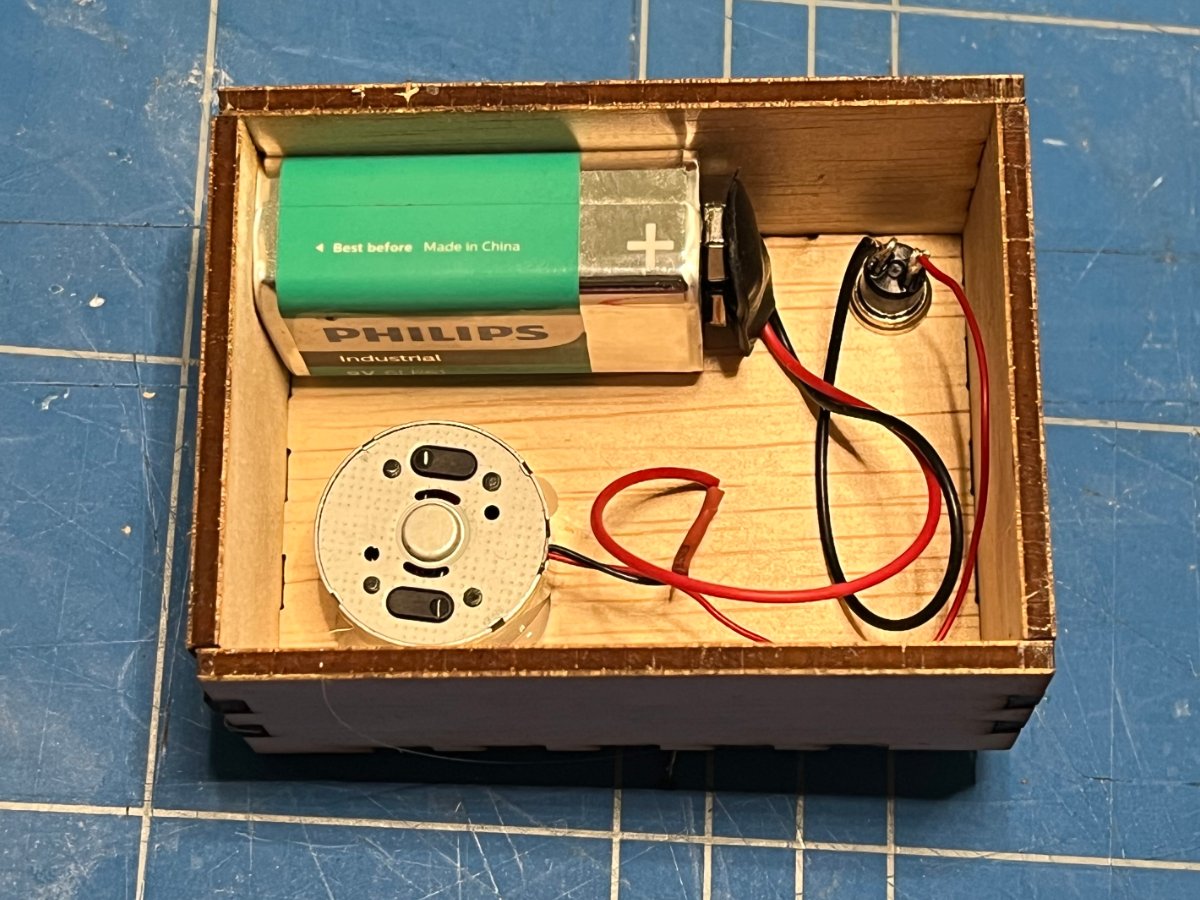
  • Use the glue gun to stick the motor into the box. Make sure you don’t glue the shaft in place.
7

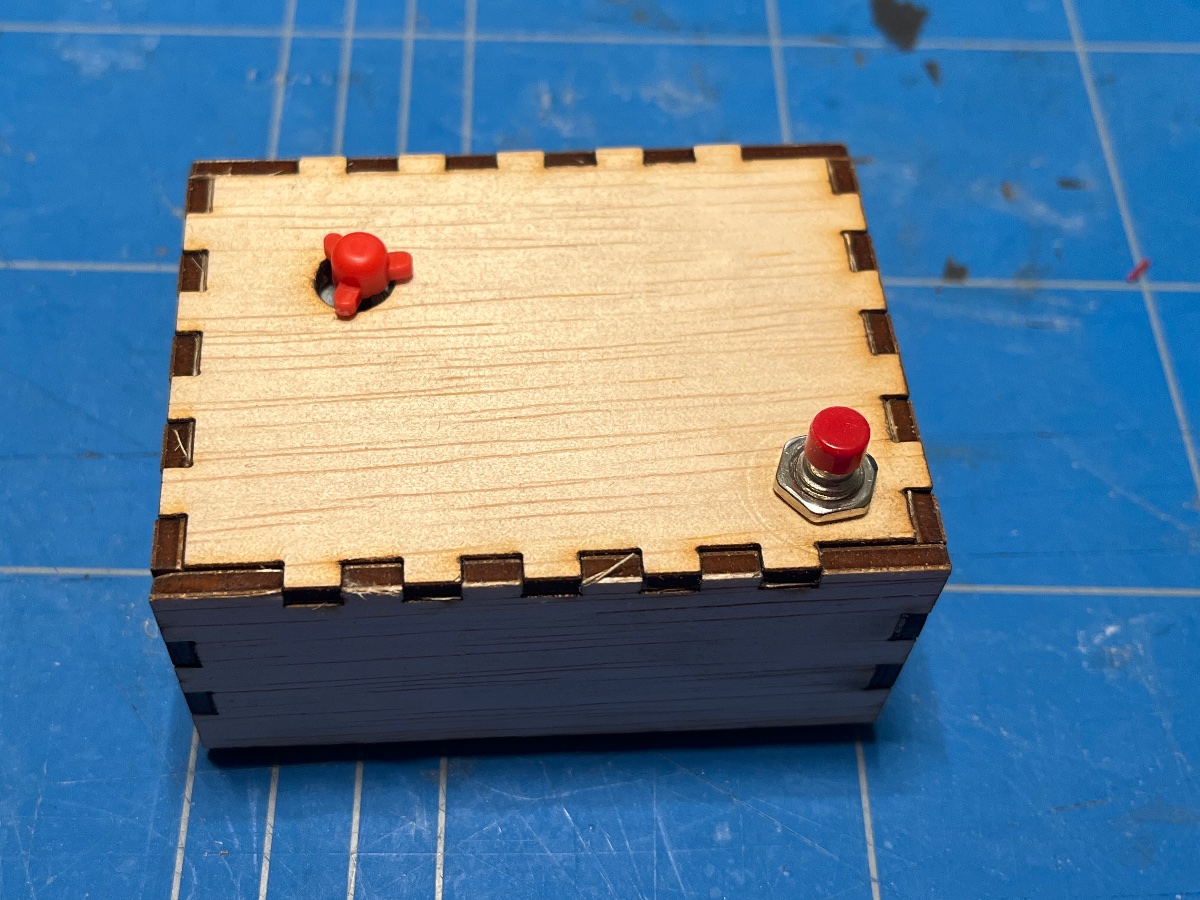
Attach the propeller holder

  • Slide the propeller holder onto the spindle. Make sure it isn’t pressed tightly against the wood and that it can turn freely.
8

Glue the battery in place

  • Use some double-sided tape to stick the battery inside the box.
9

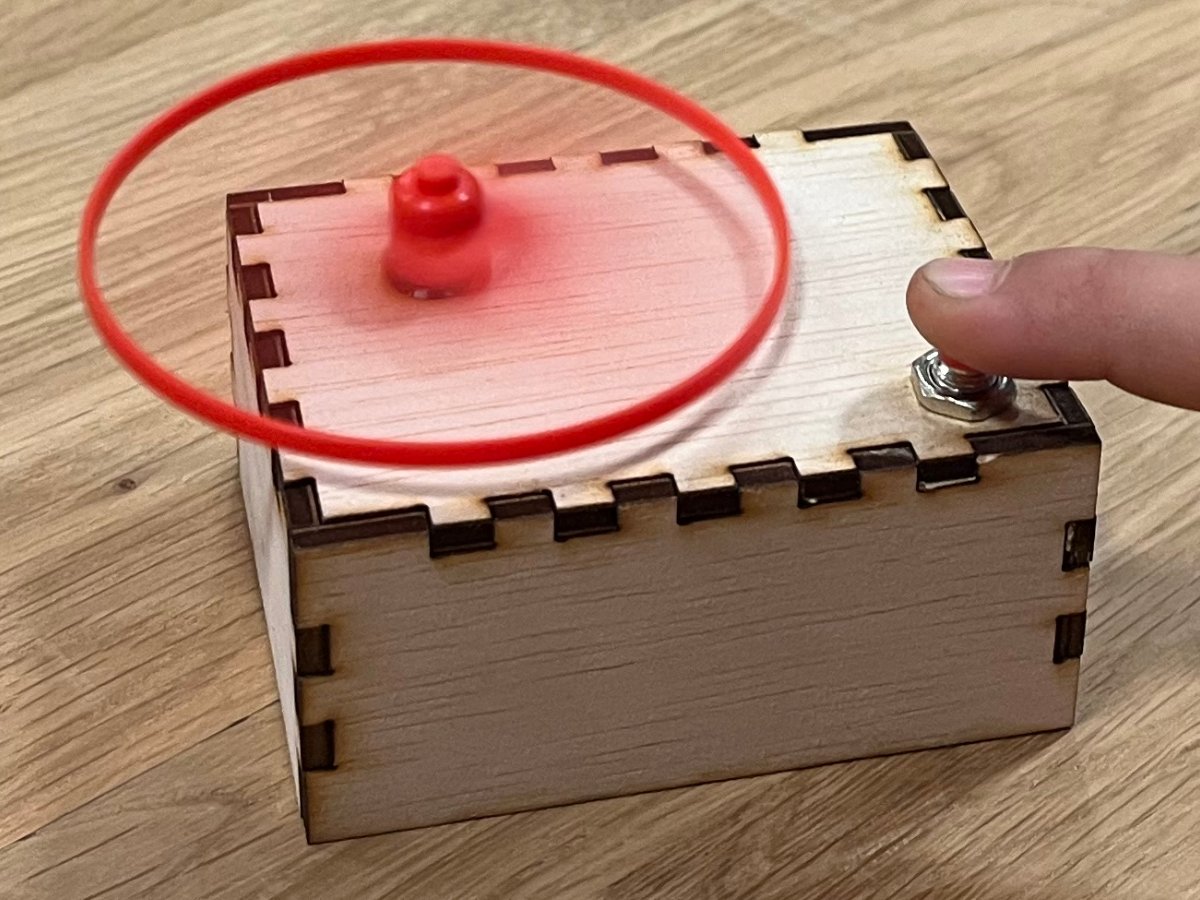
Done

  • Test your propeller and see how high it can fly.