Lightbox

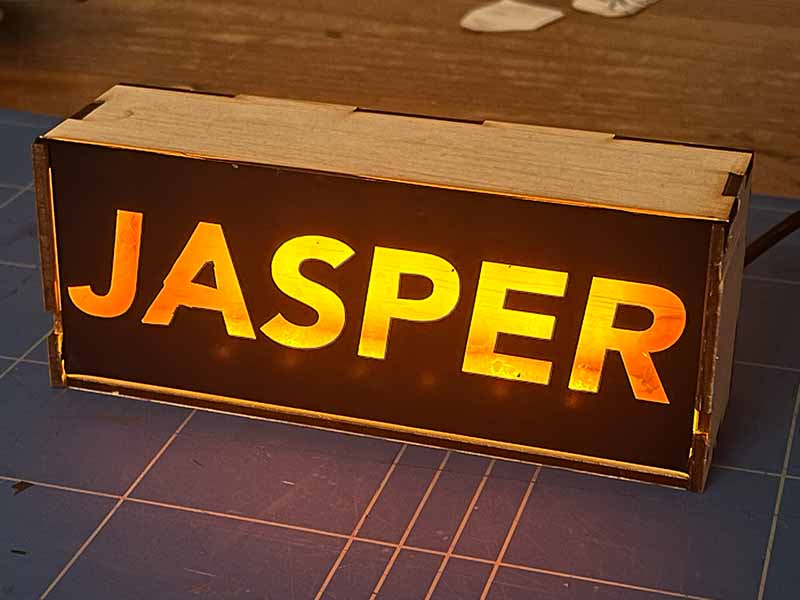
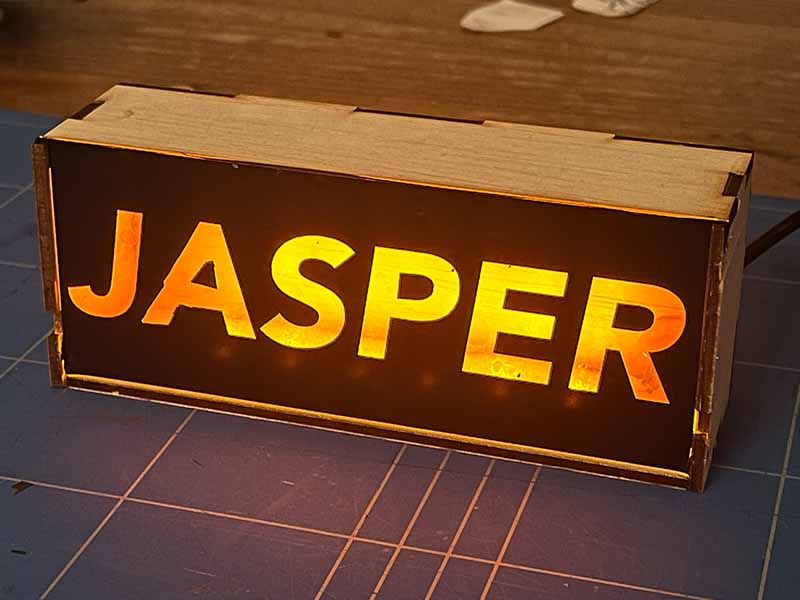
Make a usb-powered light-up sign with interchangable text.

Age
9+ yrs
Time
45–60 min

What do you need?

Materials

  • 3 mm plyboard
  • 2 mm plexy glass
  • LED-strip
  • Old USB cable
  • Wood glue
  • Sticker vinyl

Tools

  • Laser-cutter
  • Vinyl-cutter
  • Soldering iron
  • Drill
  • 4 mm drill bit
  • Wire cutters
  • Wire strippers
  • Hobby knife
  • Glue gun
  • Scissors

Steps

1

Cut the wood and the plexiglass

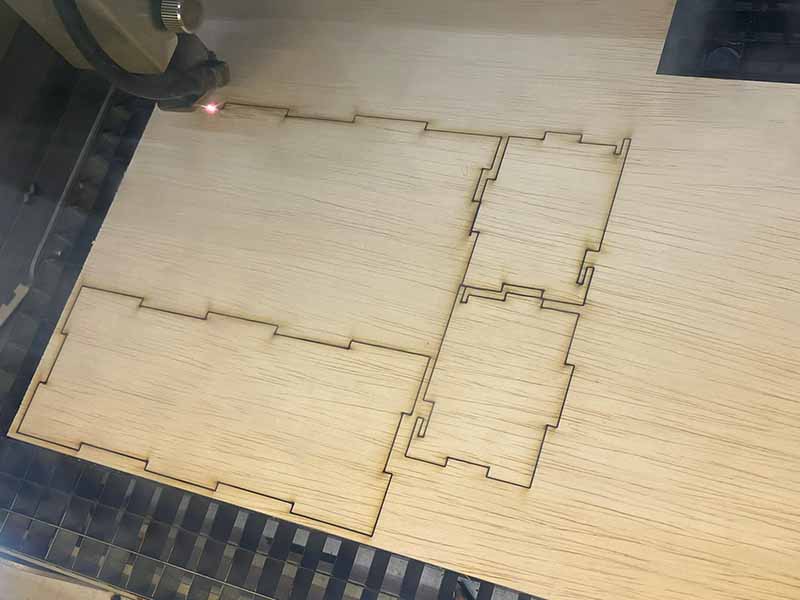
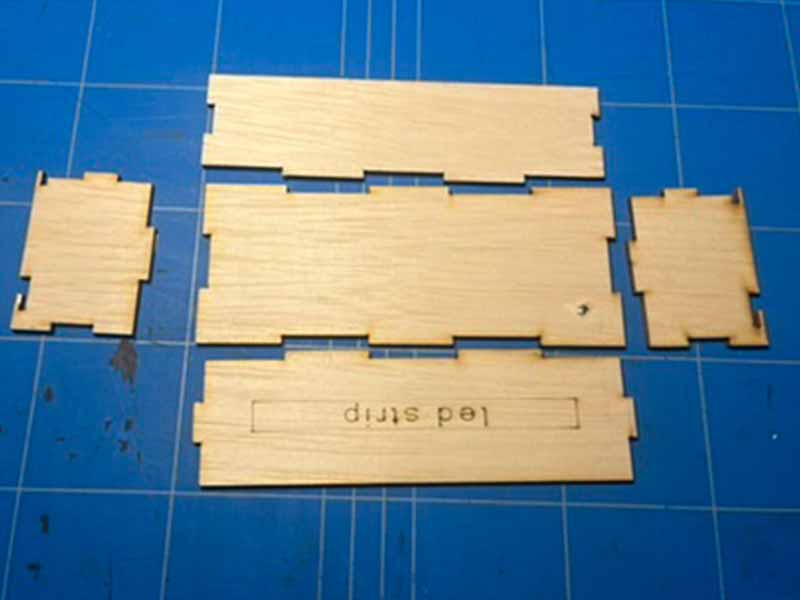
  • Use the laser cutter to cut out the wooden and plexiglass box parts.
2

Drill a hole for the lead

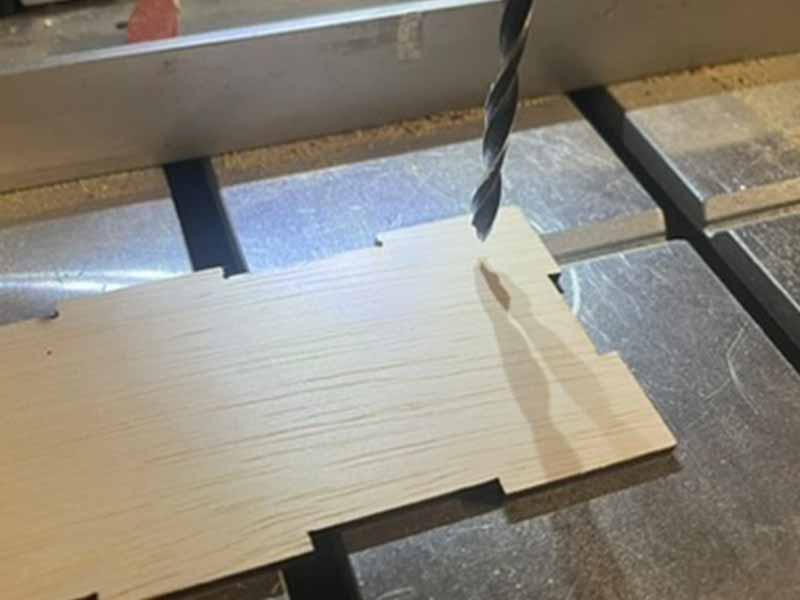
  • DangerWhen drilling, always make sure your hair or clothing (hoody strings) can not reach the drill bit.
  • Pick a place where you want the lead to exit the box (side, back, bottom) and drill a hole for the lead.
3

Assembling the box

  • Glue the box together using wood glue.
4

LED strip

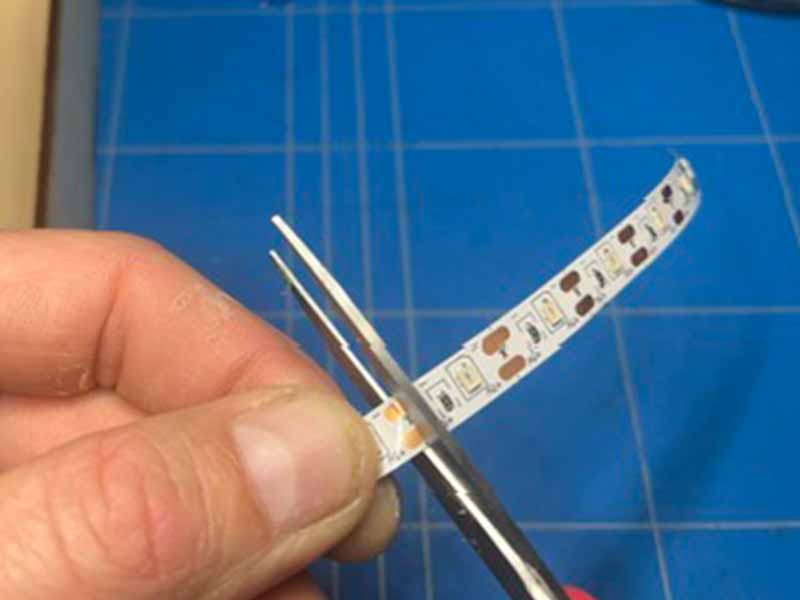
  • Cut the LED strip so it will fit in your box. (6 LED's). The strip should indicate where you can cut it.
  • Put a little bit of solder onto the + and - pads of the LED strip.
5

The cable

  • Cut off the small plug of the USB cable.
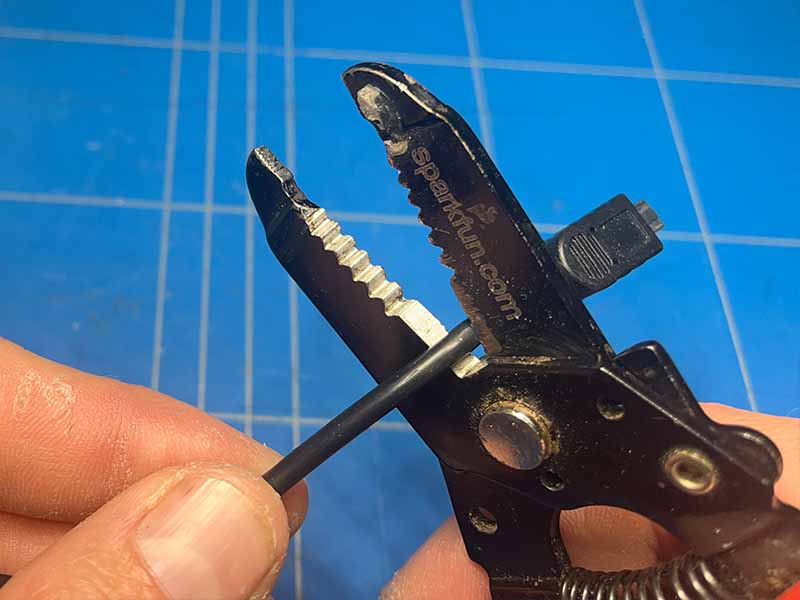
  • Strip the outer jacket of the cable. Most likely you'll find 4 wires. You will probably need the red and black wires.
  • Strip a small bit of insulation off the red and black wire and put some soldering tin on the ends.
  • Feed the cable trough the hole in your box.
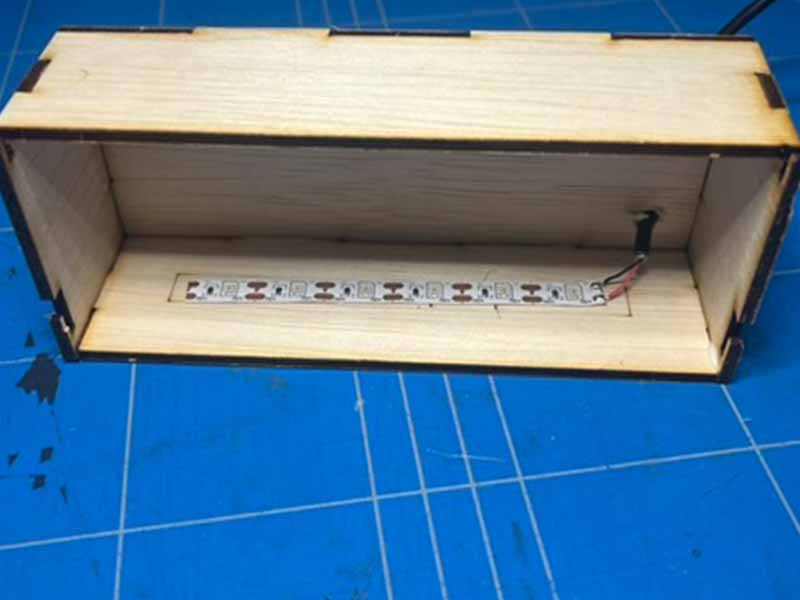
  • Solder the red wire to the + of the strip.
  • Solder the black wire to the - of the strip.
  • Plug in the USB cable to see if it works.
6

Stick the LEDS inside the box

  • DangerBe careful. Hot glue can be really hot.
  • Use some glue or the adhesive backing of the strip to stick it to the inside bottom of the box.
  • Put a blob kof hot glue on the solder joints and on the cable where it enters the box.
7

The front-panel

  • Good to knowYou can create multiple front-panels for your box that can be swapped out.
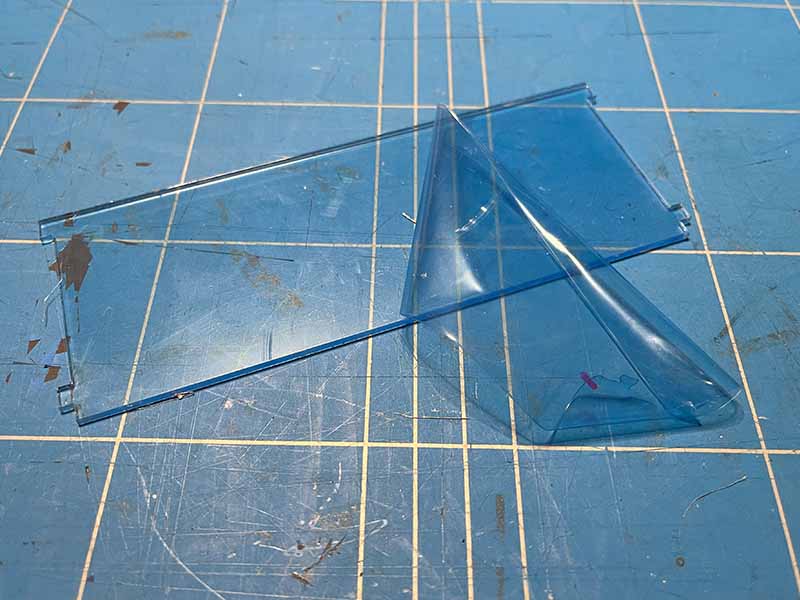
  • If your plexiglass has protective vinyl on it, remove it.
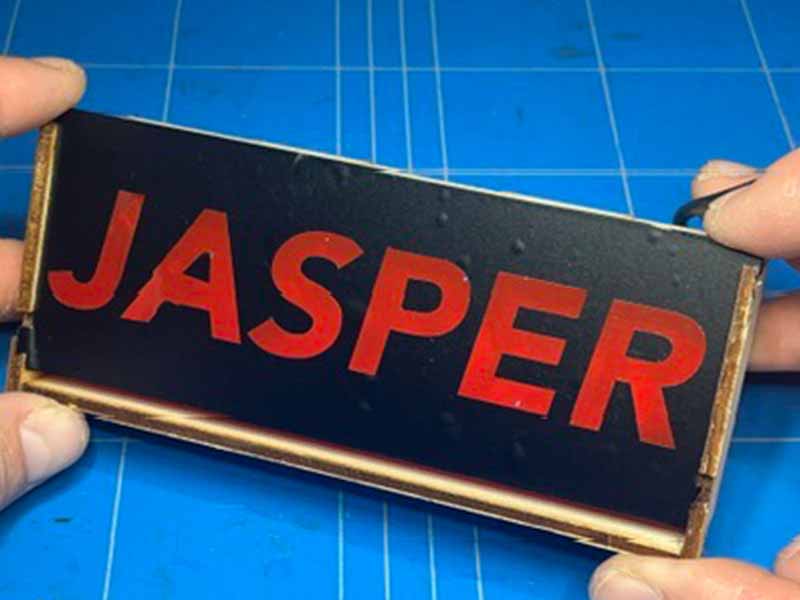
  • Pick a color and cover the box with the semi-transparent vinyl.
  • Use a hobby knife to trim the edges of the vinyl flush with the plexiglass.
8

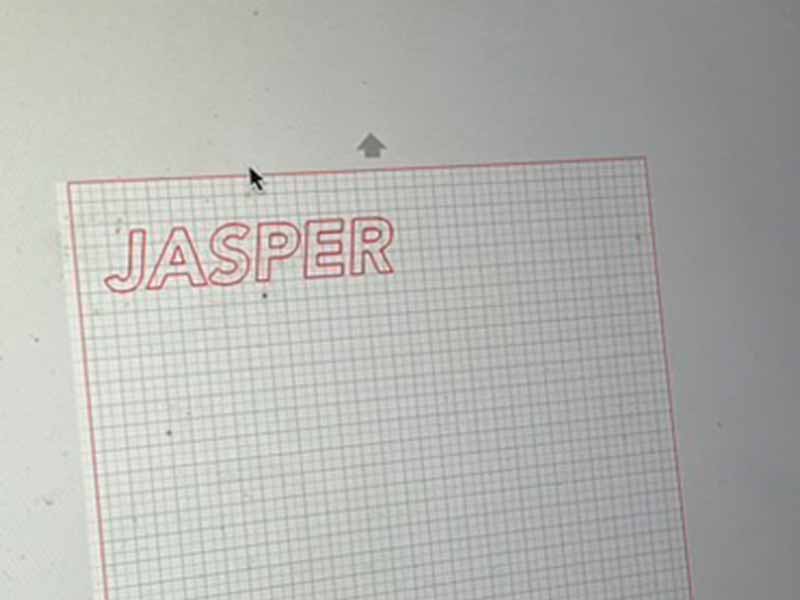
Cut the front panel design

  • Cut your design using the vinyl cutter.
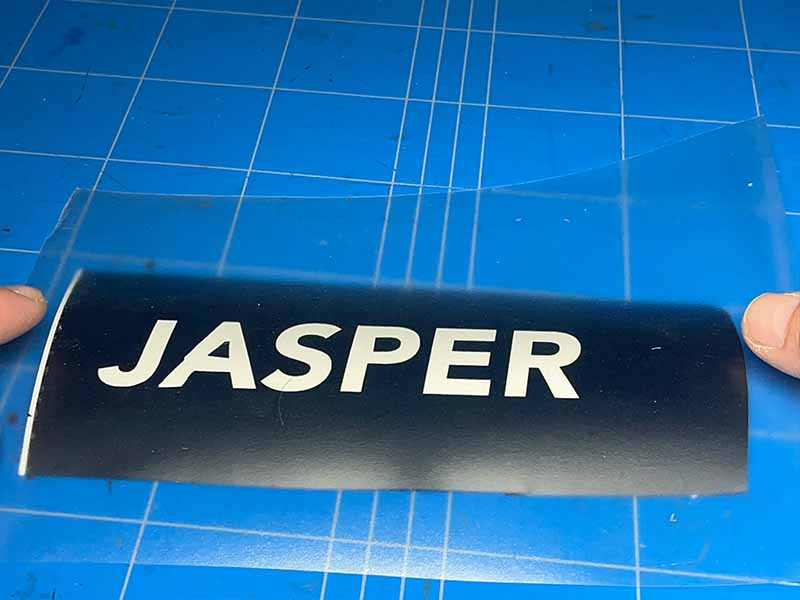
  • Peel away the vinyl where you want the light to shine trough. You can peel away the letters, but you can also choose to leave the letters and peel away around it.
9

Apply the front panel design

  • Put a piece of transfer foil over the vinyl to keep all the bits in place while applying to the plexiglass.
  • Remove the adhesive backing.
  • Apply the vinyl to the plexiglass front panel. It works best to lay the vinyl with the sticky side up and lay the front-panel on top.
  • Remove the transfer foil.
  • Trim the edges.
10

Placing the front panel

  • Good to knowIf the fit is too tight, you can remove the pieces of vinyl from the tabs to get a bit more clearance.
  • Place the front panel in the box.
11

All done!

  • Enjoy your sign.