Touch lamp
duration: 60 - 90 minutes
age: from 12 years
Make a piece of art that lights up when you touch it

tools
- Laser cutter
- Scissors
- Soldering iron
- Clamps
- glue brush
- damp cloth/rag
- 5v power supply to test (optional)
- side cutters
- Wire strippers
materials
- 3mm plywood
- 5mm plywood
- White paper
- 5v led strip
- TTP223 touch sensor
- Electrical wire
- Spray glue
- Wood glue
- USB cable
downloads
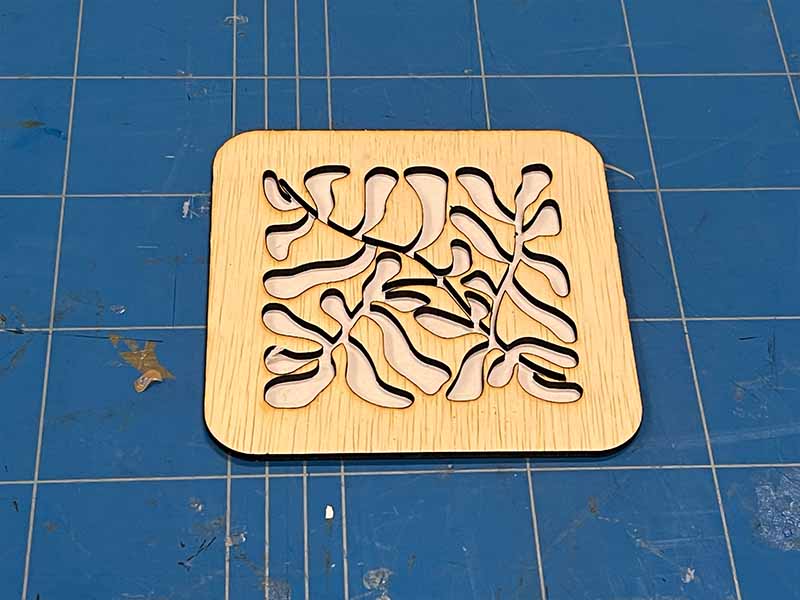
step 1 - Find / create a design
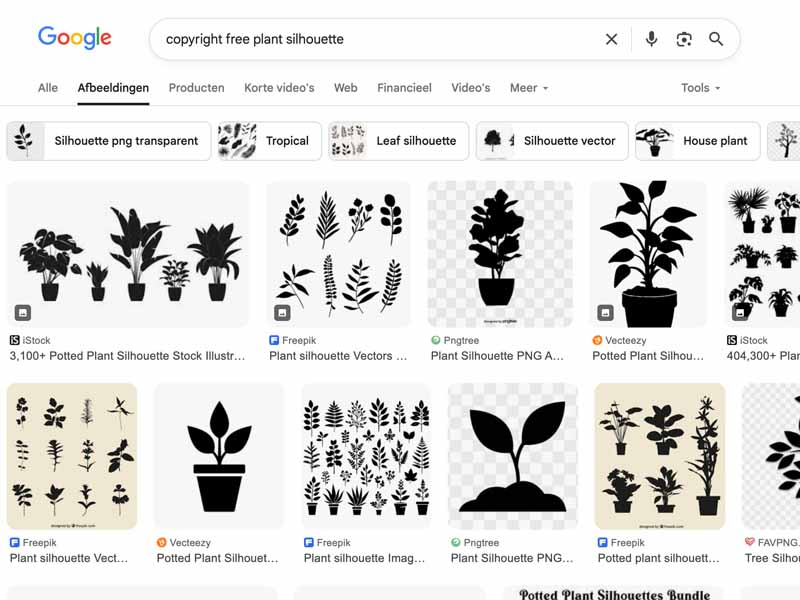
- The template can accommodate a design of about 3,5 inches (9 cm) squared.
- When looking for a design make sure that it does not have too many details, as these may become very fragile when cut.
- Limit the number of pieces that is not connected to the outside. As we will be cutting it out of wood, pieces that will 'float' in the middle of the design will be harder to make.
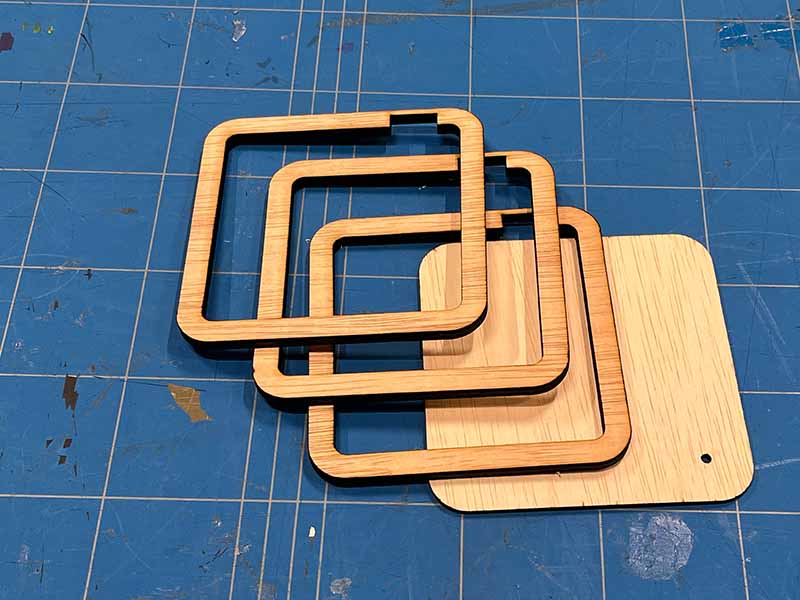
step 2 - Cut the wood
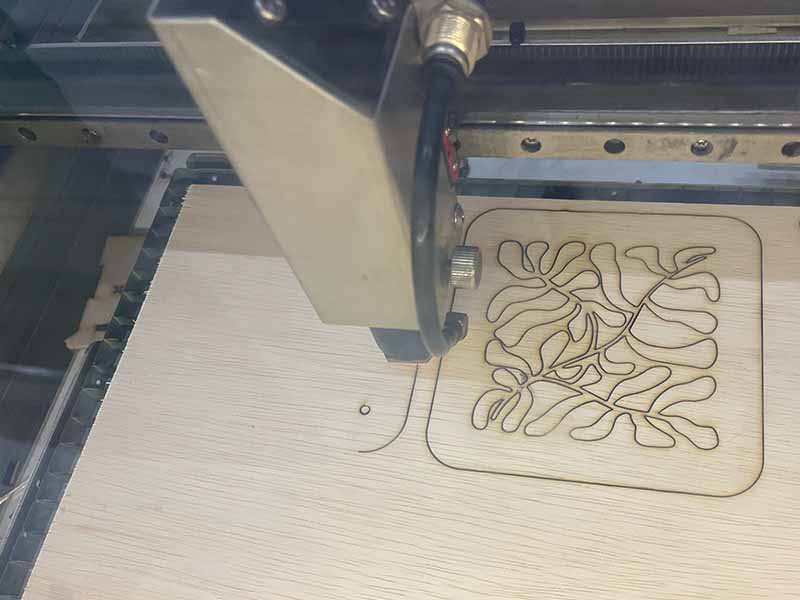
- Load your design into your laser-cut software and place it inside the template .
- Cut the template out of 1/8 inch (3mm) and 3/16 inch (5mm) plywood using the laser cutter.
step 3 - Glue the back

- Pay attention to the position of the hole in the back plate. This is where your usb-lead will enter the lamp. The cutout in the middle sections indicates the top of the lamp.
- Glue the 3 thicker middle sections and the back together with wood glue.
- Clamp the plates together and let the glue set. Wipe off any excess glue with a damp cloth.
step 4 - Prepare the front
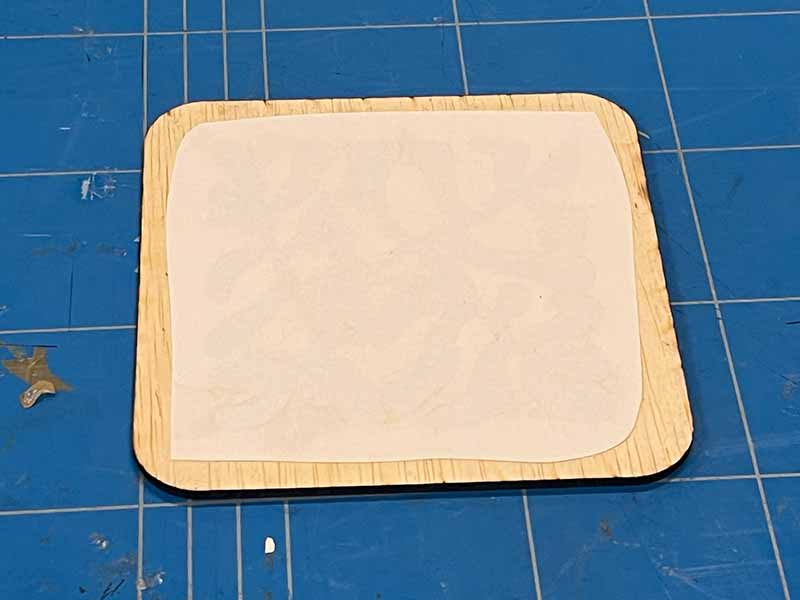
- Since you have been holding laser cut wood for a while now, it is a good idea to wash the soot your hands before touching the paper.
- When using the spray gue, spray the wood, not the paper. We dont want glue on the paper where it isn't going to contact any wood.
- Cut a piece of paper big enough to cover your design.
- Put some spray glue on the wood and glue the paper onto what is to become inside face of the front-plate.
step 5 - Prepare your wires
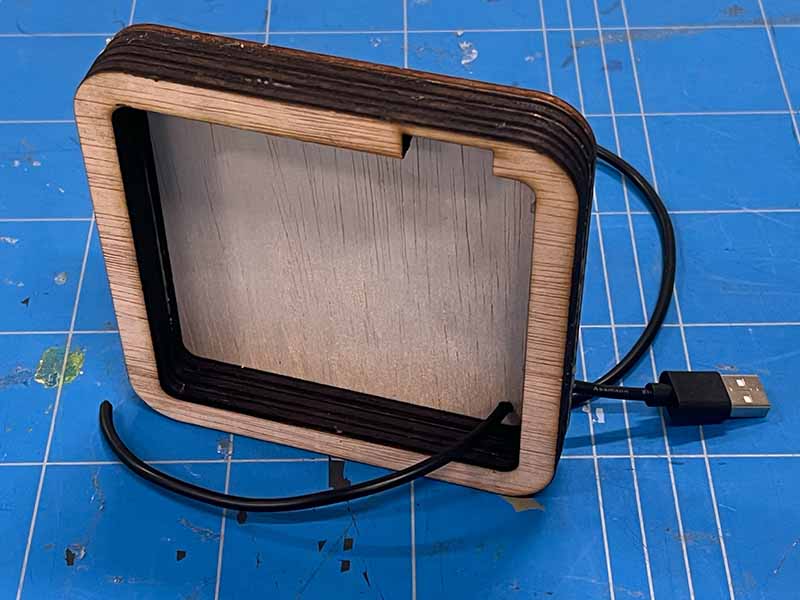
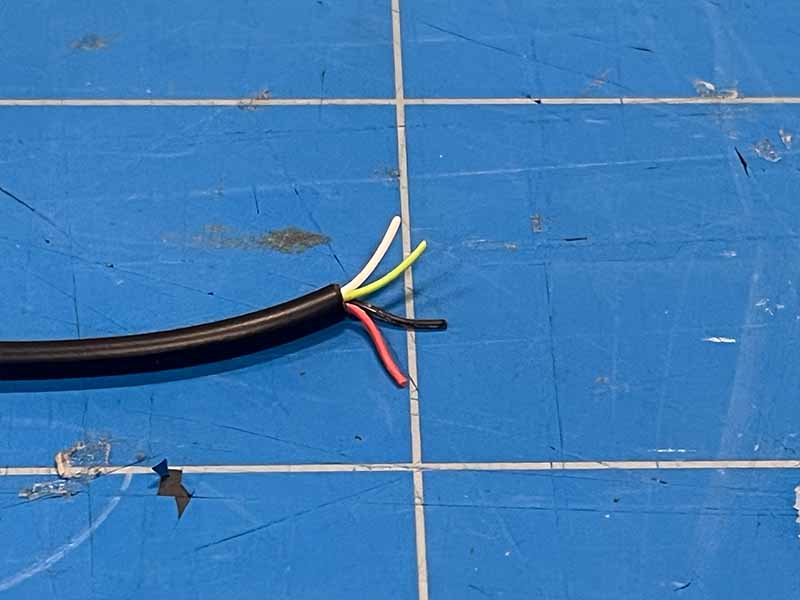
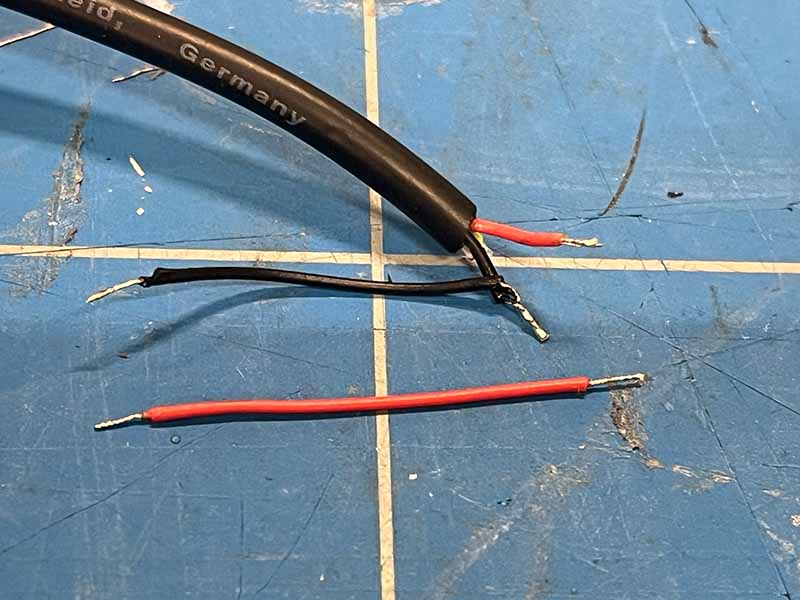
- Cut your USB cable to length. and thread it trough the hole in the back plate. Make sure the USB plug is on the outside.
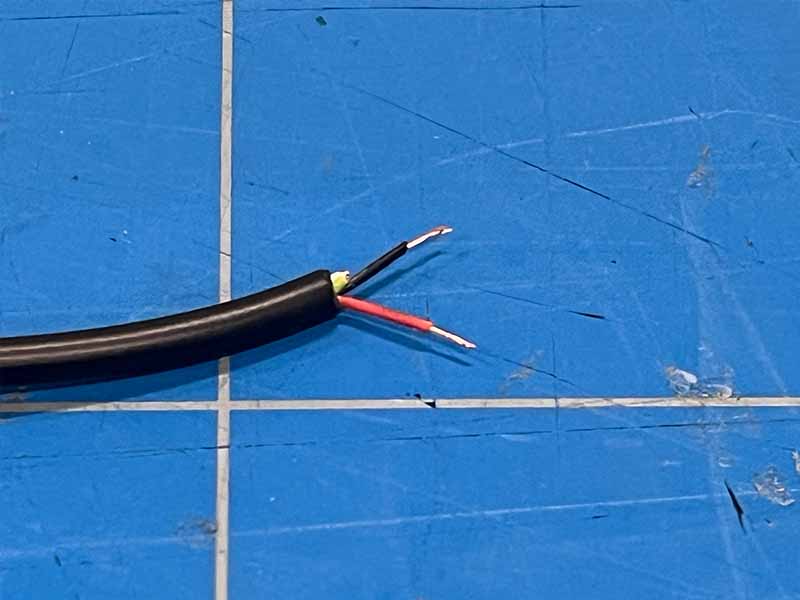
- Strip the outer insulation of the end. There can be up to 4 wires inside. We are only interested in the red and black wires. Strip the ends of these wires and cut away the others.
- Cut a 1.5 inch(4cm) piece of black and a 1.5 inch (4cm) piece of red wire. Strip the ends.
- Twist together the black wire from the USB cable and the black wire you cut earlier. Tin them together.
- Tin the ends of all the other wires.
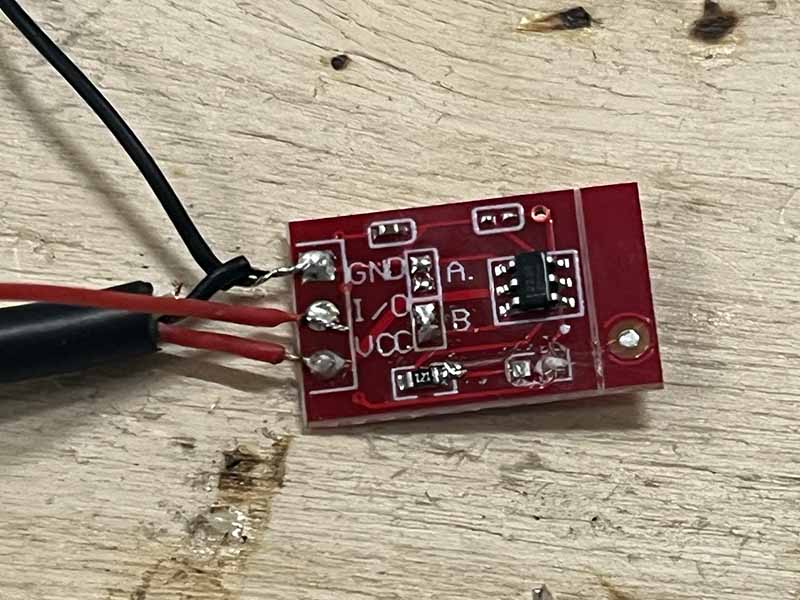
step 6 - Prepare the sensor

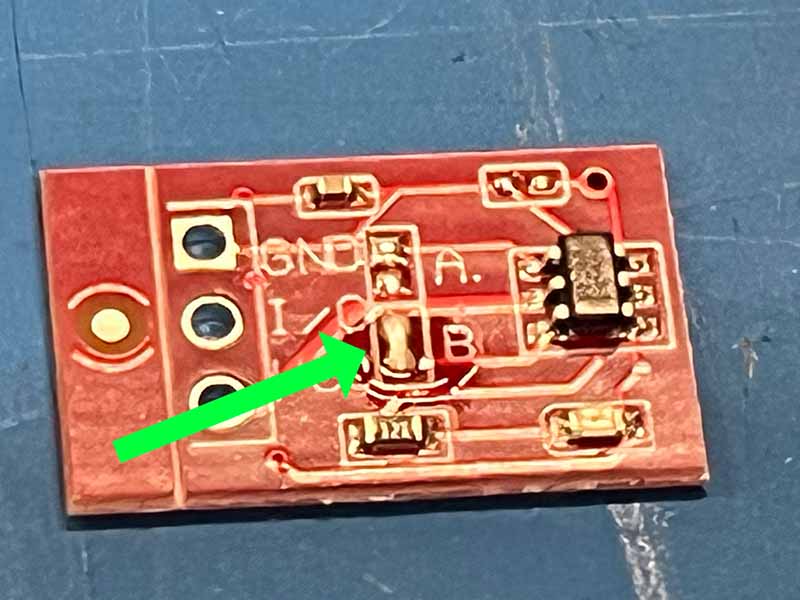
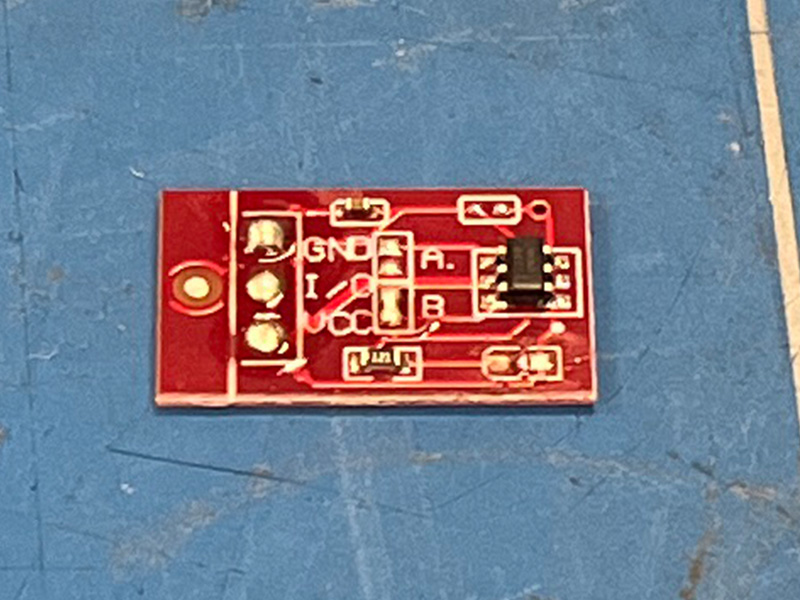
- The TTP223 touch sensor can be configured to work in different ways. We will set it up so that a single touch will toggle between on and off.
- Use a little bit of solder to bridge the pads marked with B
- Put a bit of solder on the 3 pads marked 'VCC', 'I/O' and 'GND'.
step 7 - Prepare the LED strip
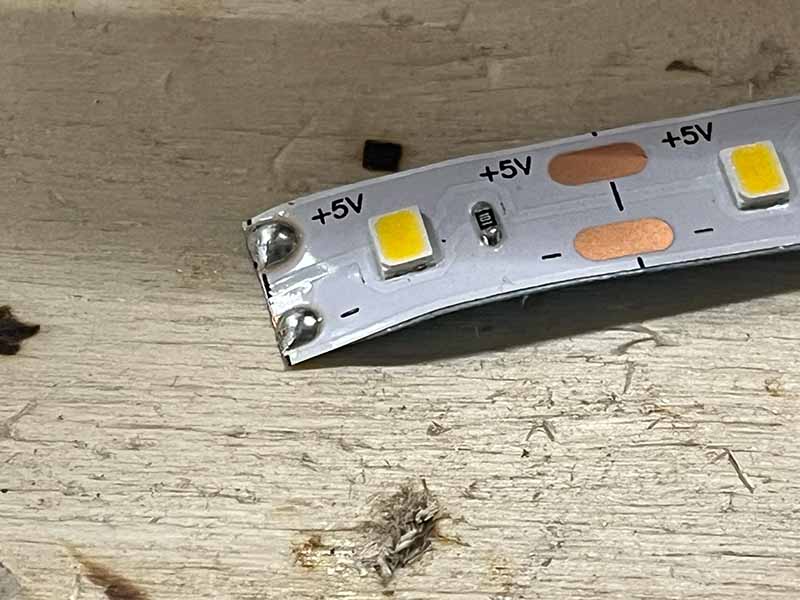
- Count 23 leds on the strip and cut it where indicated.
- Put a bit of tin on the + and - pads of the strip.
step 8 - Solder the components
- Before soldering, make sure the wire was fed trough the hole in the back plate. Make sure the USB connector is on the outside of the lamp.
- Solder the red wire of the USB cable to the VCC pad of the touch sensor.
- Solder the small length of red wire to the I/O pad of the touch sensor.
- Solder the combined black wires to the GND pad of the touch sensor.
- Solder the red wire from the I/O of the sensor to the +5V on the LED strip.
- Solder the remaining black wire to the - pf the LED strip.
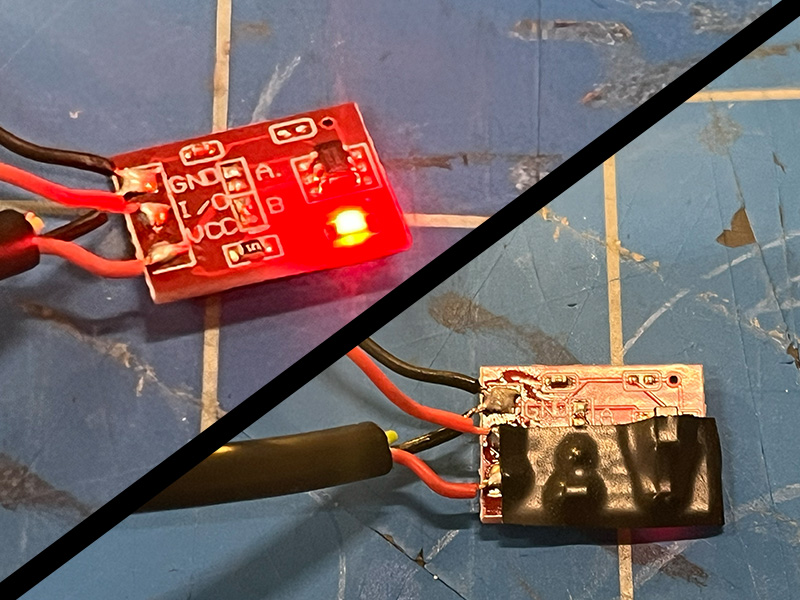
- Test it. Connect the USB cable to a power source. A single touch should toggle the LED strip on and off.
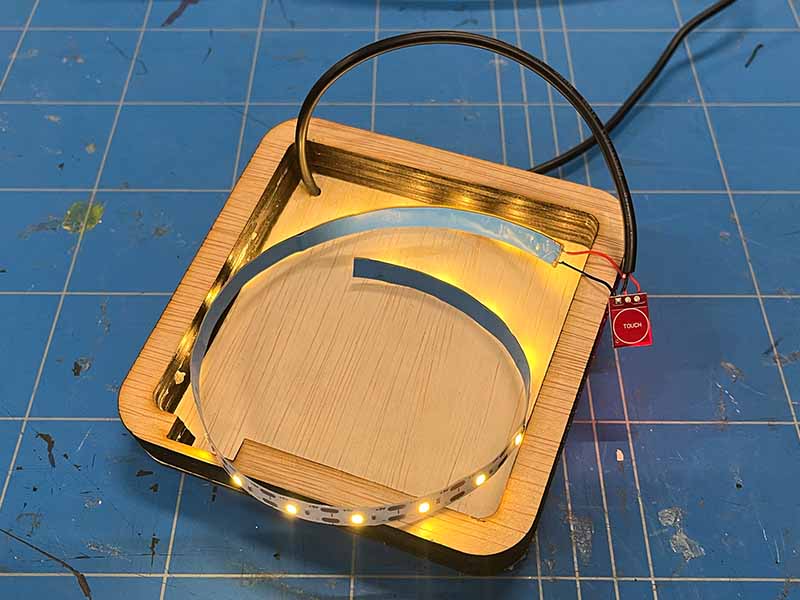
step 9 - Glue the sensor and leds
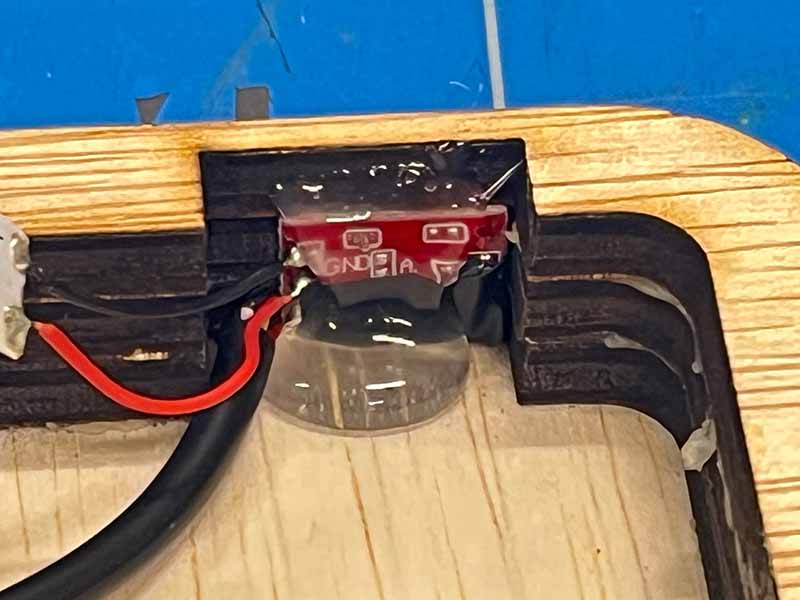
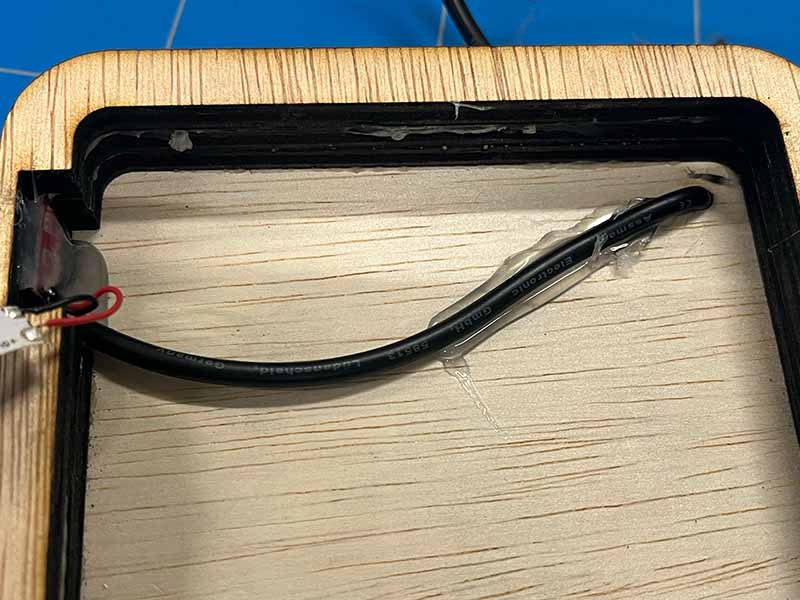
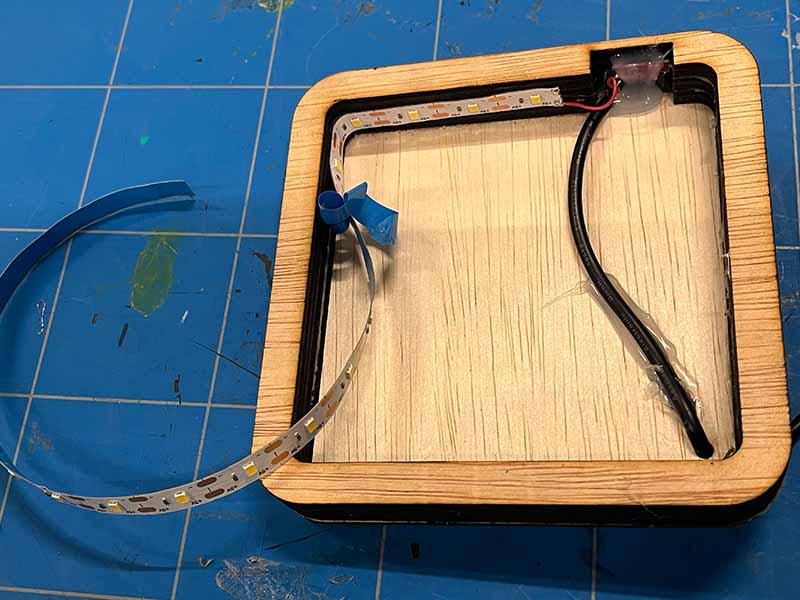
- Use hotglue to glue the sensor into the cutout. The text 'TOUCH' should be facing outwards
- Use hotglue to fix the cable to the backplate on the inside of the lamp. This prevents shadows and acts as strain relief.
- Remove the adhesive backing from the LED strip and attach them round the inside of the lamp.
- Test again. You may have broken something while glueing.
step 10 - Close the lamp
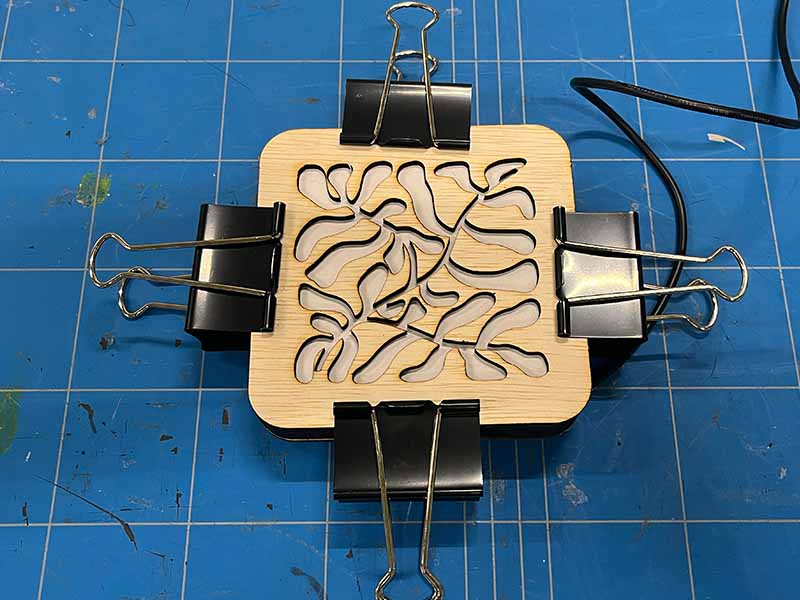
- Pay atention to the orientation of the front plate. You want the touch sensor to be on the top.
- Glue the front onto the lamp. Use clamps to hold it in place while the glue sets.
step 11 - Sand and done!
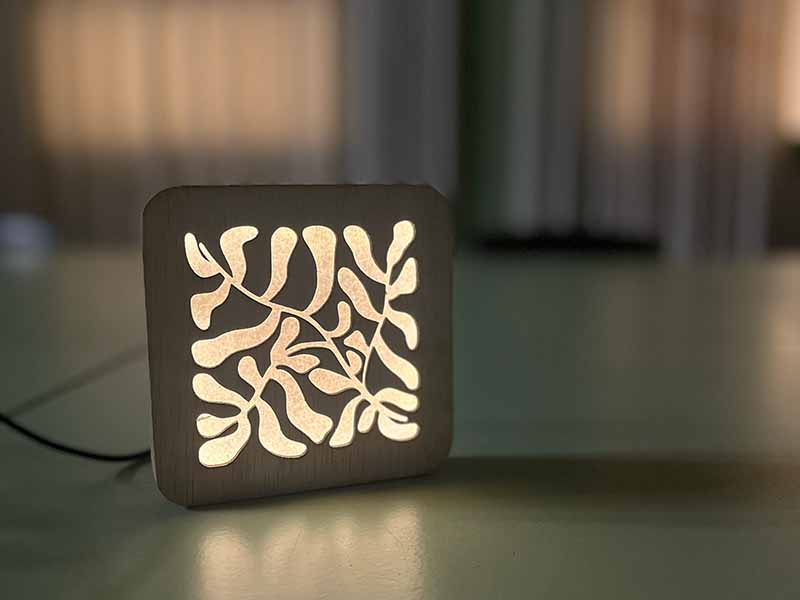
- Sand the outside of the lamp to remove any burn marks from the laser cutter.
- You're all done.