Monster generator

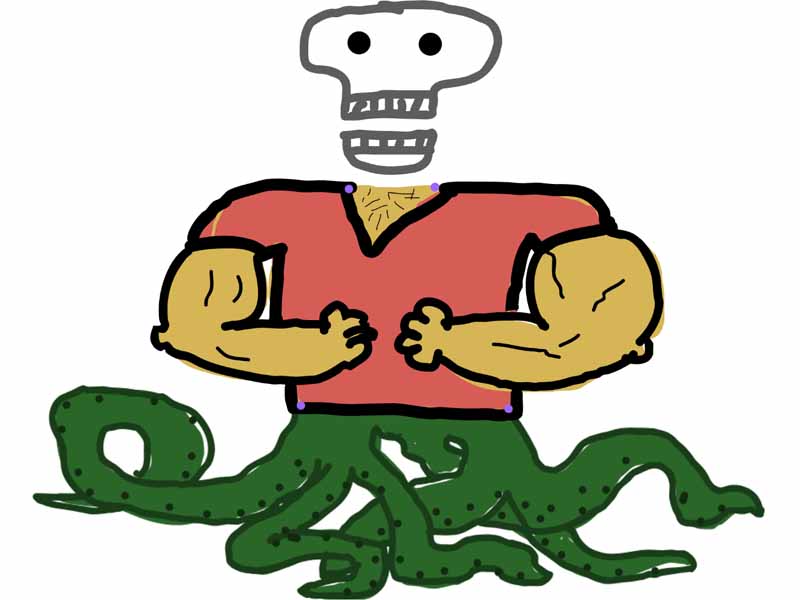
Program a monster generator.

Age
7+ yrs
Time
30–60 min

What do you need?

Tools

  • Laptop

Steps

1

Open the Scratch webpage

  • Open a web browser and go to https://scratch.mit.edu/
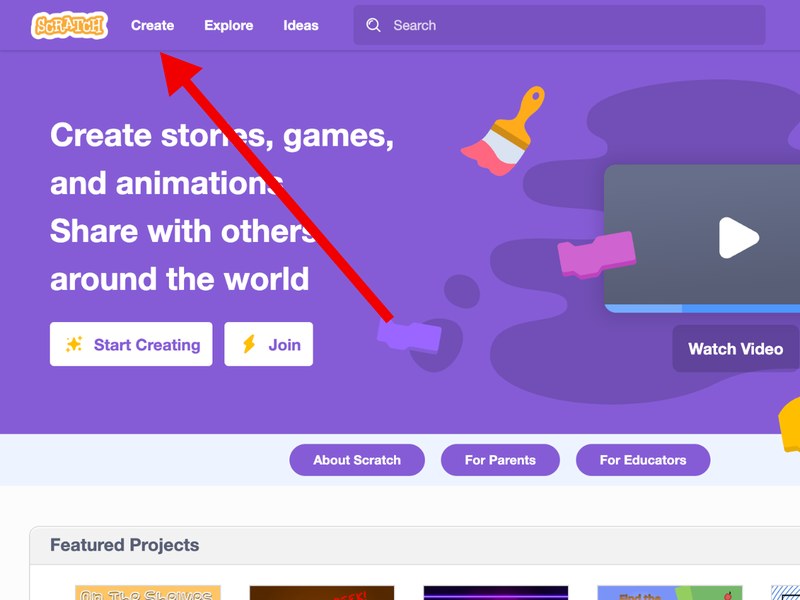
  • Click on the ‘create’ button
  • If needed, set the language to English.
2

Sprites, play area and code blocks

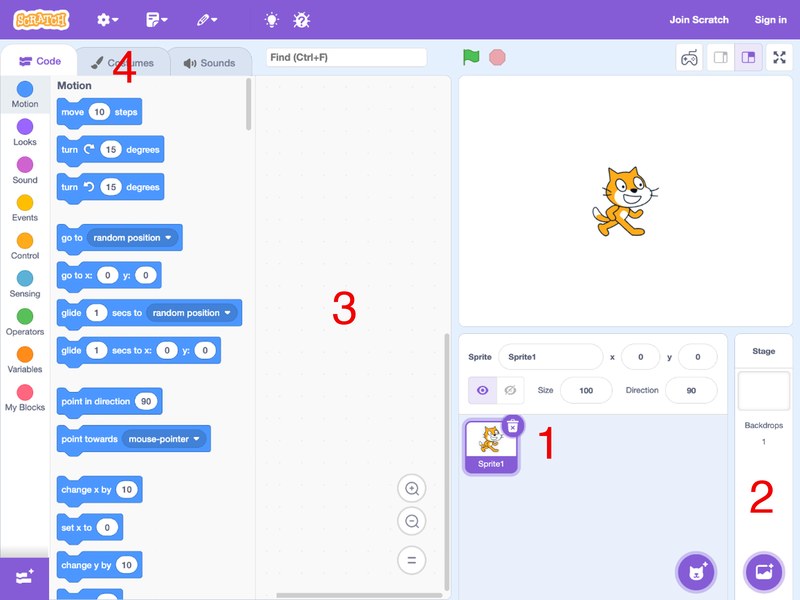
  • Good to knowIn Scratch, we work with sprites (images, see number 1 in the screenshot) and the stage (where you move the images around, number 2 in the screenshot).
  • Good to knowBoth the sprites and the playing field can have different appearances. They can also each have their own pieces of code (as shown in number 3 in the screenshot).
  • Good to knowUsing the tabs at the top, you can switch between the appearance and the code of a sprite or the play area.
3

Create a new sprite

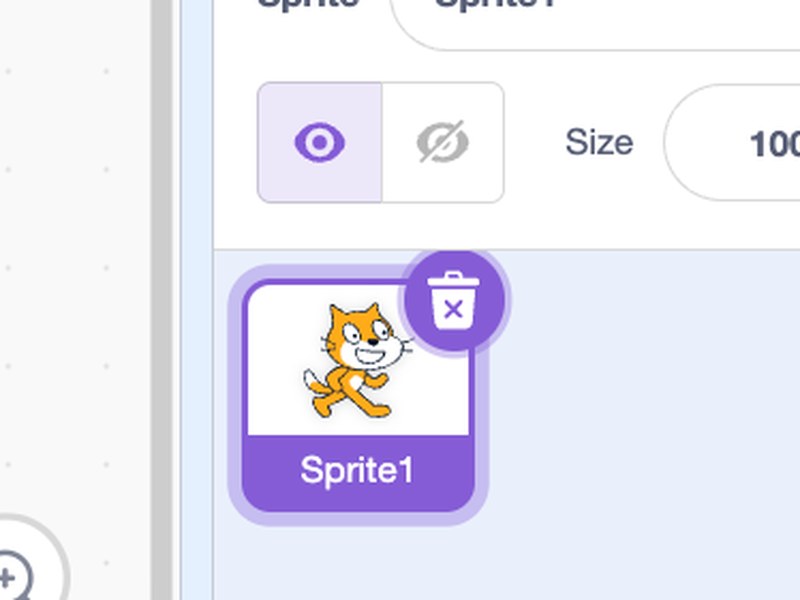
  • Delete the existing sprite by clicking on the bin icon
  • Download the sprite file linked at the top of these instructions. (via makermanuals.com if you’ve printed this out)
  • Use the ‘upload sprite’ option to import the downloaded file as a sprite into your programme. Four dots will now appear on your screen.
  • Place the new sprite in the centre of your screen by setting both the X and Y values to 0.
4

Duplicate appearance

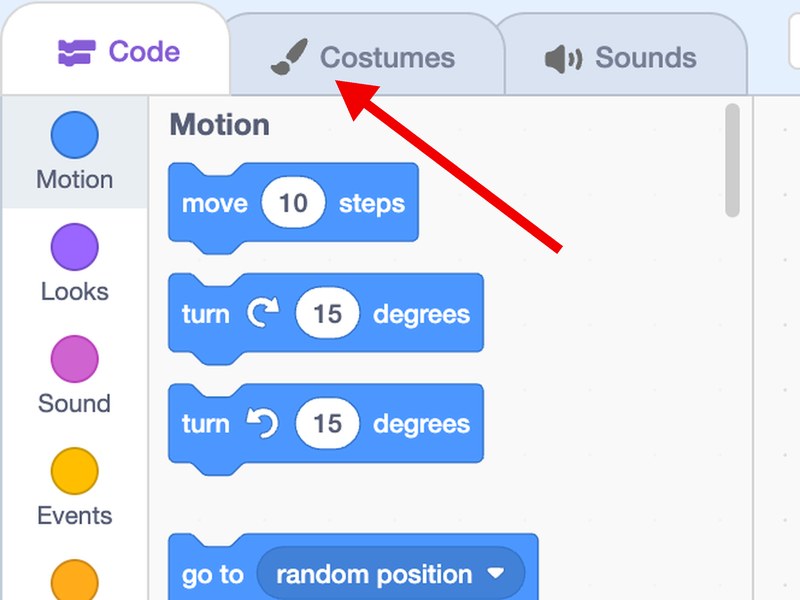
  • Click on the ‘Appearance’ tab.
  • You can now see the outline of your sprite on the left. There’s only one at the moment.
  • Right-click and select ‘Duplicate’ to make a copy of the design. Do this three times so that you have four designs.
5

Drawing heads

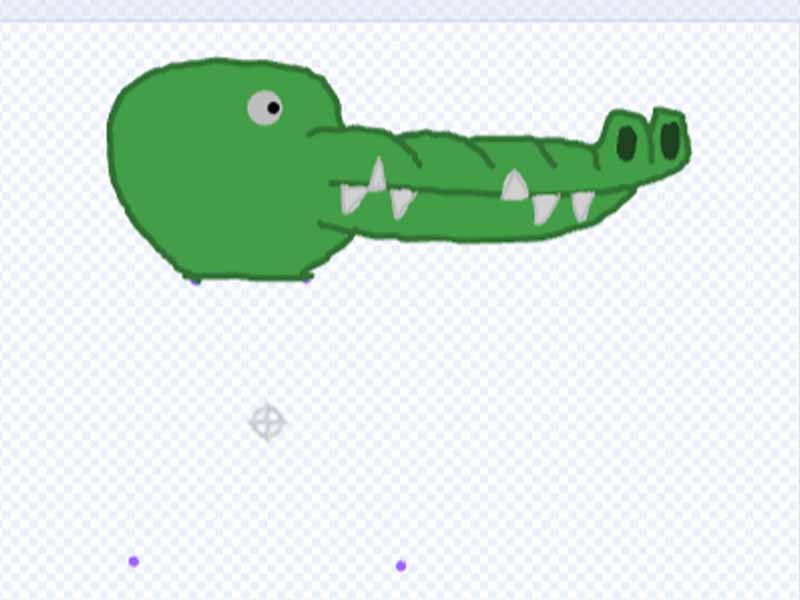
  • Draw a head inside each of the outlines. Make sure the neck ends neatly at the top two dots.
6

Add code to the play area

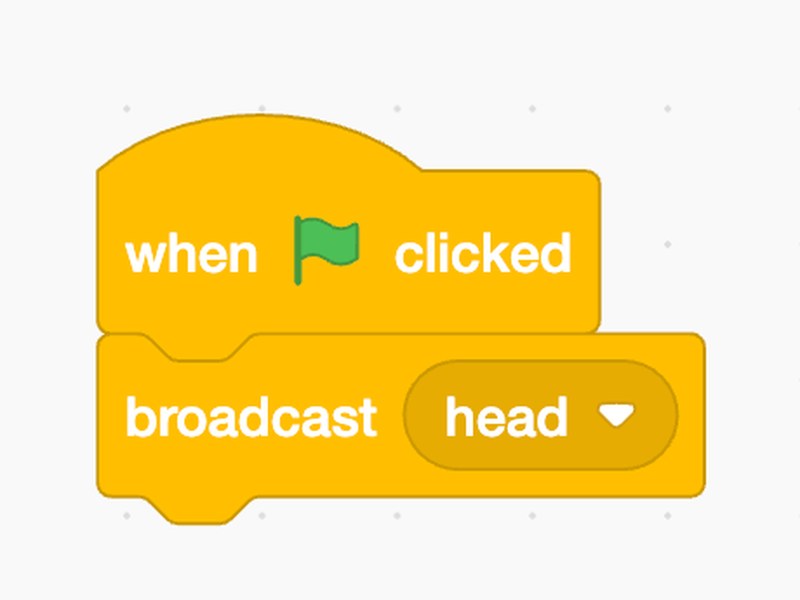
  • We want to start all the animations from the play area (head, torso and legs). Click on the play area and go to the ‘Code’ tab. Add the following code.
  • From the play area, we can send a message to the ‘head’ sprite like this.
7

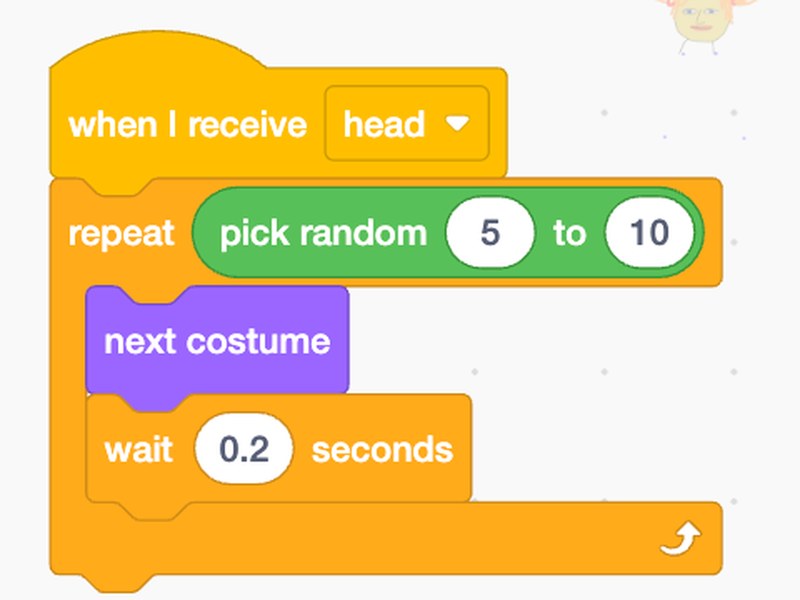
Add code to the ‘head’ sprite

  • Click on the ‘head’ sprite.
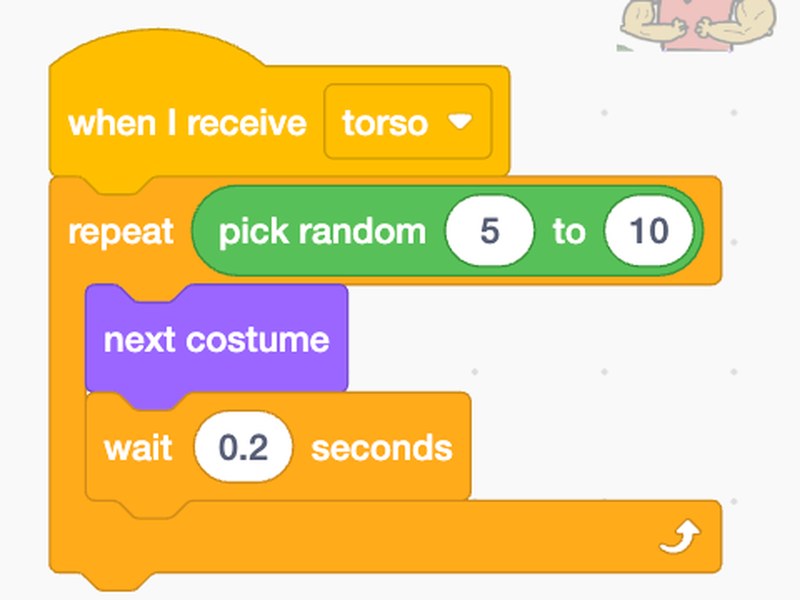
  • Copy the code shown in the image.
  • Test your code by clicking on the flag.
8

Add a body

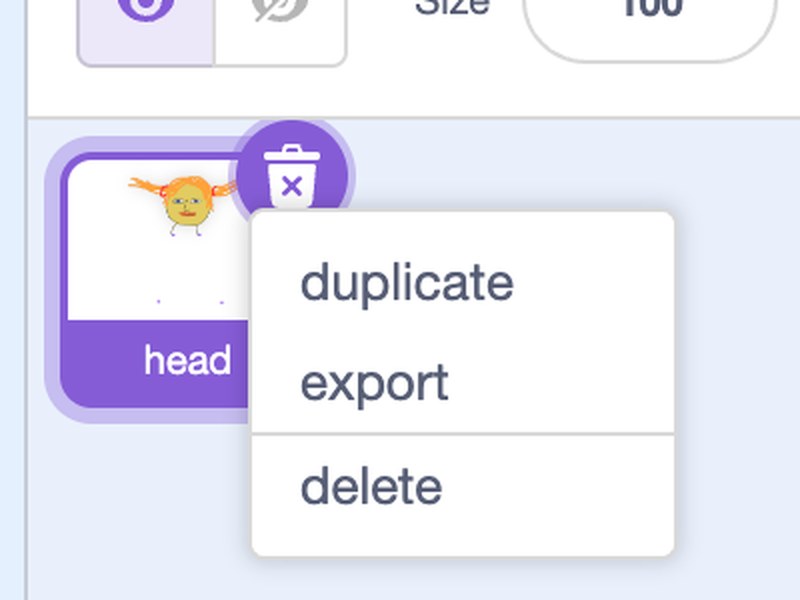
  • Right-click on the ‘head’ sprite and select ‘duplicate’.
  • Name the new sprite “torso”.
  • Set both the X and Y values back to 0, so that it is positioned in exactly the same place as the ‘head’ sprite.
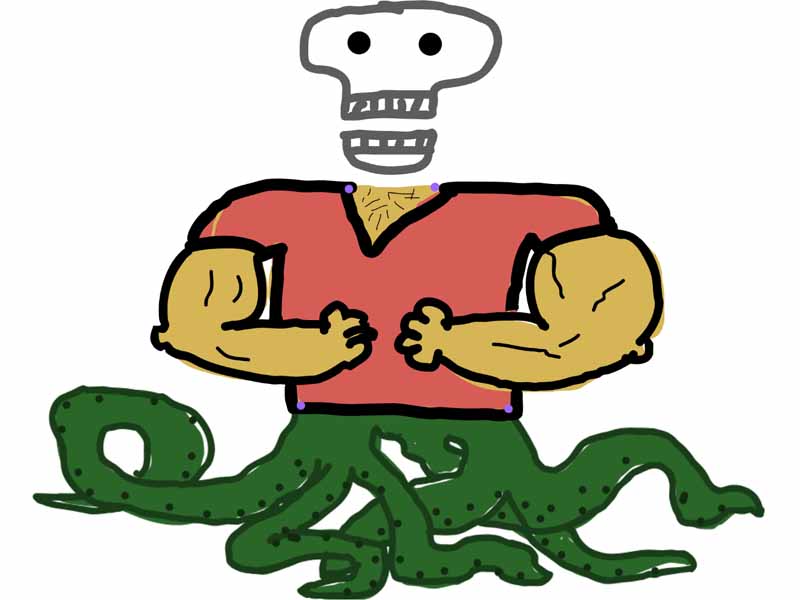
  • Adjust all the skins for the ‘torso’ sprite. Remove the drawn heads and draw a torso for each skin. Make sure the top and bottom align with the dots.
9

Customise the code for the body

  • Click on the ‘Code’ tab of the ‘torso’ sprite. Here you’ll see the code copied from the head sprite.
  • Adjust the code so that it responds to the ‘torso’ signal instead of ‘head’.
  • No ‘torso’ signal is being sent yet. We’re now going to add that to the code for the play area. Click on the play area and, after a short pause, add a ‘torso’ signal below the ‘head’ signal.
  • Test your code by clicking on the flag.
10

Add legs

  • See if you can add the legs yourself now. If you’re not sure, you can have a look at how we did it with the ‘torso’ sprite.
11

Add extras

  • Once you’ve finished and have some time to spare, see if you can add this yourself
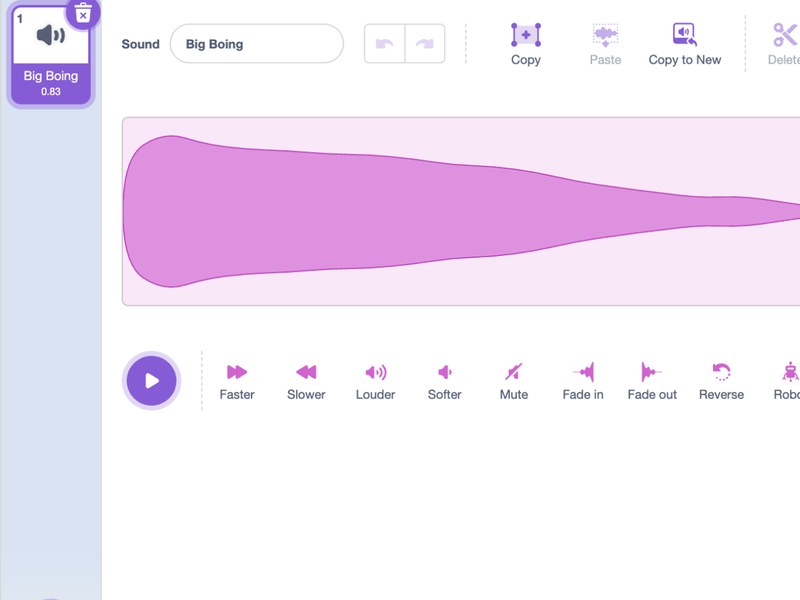
  • A sound when the animation is finished.
  • Start by changing the appearance quickly, then gradually slow it down.
  • A different sound depending on which creature is generated.